Microsoft SQL Server


Microsoft SQL Server |
|
| Solution Installation > TSS Installation > Install TSS on a standard server > Install new TSS/Console > With replication |
OverviewThis section describes how to install a new version of the software on a fresh system by using SQL Merge replication. Setup of high availability solutions for Microsoft SQL are out of scope for this document but the process for "without replication" can be followed.
Here is an overview of installation procedure:
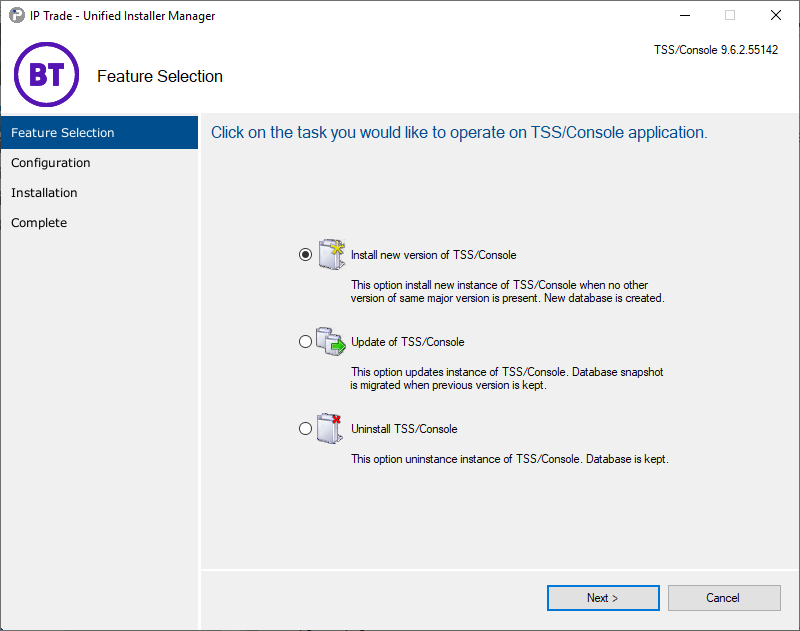
•Set permission on replication folder •Install first instance of TSS/Console (with option 'Type=New database') •Install other instance of TSS/Console (with option 'Type=Existing database') Set permission on replication folderGo to the following path : E:\Microsoft SQL Server\MSSQL11.MSSQLSERVER\MSSQL (Base of this path could be different depending of your SQL Server installation) Add permissions for the NetworkService use on the "repdata" folder Install first instance of TSS/ConsoleProceed as follows: •Extract the archive TSS-Console-10.1.Y.Z.cab. •Start the application UIM.exe. •Select option Install new version of TSS/Console and press Next button.
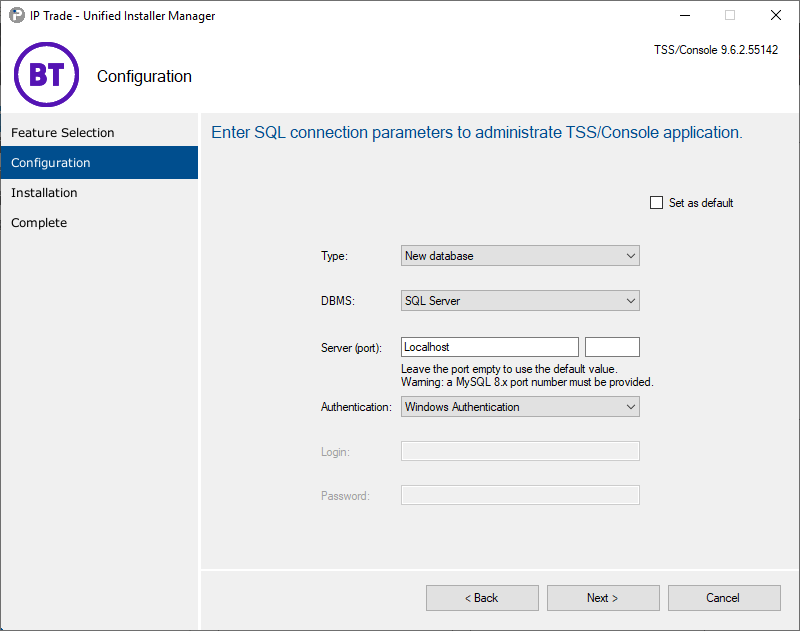
•Next step ask you to choose some options: oType: Type of new installation in redundancy. oNew database: TSS/Console is the first instance (redundancy or replication). oExisting database: An another instance of TSS/Console has been installed previously on another server. You can press 'Search' button to find all existing database installed on mentioned server. oDBMS: Type of database management system oMicrosoft SQL Server : You can use Windows Authentication (logged user must have full control on SQL DATA and must have permission db_owner on master database) or use sa user to connect with SQL Server Authentication. Choose this option as you are in SQL Server section. Choose this option as you are in SQL Server section. oServer: Server where database is stored. If you have choosen option 'Existing database' select server mentioned during first instance TSS/Console installation. oAuthentication: Type of authentication to connect to SQL Server (not used with mySQL). oWindows Authentication oSQL Server Authentication oAzure managed identities oLogin: Login to connect to DBMS. The client ID when using managed identities. oPassword: Password to connect to DBMS. Not used with windows authentication nor managed identites. oDatabase: Existing database created on first TSS/Console install. •Press "Next" button.
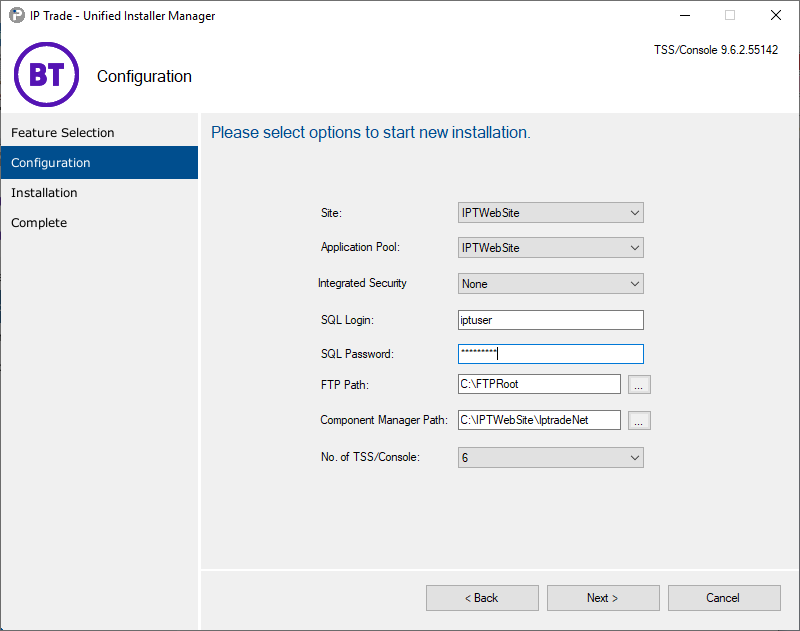
oSite: HTTP site that will be used. Choose your recently created Site. oApplication Pool: application pool will be used to install application on. oIntegrated Security: security mode used to connect to the SQL database. If Domain Authentication is selected, the TSS will use the Application Pool virtual account. oSQL Login: login application will use to connect to SQL Server or mySQL. Client ID when paired with Azure managed identities. The login is not required with Domain Authentication. oSQL Password: password application will use to connect to SQL Server or mySQL. The password is not required with Domain Authentication nor Azure managed identities. oFTP Path: the local directory of the FTP site (used for devices upgrades and configuration). oNo of TSS/Console: Redundancy instance. Depending of previous selected option it has a different meaning: oNew database: Determine number of instance used in redundancy. Choose 2 if you do not want to use redundancy (one for primary and one for secondary) or more if you want to use redundancy. Instance number is always 1 for first installed TSS/Console. oExisting database: Determine the instance number to install (it is not possible to select used instance). •Press Install button.
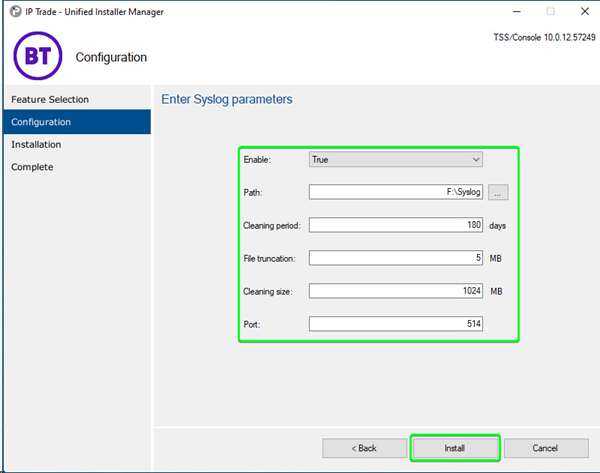
Next step ask you to choose some options about Syslog configuration: •Enable: Enable syslog log (enable the automatic start of the Windows Service) •Path: Path of syslog log •Cleaning period: Delete syslog files that are older than this value (in day) •File truncation: Maximum file size (in mo) of each syslog log •Cleaning size: Maximum total file size (in mo) of all syslog log •Port: Port of syslog log
Next step is status step. If database already exists a confirmation message is displayed to ask you the confirmation to overwrite the database.
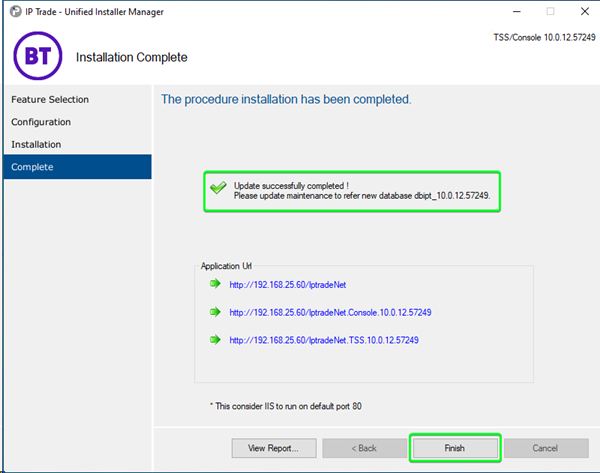
At the end of the process the following screen is displayed:
The application is now installed in the displayed location and ready to be used. Note the displayed URL for future use.
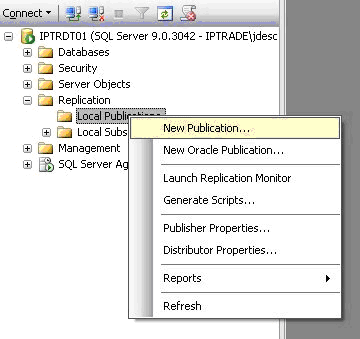
For more information about IptradeNet application see corresponding section: IptradeNet/TSS/Console: Quick Start Guide. Duplicate databaseDo following step before to install next instance(s) of TSS/Console. •backup database created during first install (publisher) •restore this database where subscriber will be installed. •during next install of replicated TSS/Console select restored database. Create SQL PublisherOn primary server, open SQL Server management studio. Step 1: Right click on Replication/Local Publication > New Publication. Distributor willl be created if necessary.
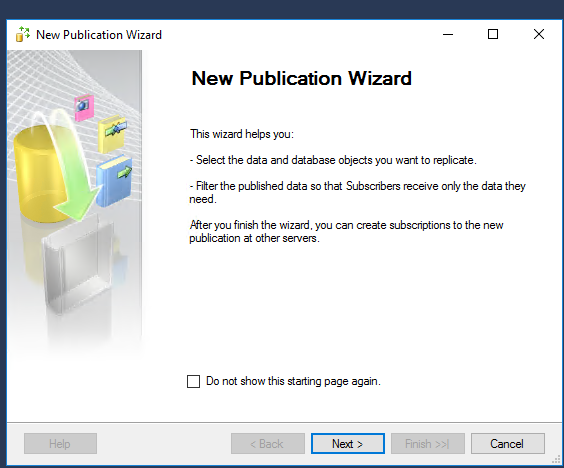
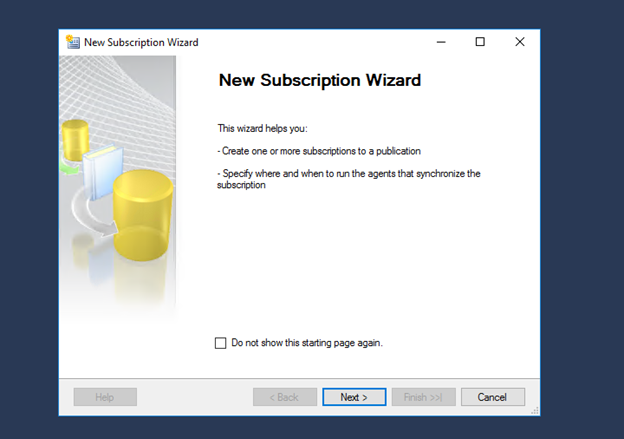
Step 2: Wizard appears and display introduction page. Click Next button.
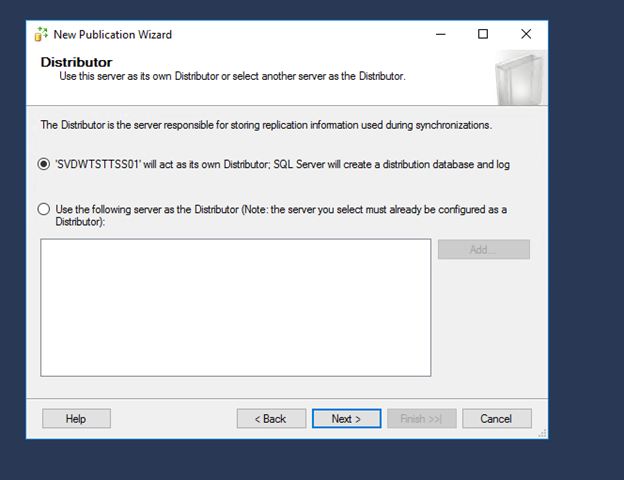
If you have not done replication installation, this box will appear to set distributor. Choose option 1 (default): primary server is distributor.
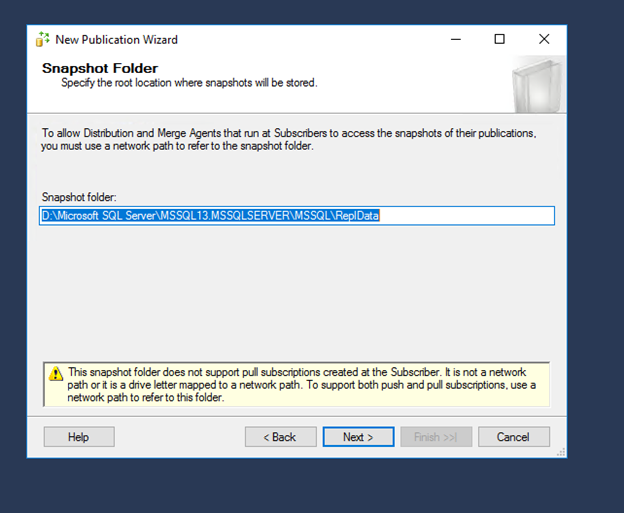
Set default folder:
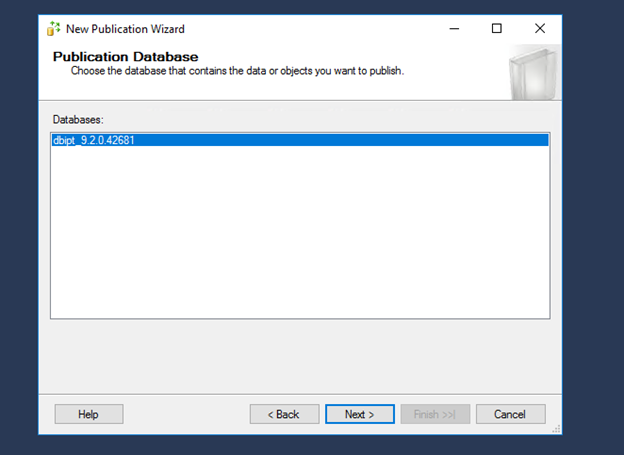
Choose database that will be replicated.
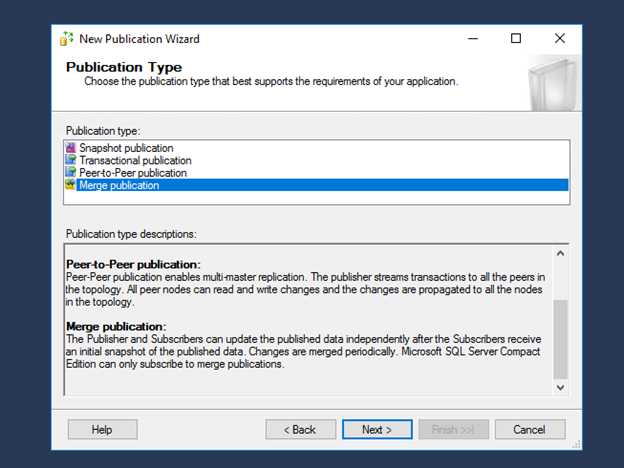
Select Merge publication as publication type.
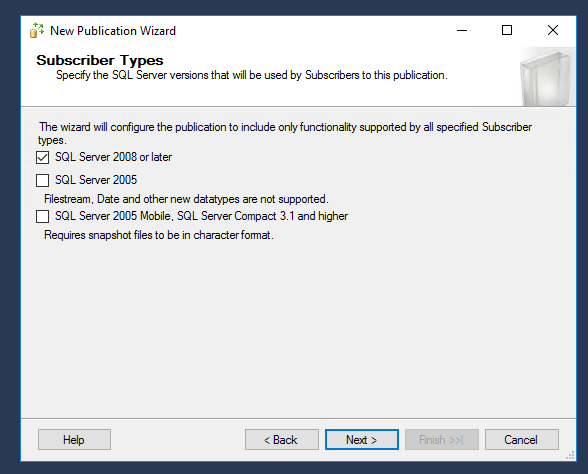
If both servers are running with SQL Server 2012 select SQL Server 2008 or later.
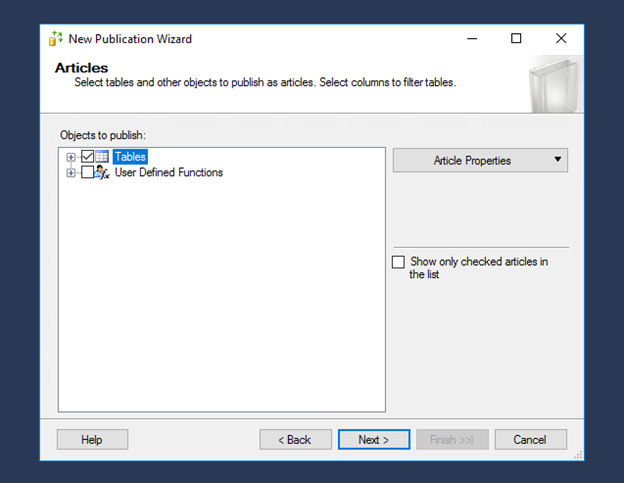
Select all tables
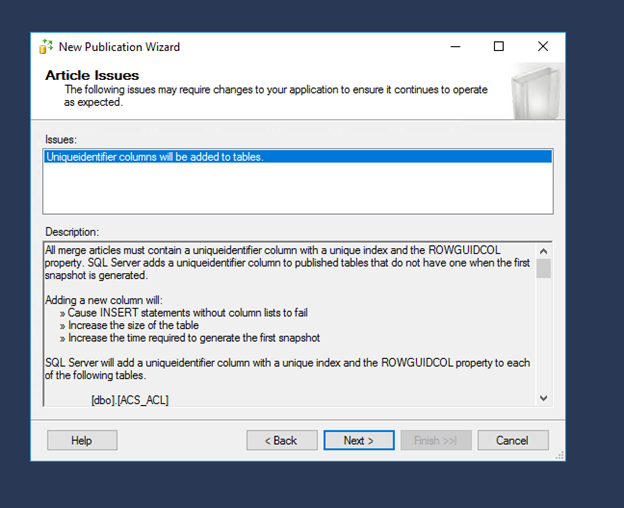
Message information is displayed. Click Next button.
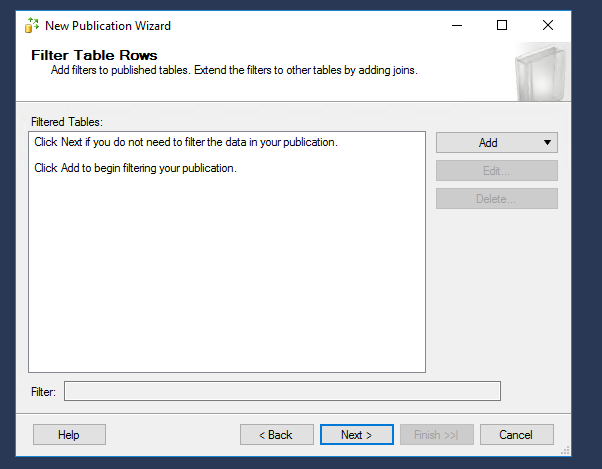
No filter to add. Click Next button.
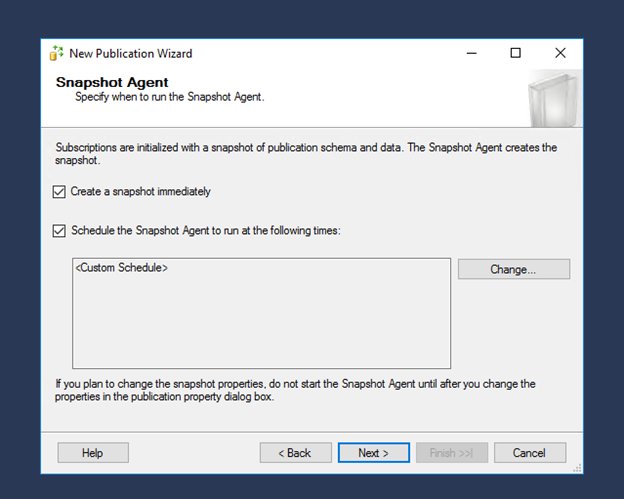
Leave both checkbox selected. Click Next button.
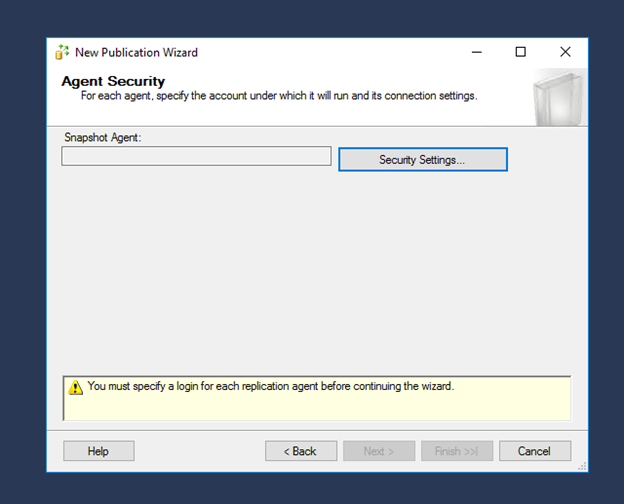
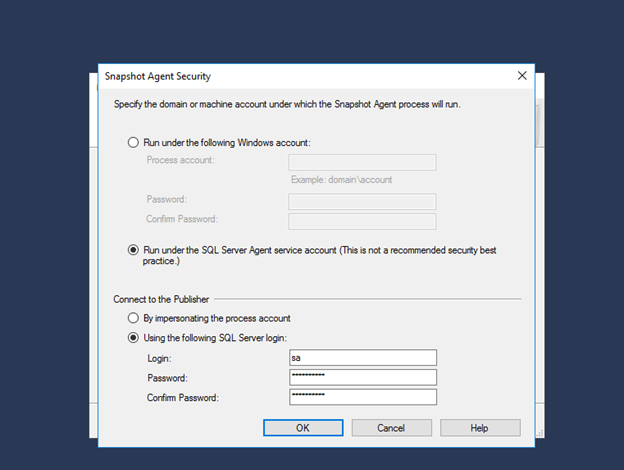
Step 11: Click on Security Settings… button to select user. Best practice suggests creating a user especially for this task. Do not forget to take care about password expiration policy. User
Process Account: Enter domain\username or computername\username Password: Enter password of related user.
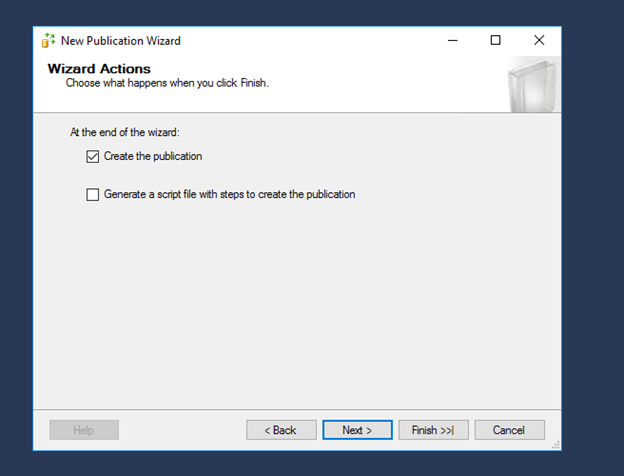
Leave 1st checkbox checked – 2nd checkbox is uncheck. Click Next button.
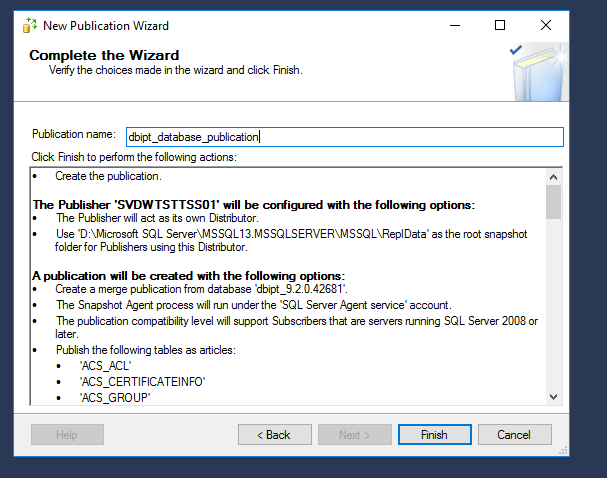
Enter name for publication and click on Finish button
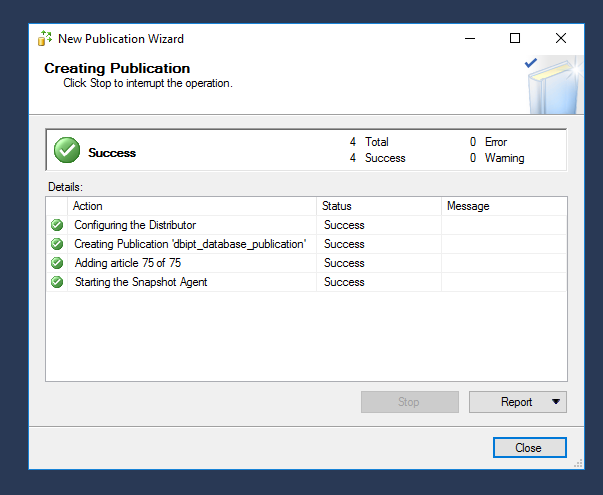
Publication creation result.
The new created publication appears now in the Object Explorer under folder ‘YourServer/Replication/Local Publications’. Create SQL Subscriber
Stay connected on primary server with SQL Server Management Studio. Right click on Local Subscriptions > New subscriptions...
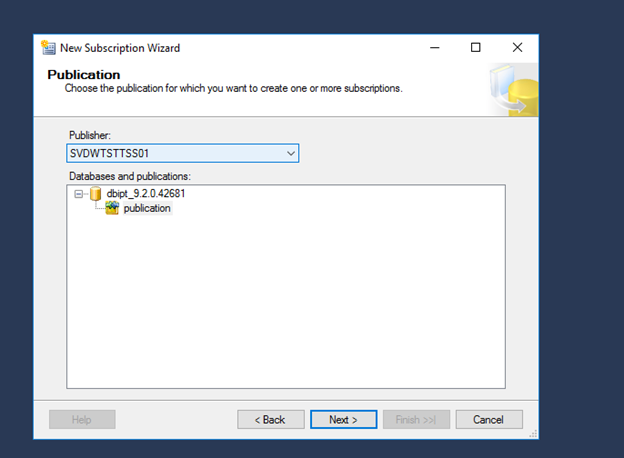
Select publication that has been created in previous step.
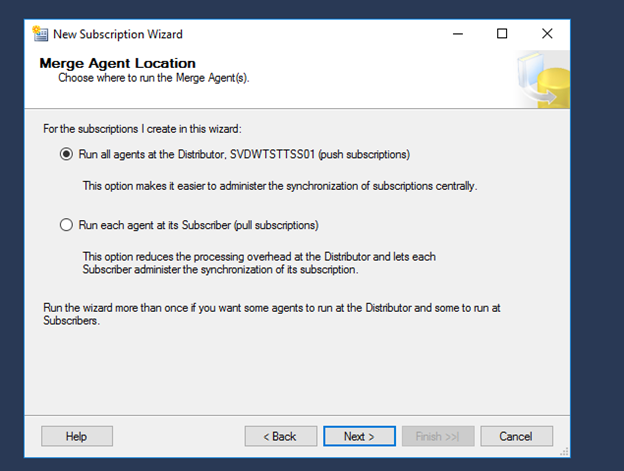
Select 1st option
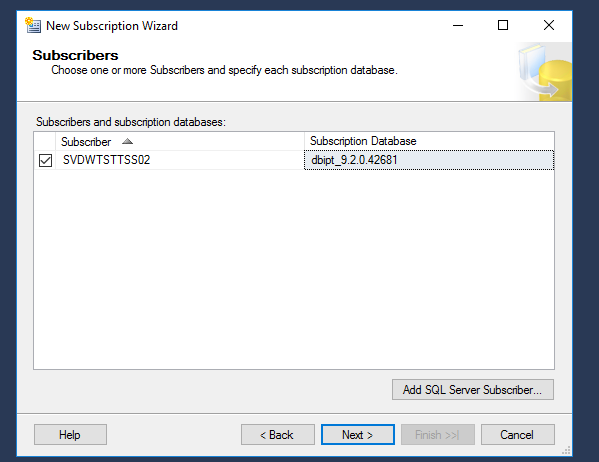
Select the server that will be used as subscriber. If it is not in the list (should not be), click on Add SQL Server Subscriber… button; this should be the case if you create the subscription from publisher server.
Enter server logical name (not IP) of subscriber server and click Connect button.
Select secondary database
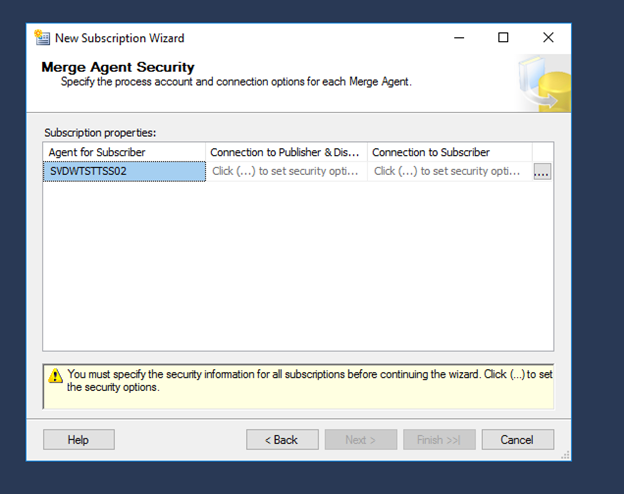
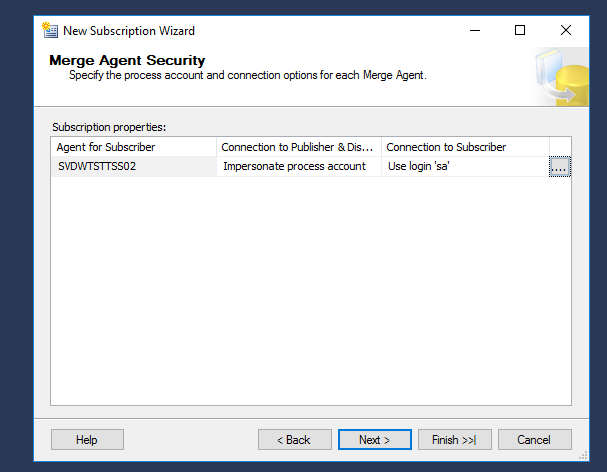
Configure connection to publisher and subscriber by clicking on
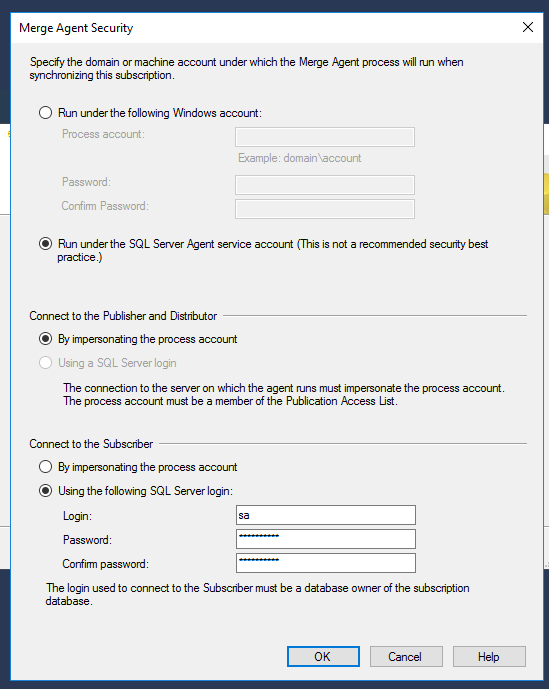
Enter valid account – you can use same user as step 11 of publisher creation. Best practice suggests creating a user especially for this task. This user must have sufficient rights to access SQL databases. In case of servers are running under domain same user can be used, in the other way use user with same name on both servers. Do not forget to take care about password expiration policy.
Process Account: Enter domain\username or computername\username Password: Enter password of related user.
Click ‘Next’ button.
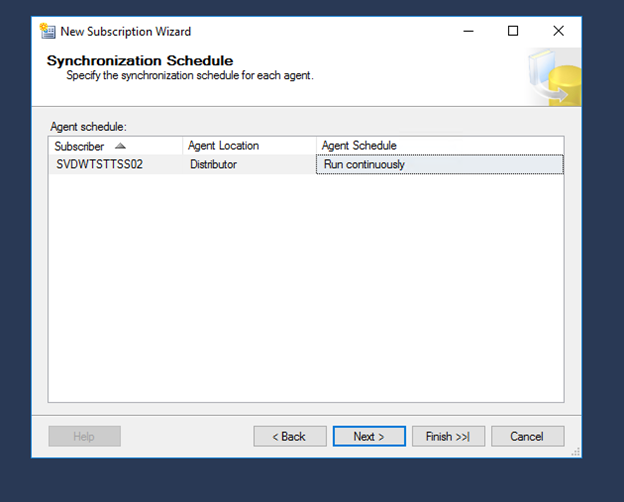
Select "Run continuously" in the dropdown list as synchronization schedule and click "Next".
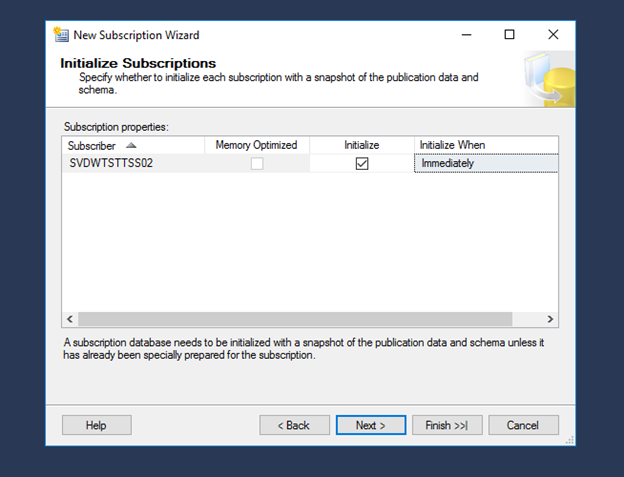
Select "Immediately" for subscription initialization.
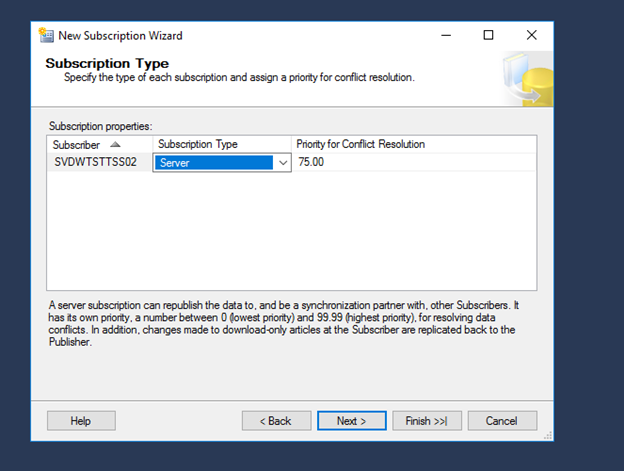
Select ‘Server’ as subscription type
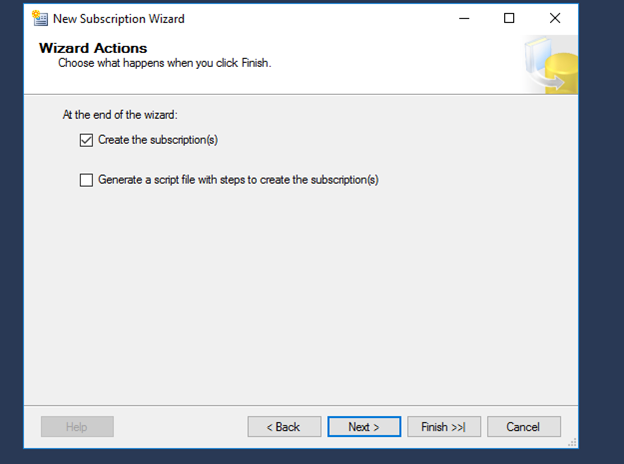
Select 1st checkbox
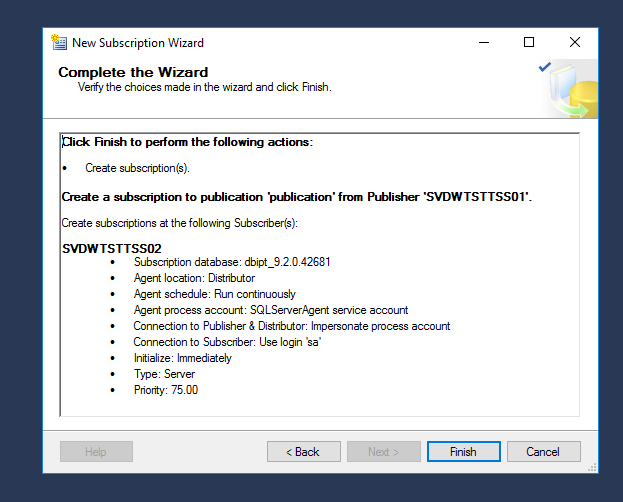
Click ‘Finish’ to validate wizard.
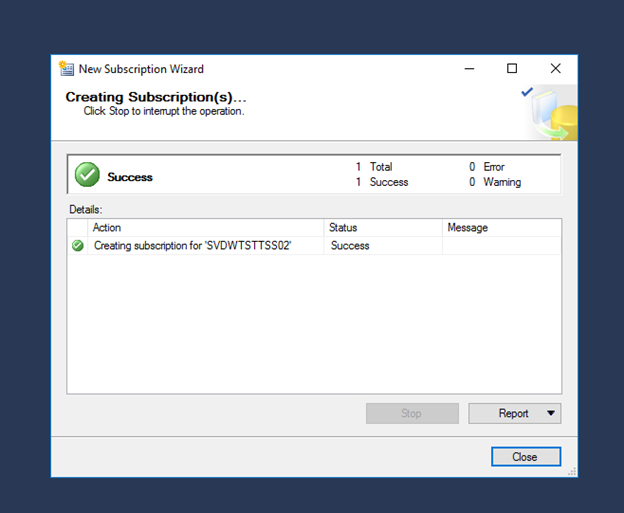
Press ‘Close’ button
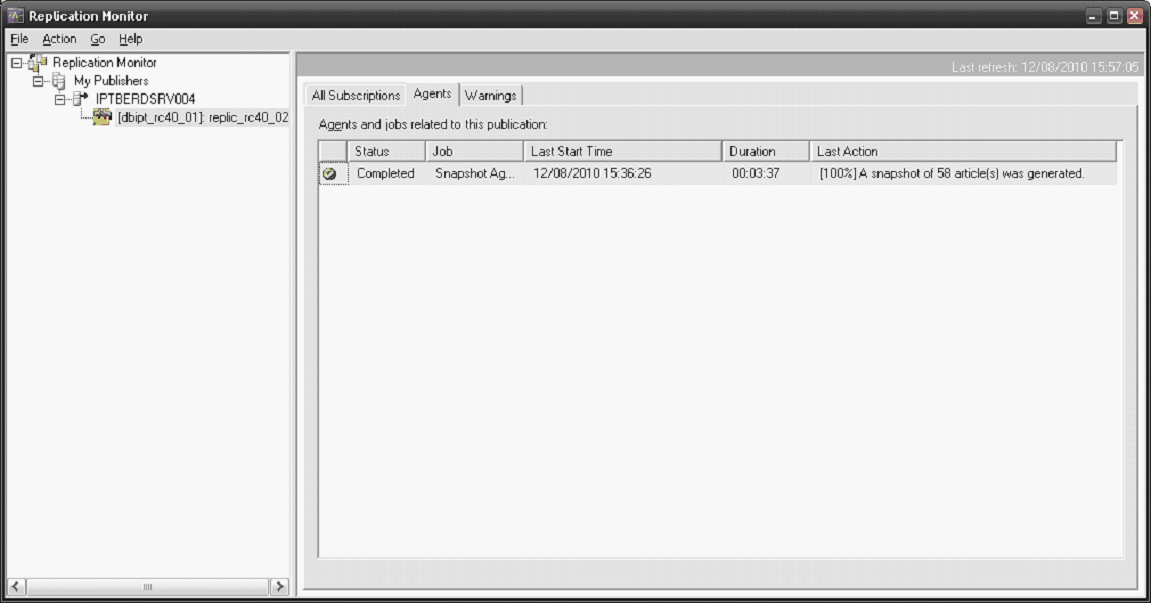
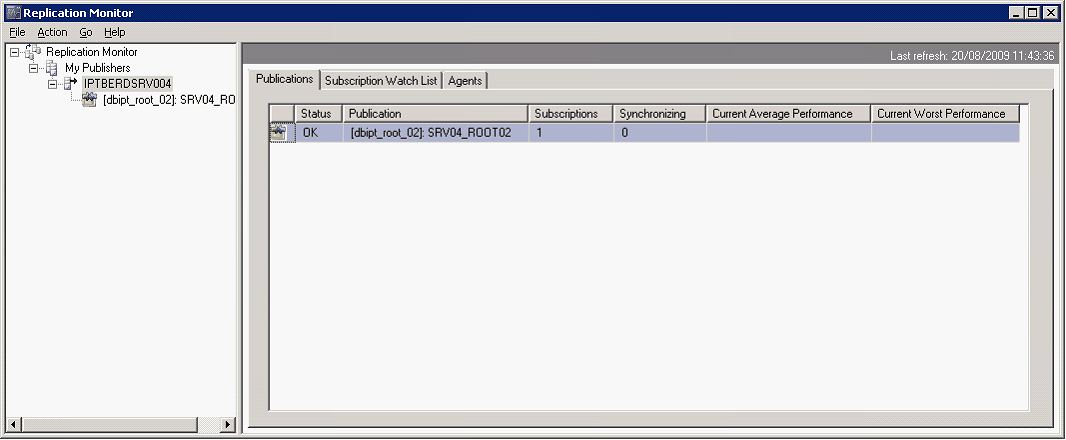
Once it is done, you can use ‘Replication monitor’ (Right click on replication > Launch Replication Monitor) to get status of replication and check if configuration is done correctly. If status is displaying OK, replication is properly configured.
Install other instance of TSS/ConsoleSee section Install first instance of TSS/Console to install other instances TSS/Console. Choose option 'Type=Existing database' during installation. This section can be executed several time depending of number or instance of TSS/Console using replication/redundancy.
Update Component Manager URLs for Secure AccessAs part of the TSS Server Install Operating System > Configuring IIS guide, you were instructed To Configure TLS on IIS
All TSS Servers should be secured with certificates. By default the UIM installer will create Console and TSS links with HTTP and the IP address of the server.
To update these links to use HTTPS and FQDN follow this guide: Update Component Manager URLs
|