NB : In case you want to install TPO Virtual Appliance 3.1 or higher, the OVA file is replaced by a archive that contains an OVF file and a VMDK file. Before applying the following procedure, you need to extract this archive.
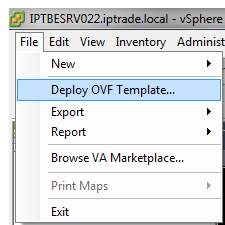
Deploying the TPO Virtual Appliance requires a VMWare server. Once logged to this server with a client such as vSphere client, please access File then Deploy OVF Template.
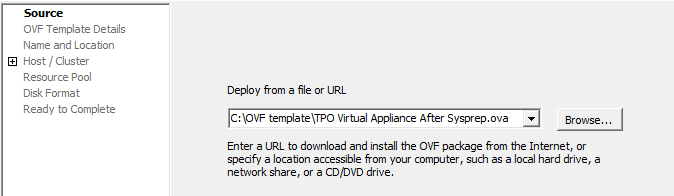
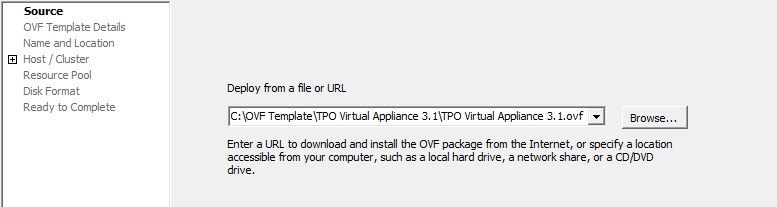
The first step of the deployment wizard allows you to select the OVA file.This file has been provided by IPTrade and contains the Virtual Machine characteristics and the TPO Virtual Appliance snapshot. In case you want to install TPO Virtual Appliance 3.1 or higher, you need to select the OVF file. The VMDK file must be in the same directory than the OVF file you selected.
For TPO Virtual Appliance 3.1 or higher:
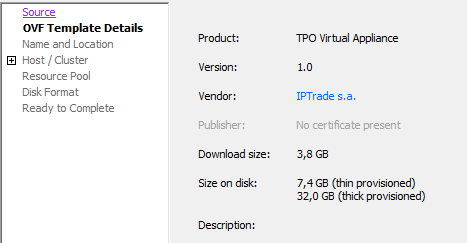
The next screen gives you the details of the Virtual Appliance.
You then have to specify the name of the Virtual Machine that will be created during the deployment process.

You then have to specify the hard disk drive where the TPO Virtual Appliance will be deployed.
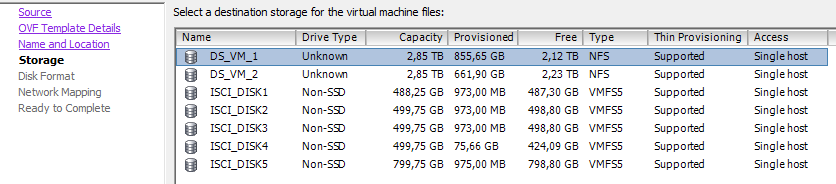
The next steps don’t require any details an can be kept with default values.
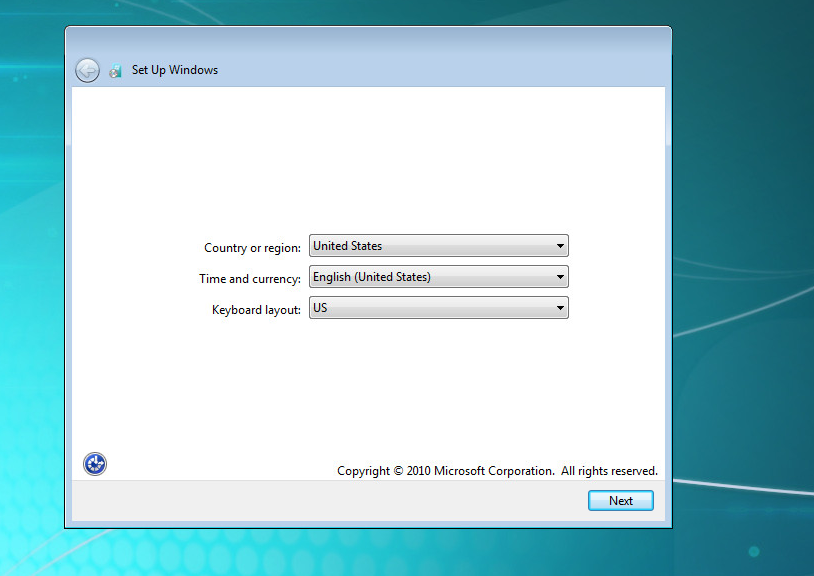
After the deployment process is completed, you will then be prompted with the following screen which allows the administrator to configure the TPO Virtual Appliance in terms of regional settings.
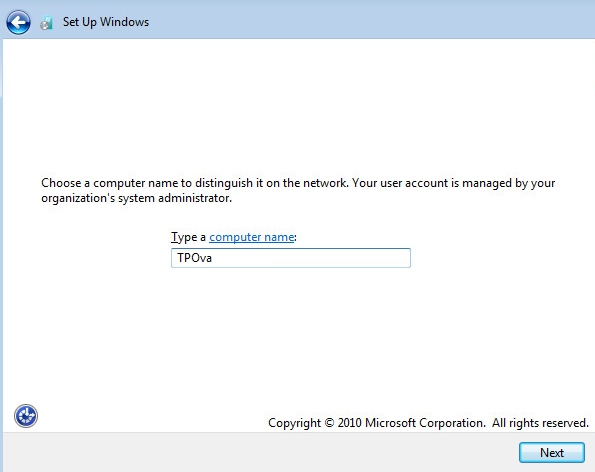
This next screen allows the administrator to specify the name of the computer in attempt to recognize it on the network.
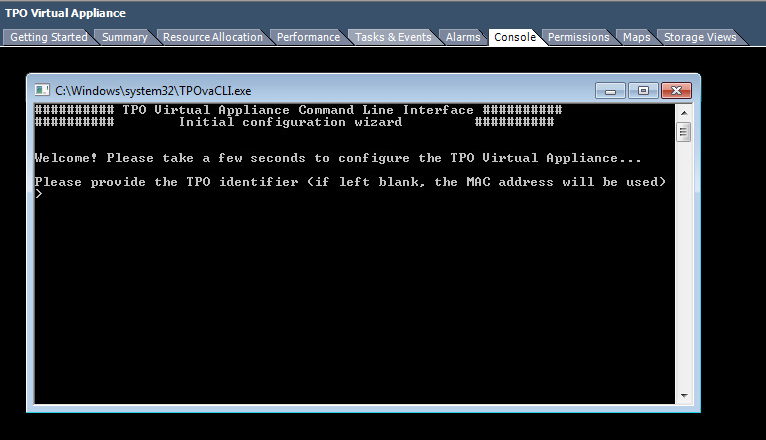
After this step is completed, the TPO Virtual Appliance starts and prompts the administrator with the TPO Virtual Appliance Command Line Interface. At the first initialization of the TPO Virtual Appliance, the minimal configuration wizard is prompted.

|

|
|

|
|

|
Do not create snapshot of the TPO Virtual machine, this might dramatically impact the TPO performance
|
|

|
|
|

|
The use of this Command Line Interface is described in the next section.
|


