Install MySQL


Install MySQL |
|
| Solution Installation > TSS Installation > Install TSS on a standard server > Install Database Management System > MySQL |
IntroductionThis section describes the procedure to install MySQL 8.0.30 on Windows Server.
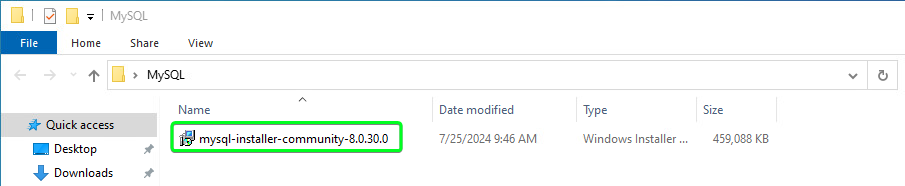
At the time of writing the supported version of MySQL is 8.0.30 To Start the Setup Procedure•Run the "mysql-installer-community-8.0.30.0.msi" file to Install MySQL
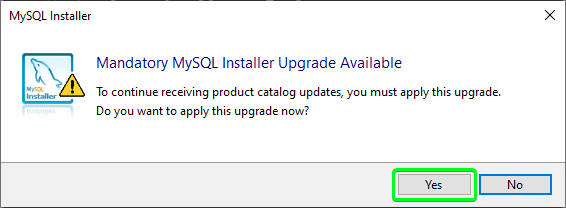
•If the Server is connected to the internet it might show the following notice, you can select “yes”
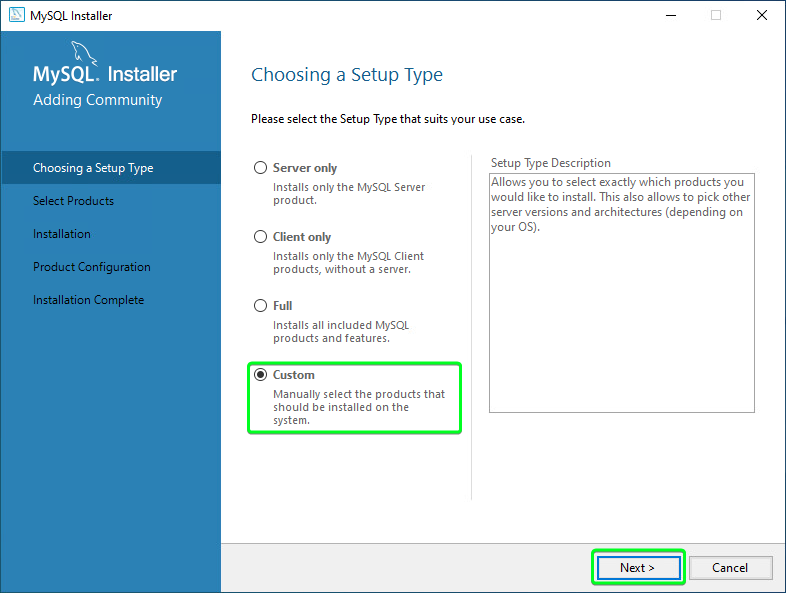
•Select “Custom” for Setup Type and click "Next"
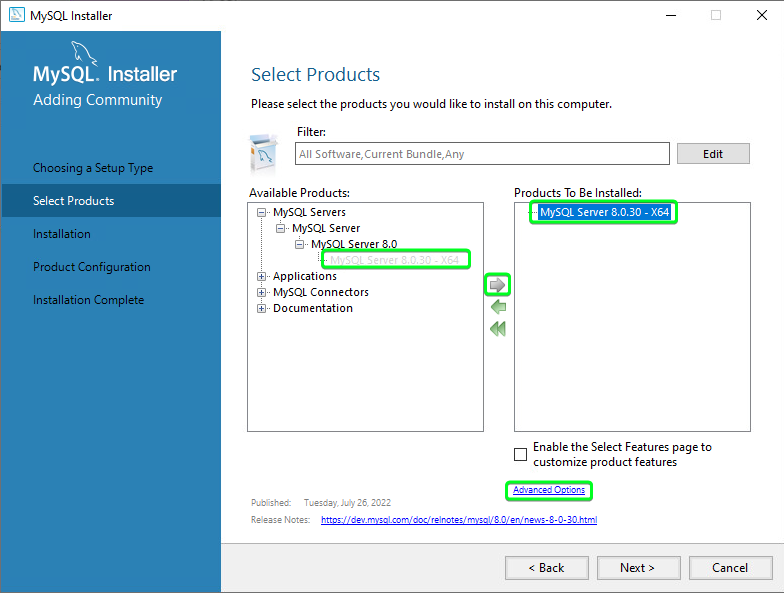
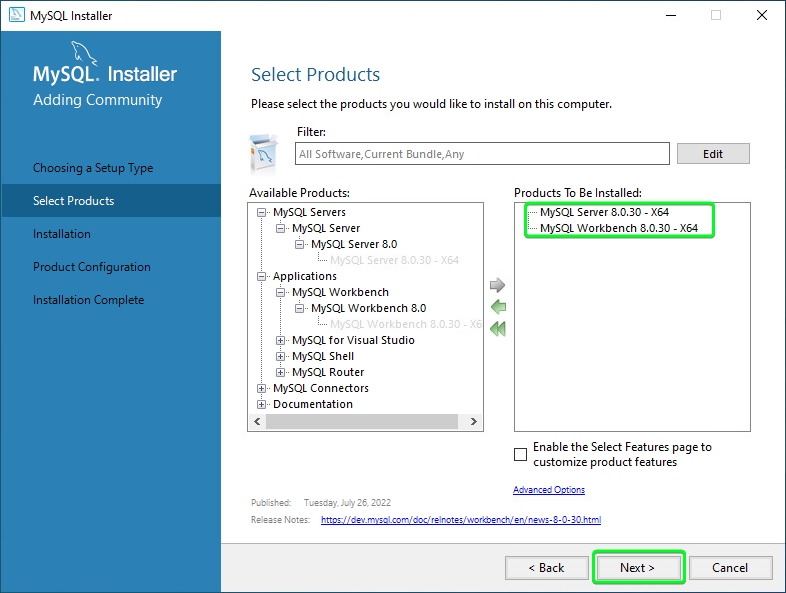
•Expand the MySQL Server section as seen below and select the “MySQL Server 8.0.30 – X64” and click the Right Arrow to move it to the right side (Products To Be Installed) •With the “MySQL Server 8.0.30 – X64” selected and highlighted on the right, then click on “Advanced Options” at the bottom
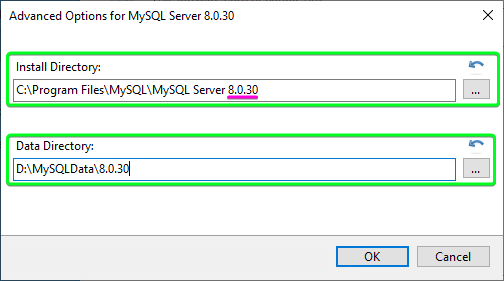
•In the “Advanced Options” window, update the “Install Directory:” to include the full version of MySQL as seen. •Manually type in the “Data Directory:” path “D:\MySQLData\8.0.30” as seen, then click “OK”
•Next expand the “Available Products\Applications” and add “MySQL Workbench 8.0.30 – X64” to the Right as seen, and click “Next”
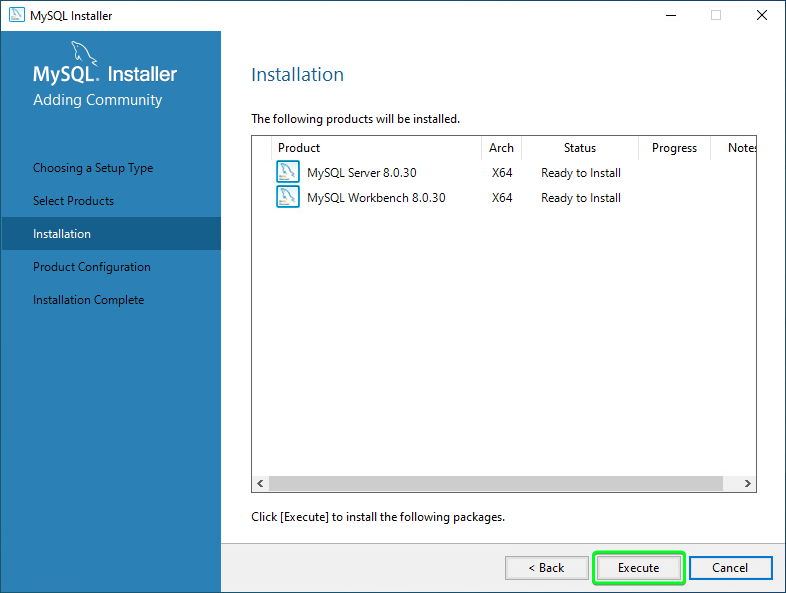
•Click on "Execute" to install
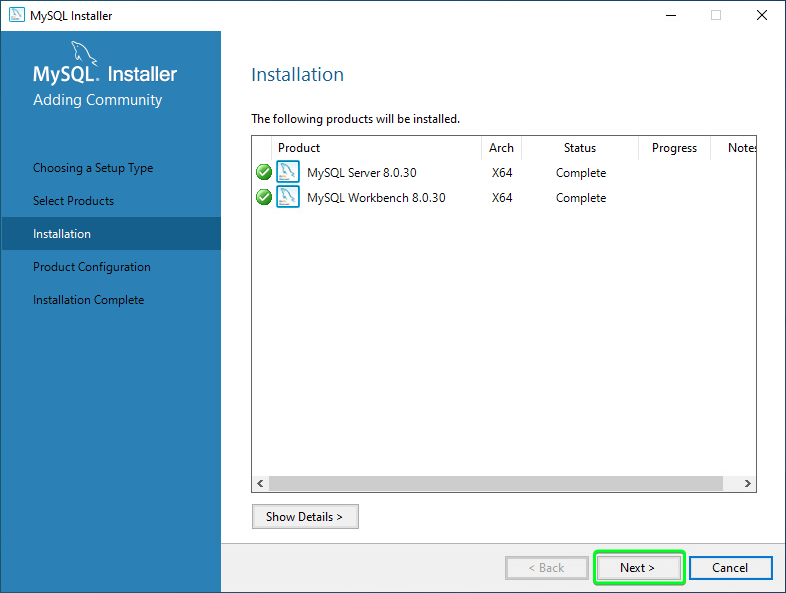
•After Install click on "Next"
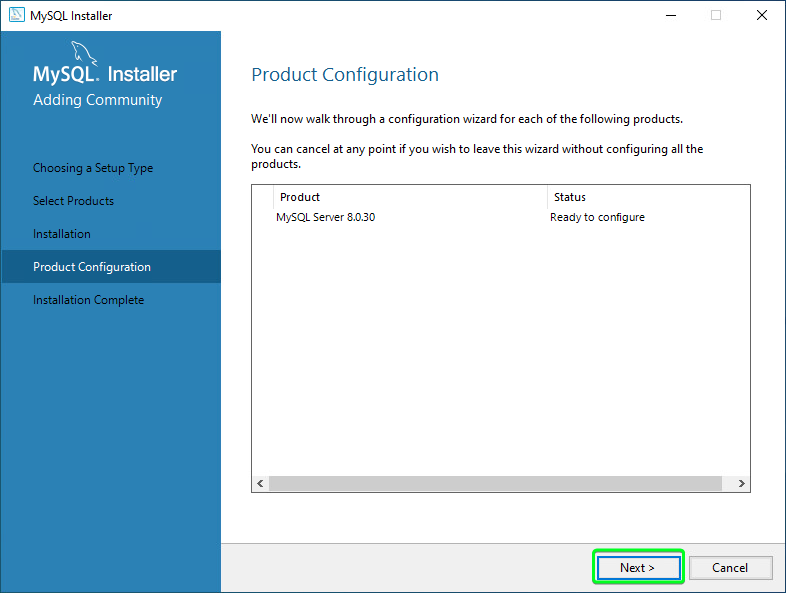
•Click on "Next" on the Product Configuration page
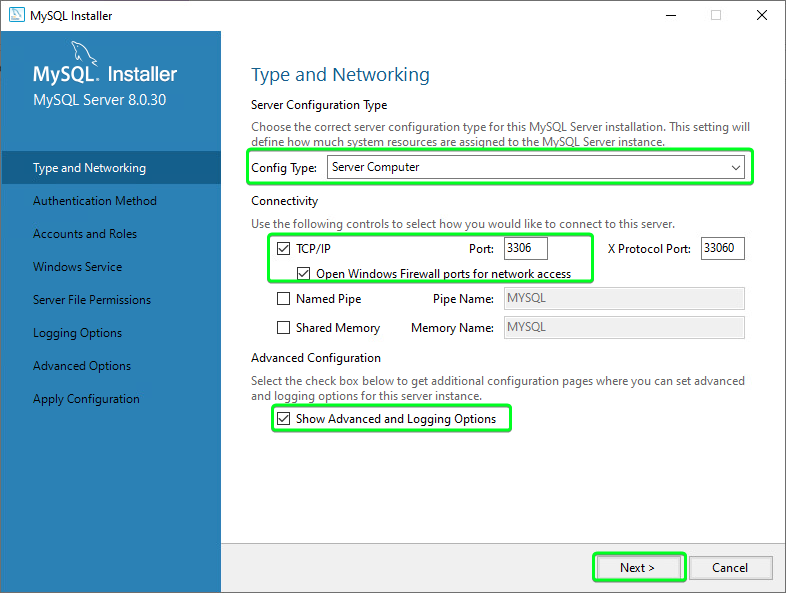
•Select “Config Type: Server Computer” in the drop down •Under Advanced Configuration, select check box for “Show Advanced and Logging Options” •leave the rest as default (as seen below) and click "Next"
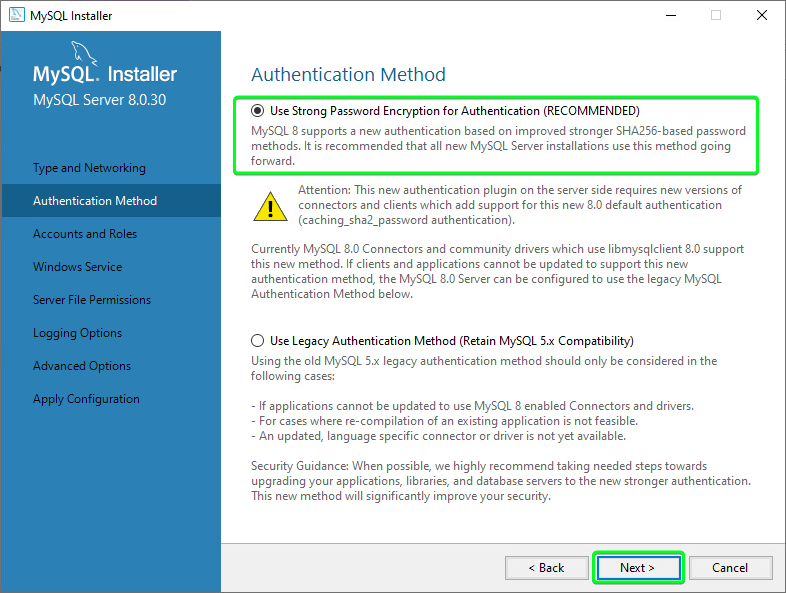
•For Authentication Method, leave the default selected and click on “Next”
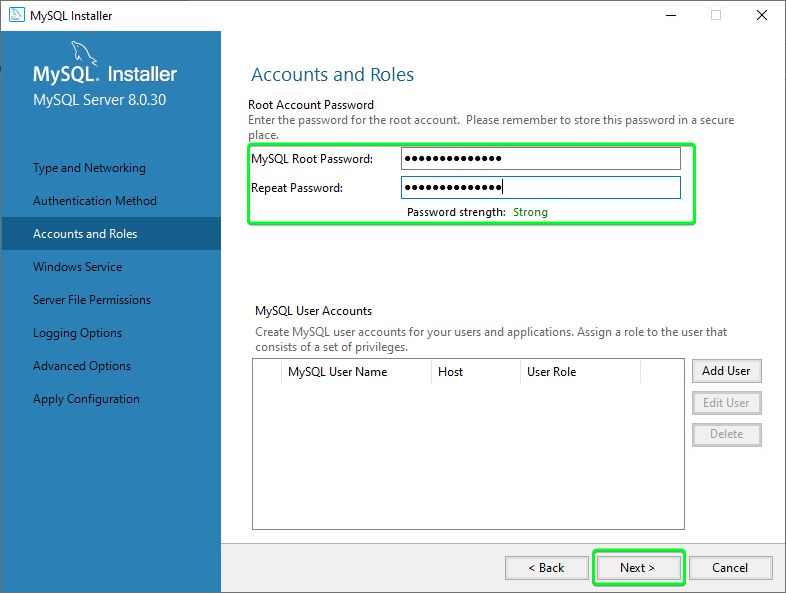
•For Accounts and Roles, fill in a strong password for the “root” account and click “Next”
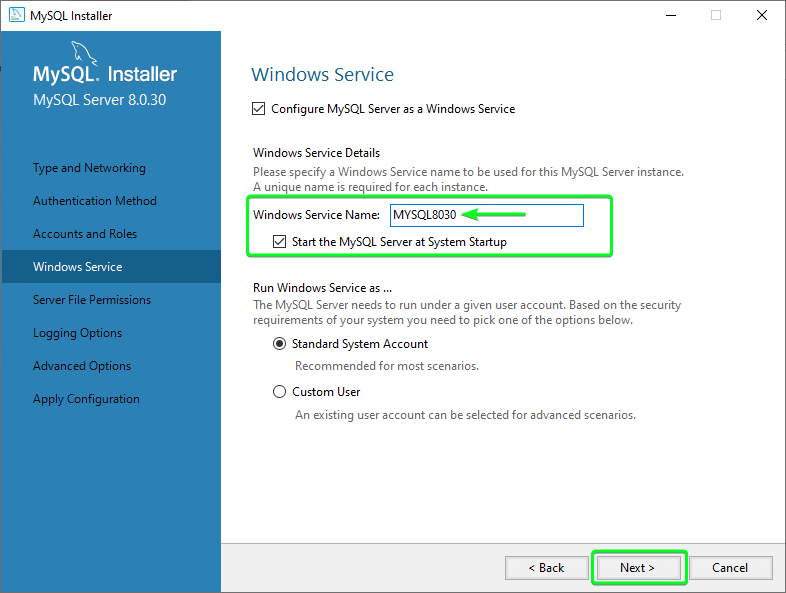
•For the Windows Service page, change the default “Windows Service Name: MySQL80” so that it includes the version number and is in all CAPS “MYSQL8030” like below, then click “Next”
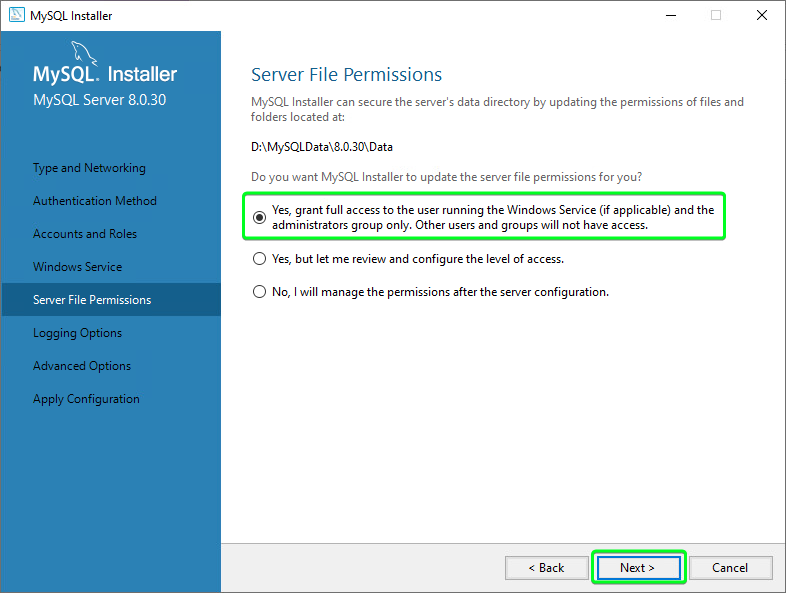
•On the Server File Permissions page, leave the default selection and click “Next”
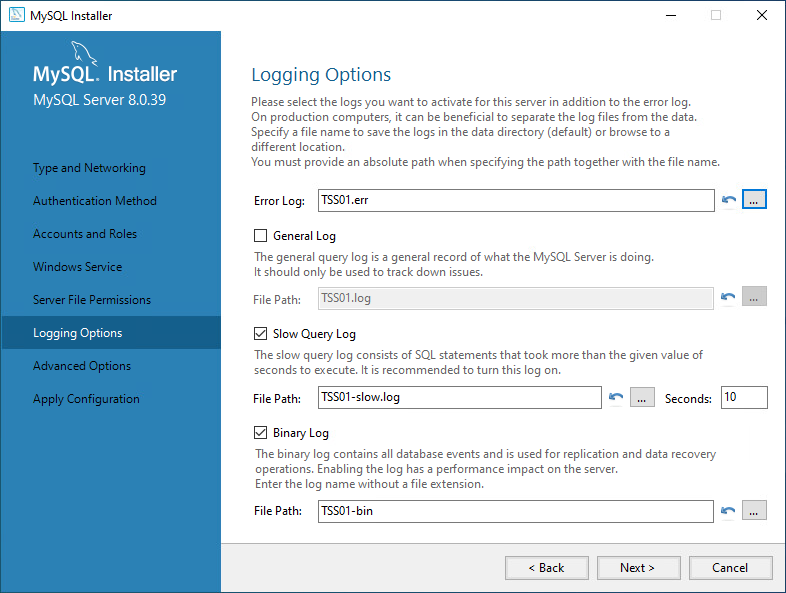
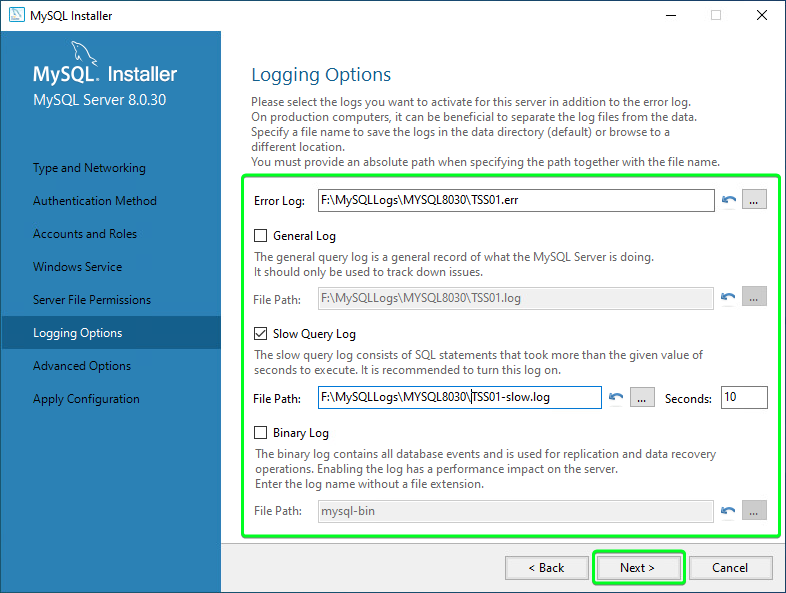
•On this screen we need to select the location of all the log files.
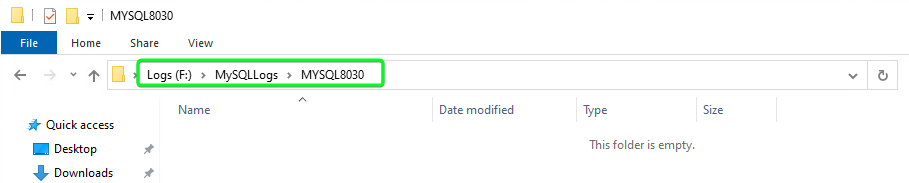
•It is easier to first create the folder on the Server F:\(Logs) drive, Open Windows File Explorer and create “F:\MySQLLogs\MYSQL8030” as seen below
•In the MySQL installer type in the prefix “F:\MySQLLogs\MYSQL8030” for all the log file locations except for the “Binary Log” which should be set to “mysql-bin” as seen below •then click “Next” •For the greyed out sections, first enable the check-box then make the required change and then uncheck the check-box again as seen below.
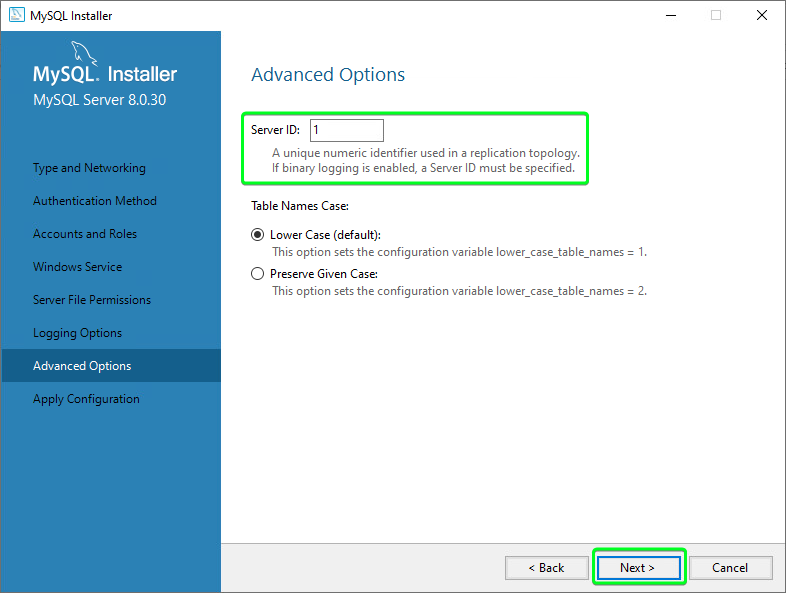
•For Advanced Options, Set the "Server ID: 1" for the Primary TSS Server installation and click “Next”
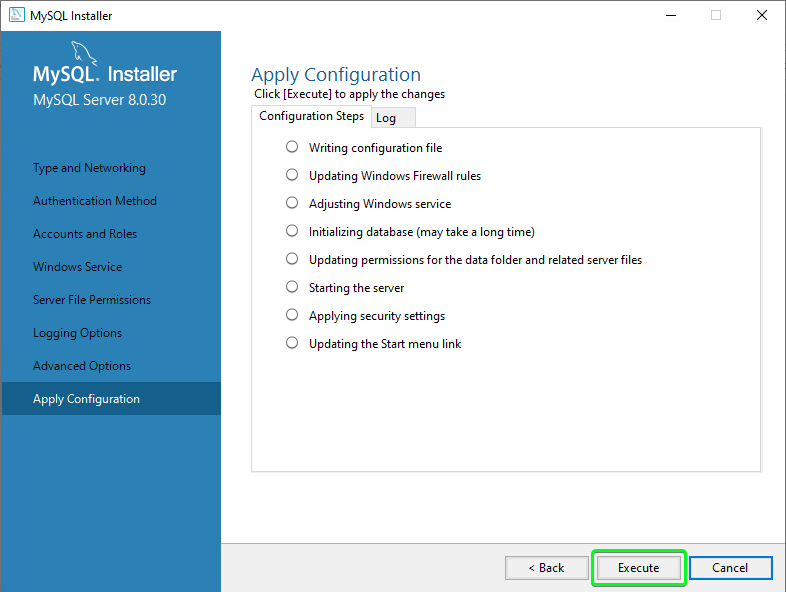
•On the Apply Configuration page, click “Execute”
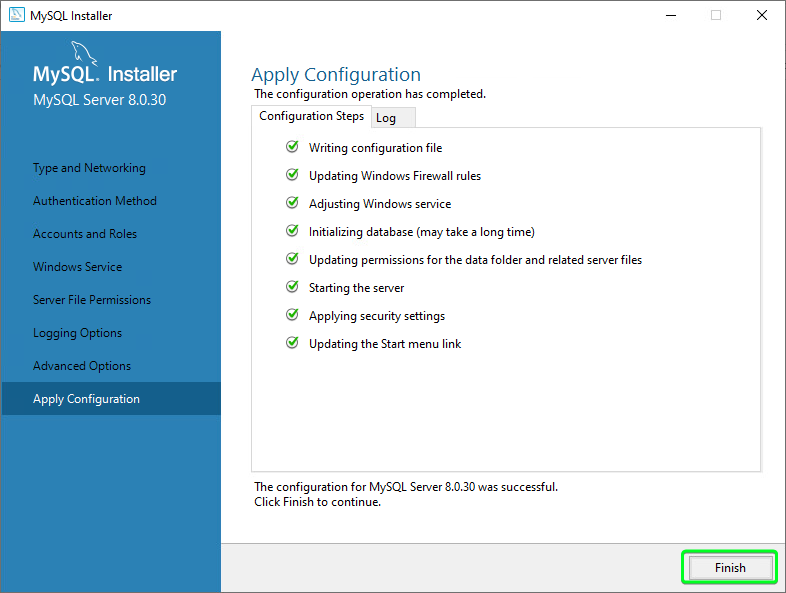
•Once that completes, click on “Finish”
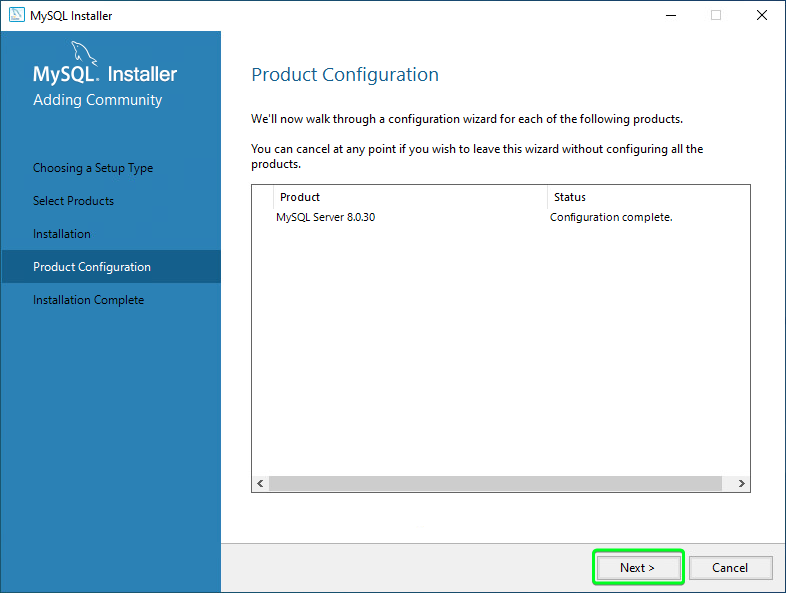
•On the Product Configuration page, click “Next”
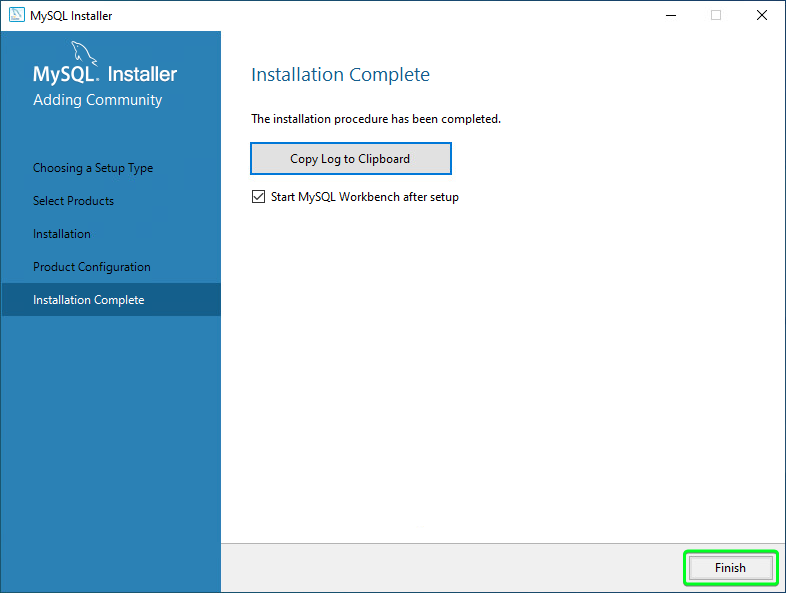
•On the Installation Complete page, leave the checkbox for “Start MySQL Workbench after setup” and click on “Finish”
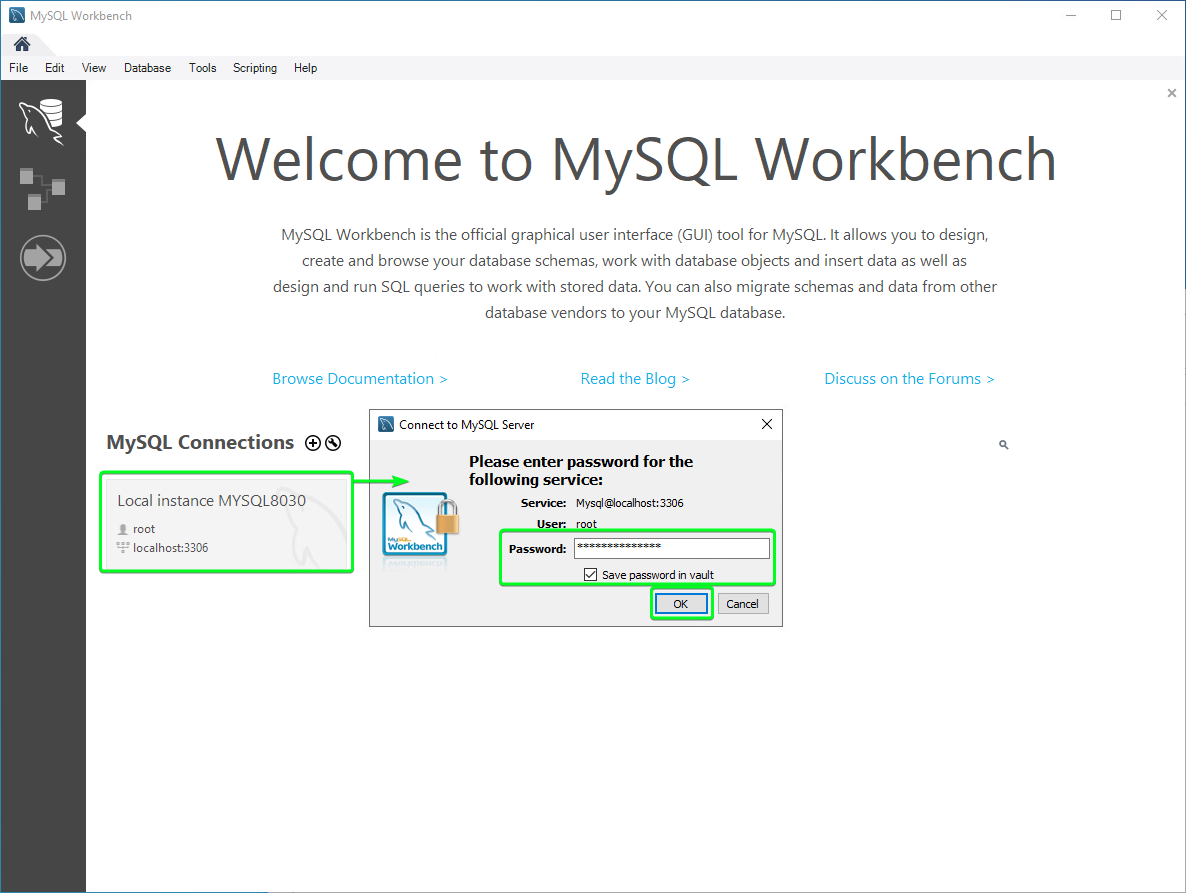
•MySQL Workbench will open automatically after this, click on “Local instance MySQL8030” as seen
•The MySQL installation is now complete
|