VA First Launch


VA First Launch |
|
| Solution Integration > PBXs > BT Call Server > Installation |
Virtual appliance first launch
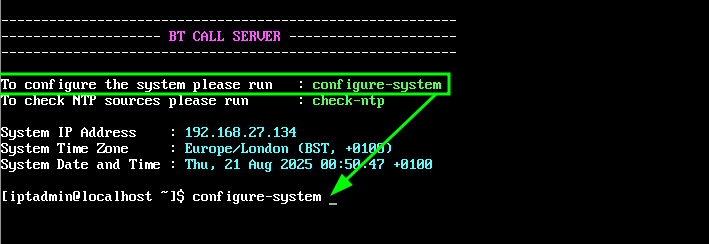
To configure the VM, open the console in the vSphere client and follow these steps:
•Log in to the CLI (The default login credentials are : "iptadmin" and "BTtrade969131!") •At the prompt, type "configure-system" and press Enter.
IP and Host Configuration
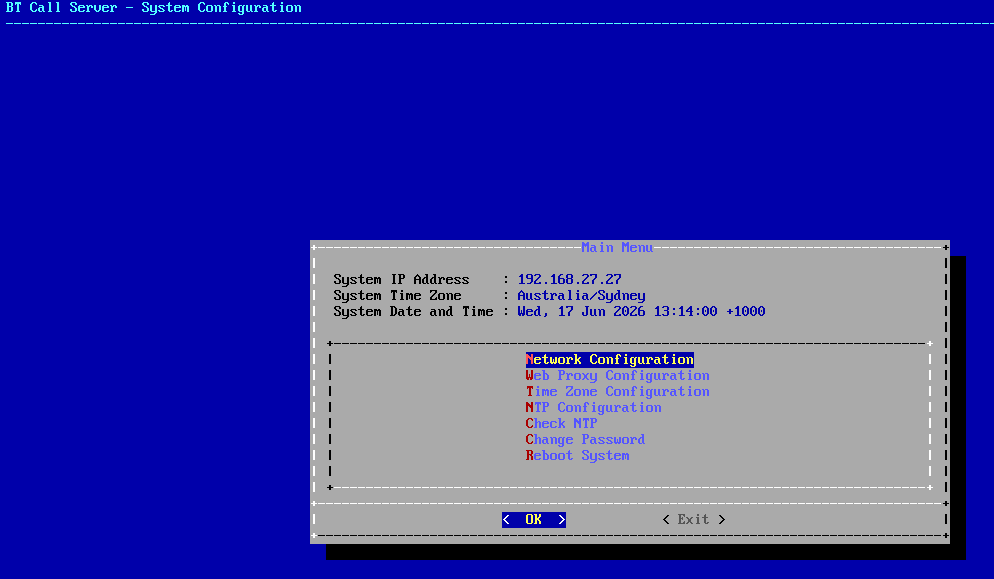
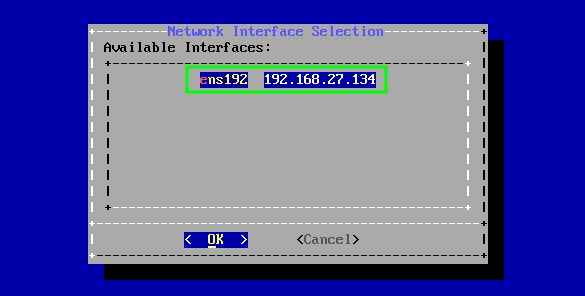
•Select “Network Configuration” from the Main Menu •A list of available network interfaces will be displayed.
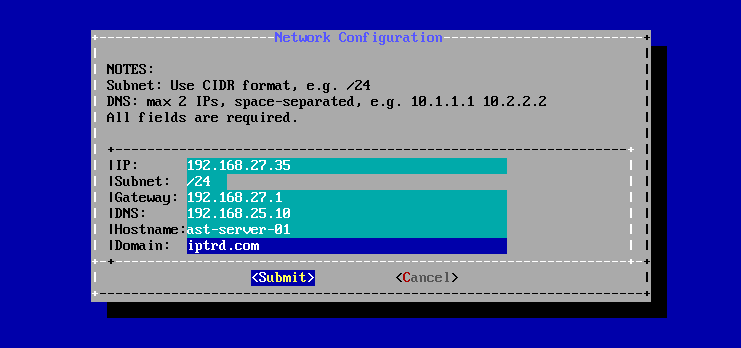
•Fill in all fields and Submit
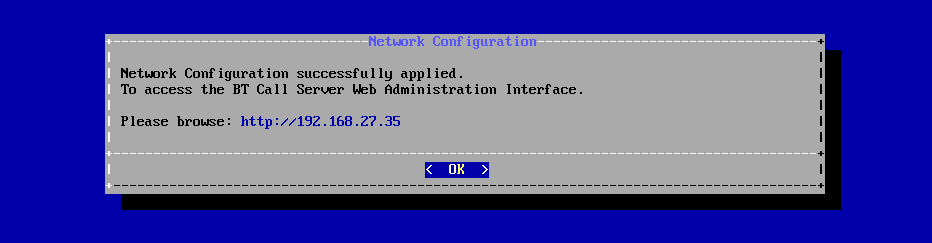
•Once the configuration is applied, click OK to continue.
•The system’s assigned IP address will be displayed in the main menu.
Web Proxy Configuration (Optional)
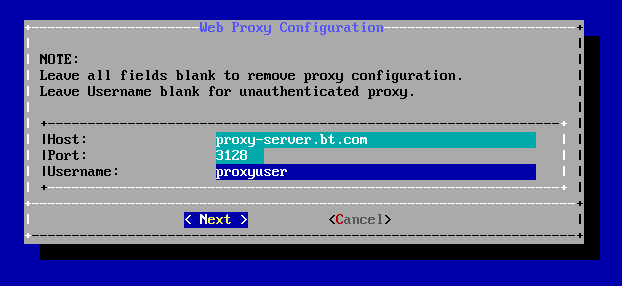
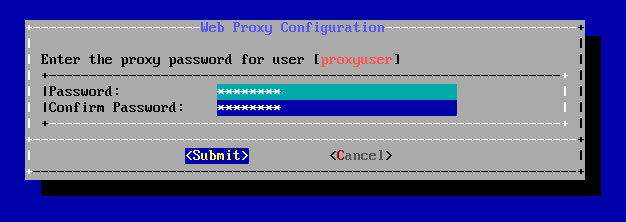
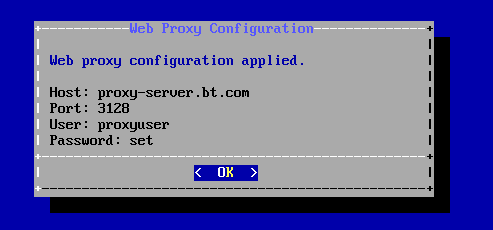
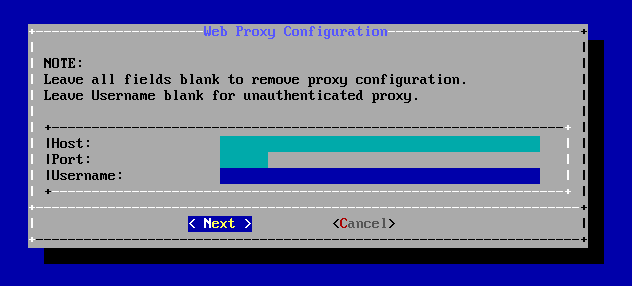
•Select "Web Proxy Configuration" and click OK •Fill in the required details.
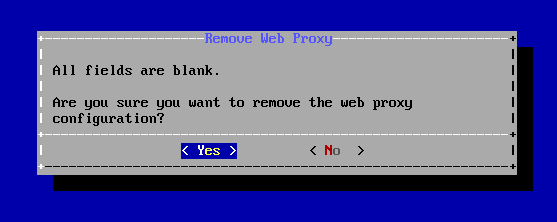
•To remove proxy configuration, clear all fields and click Next
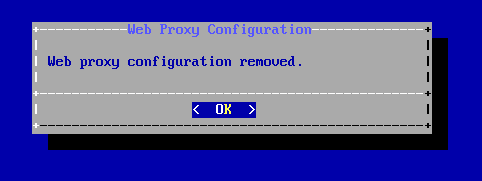
•Click Yes to confirm removal
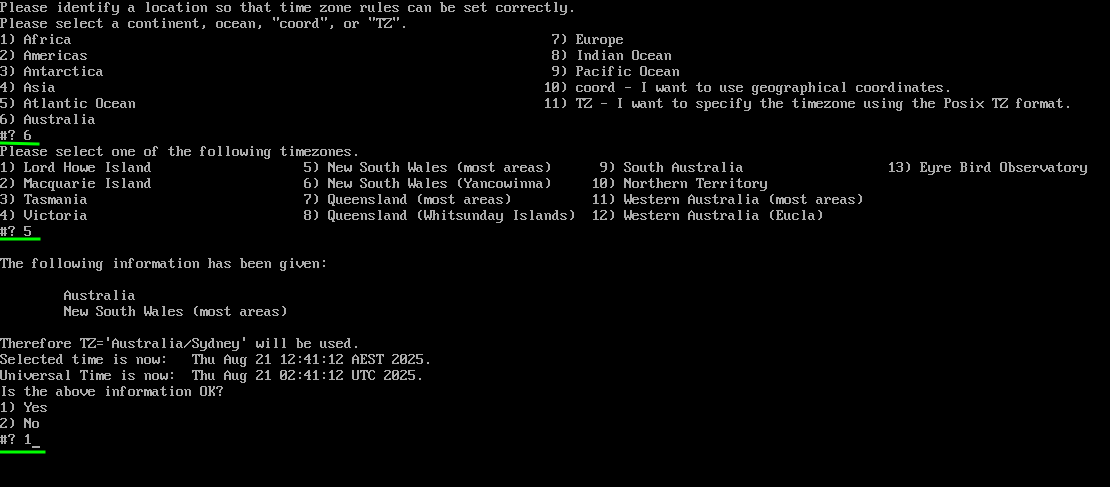
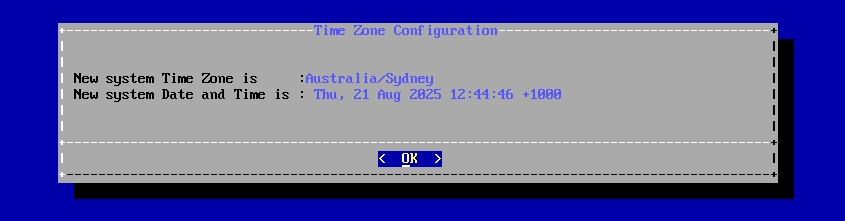
Time Zone Configuration•Select “Time Zone Configuration” from the Main Menu •Choose a Continent •Choose a Country •Validate
The new system time zone, date, and time are displayed. Select OK to continue.
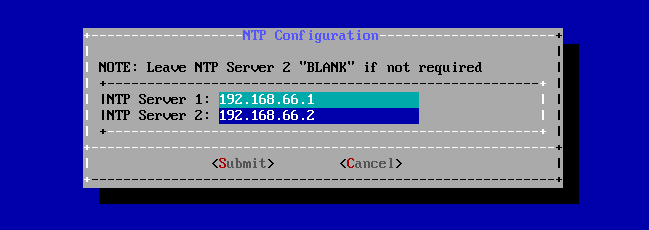
NTP configuration•From the Main Menu, select “NTP Configuration”. •Fill in one or two NTP servers, then click Submit.
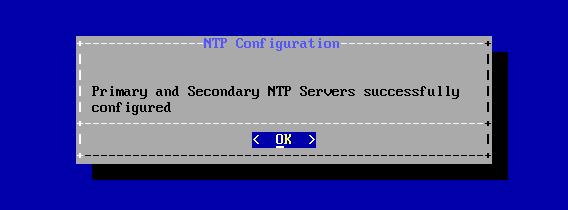
•Select “OK”
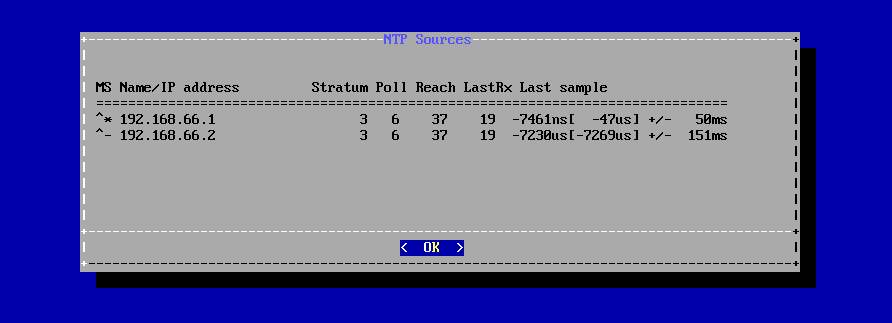
Check NTP•From the Main Menu, select "Check NTP". When you are finished viewing the details, click OK to continue.
The first two columns MS are explained below
M : This indicates the mode of the source. ^ means a server
S : This column indicates the selection state of the source. * indicates the best source which is currently selected for synchronization. + indicates other sources selected for synchronization, which are combined with the best source. - indicates a source which is considered to be selectable for synchronization, but not currently selected. x indicates a source which chronyd thinks is a falseticker (i.e. its time is inconsistent with a majority of other sources, or sources specified with the trust option). ~ indicates a source whose time appears to have too much variability. ? indicates a source which is not considered to be selectable for synchronization for other reasons (e.g. unreachable, not synchronized, or does not have enough measurements).
Change Password
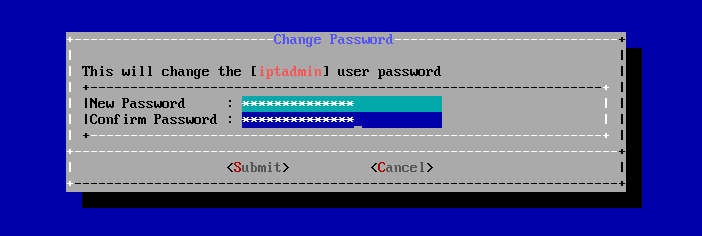
•From the Main Menu, select "Change Password". •Enter the new password in the "New" and "Confirm" fields, then click Submit.
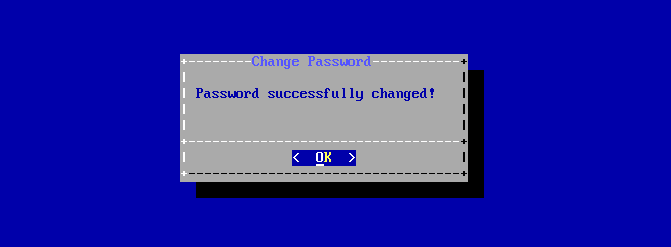
•Select "OK"
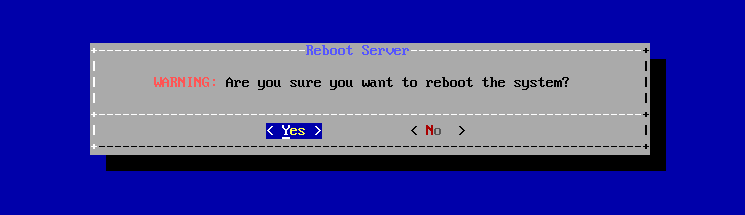
Reboot System•From the Main Menu, select “Reboot System”. •When prompted, choose “Yes” to proceed.
NOTE: The system will reboot immediately after confirming
BT Call Server Configuration•The remaining configuration can be completed through the Web UI. |