Sip Trunk Example Configuration


Sip Trunk Example Configuration |
|
| Solution Integration > Session Border Controllers > AudioCodes as a PBX |
To allow the SBC to function as a PBX a SIP trunk to allow the SBC to route calls to the PSTN is needed. In this example we are connecting to a SIP Trunk to a CUCM that has PSTN access.
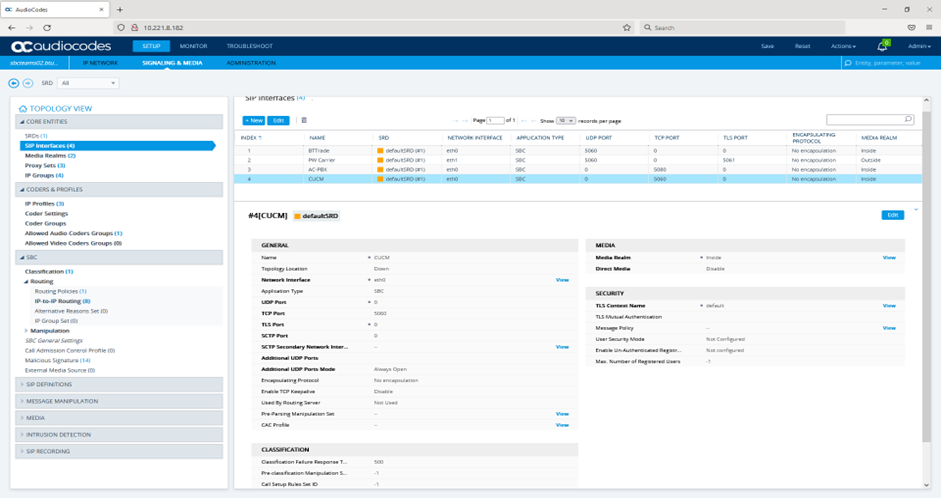
Add a new SIP Interface Browse to “Setup > Signaling & Media > Core Entities > SIP Interfaces” and click “New”
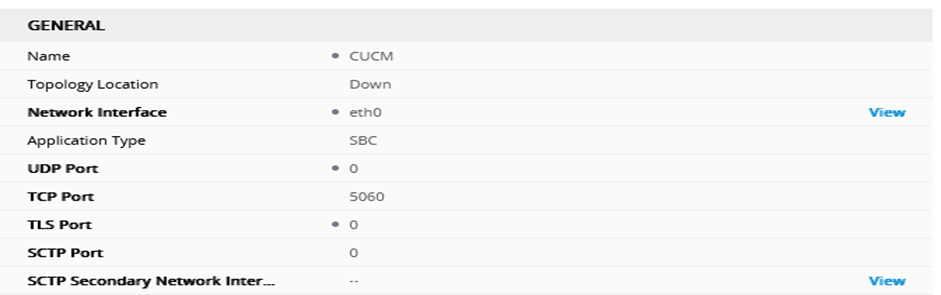
The settings we are concerned with are:
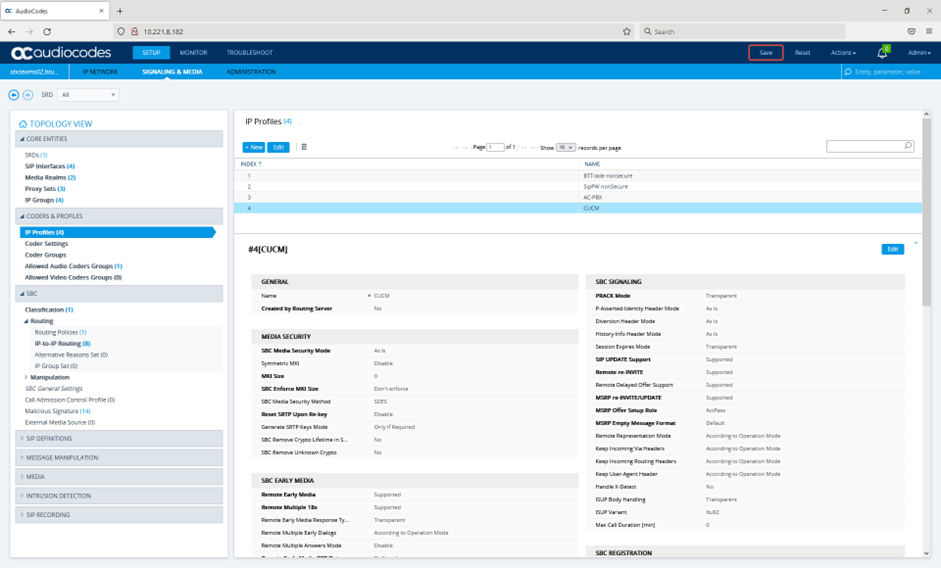
Add a new IP profileBrowse to “Setup > Signaling & Media > IP Profiles” and click “New”
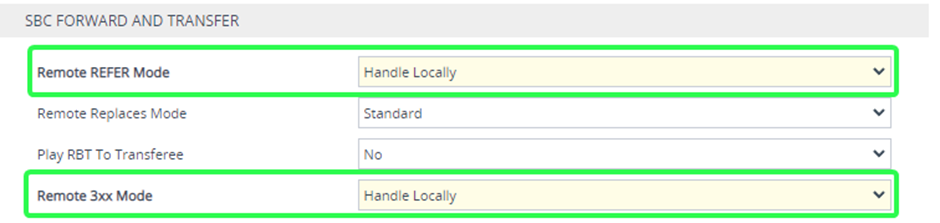
The settings we are concerned with are:
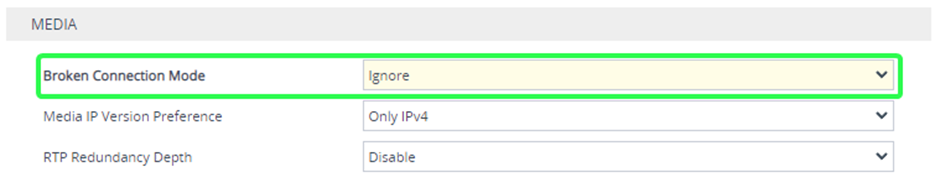
SBC FORWARD AND TRANSFER -> Remote REFER Mode = Handle Locally SBC HOLD -> Remote Hold Format = Hold And Retrieve Not Supported MEDIA -> Broken Connection Mode = Ignore LOCAL TONES -> Local Ringback Tone Index 1 LOCAL TONES -> Local Held Tone Index 1
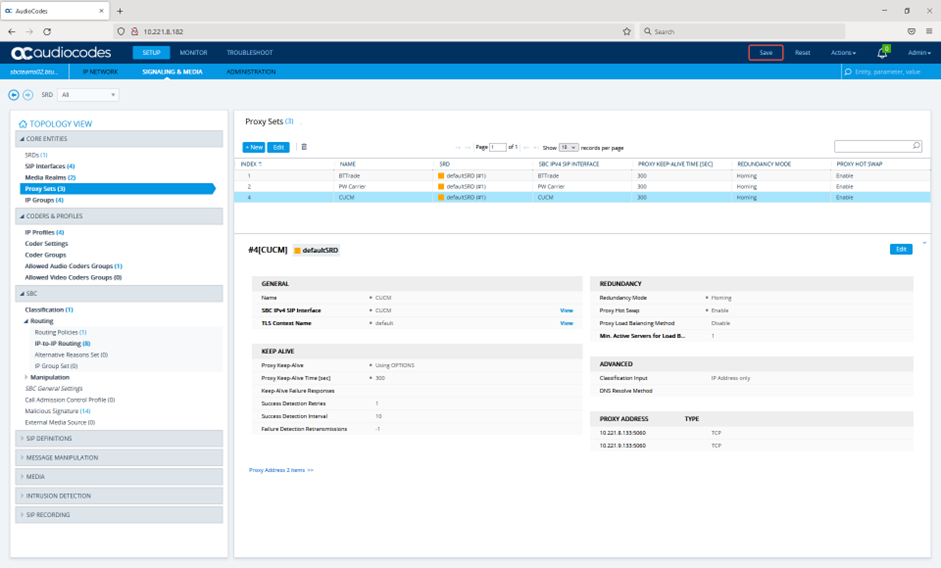
Add a new proxy set Browse to “Setup > Signaling & Media > Core Entities > Proxy Sets” and click “New”
The settings we are concerned with are: GENERAL -> Name = “Any Name” GENERAL -> SBC IPv4 Interface = “ Link to SIP interface created previously”
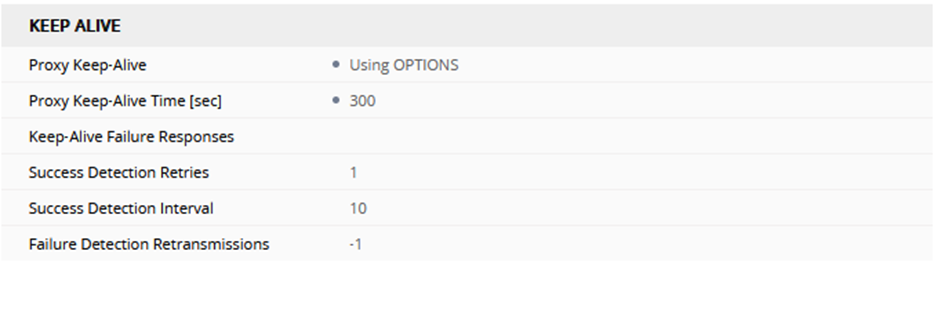
KEEP ALIVE -> Proxy Keep Alive = “OPTIONS” KEEP ALIVE -> Proxy Keep Alive Time = “300” (5 minutes)
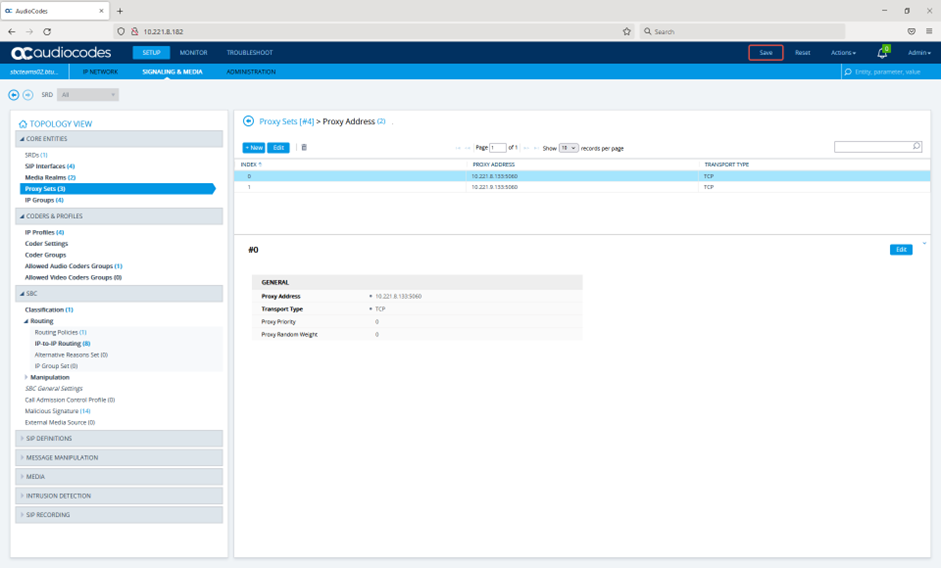
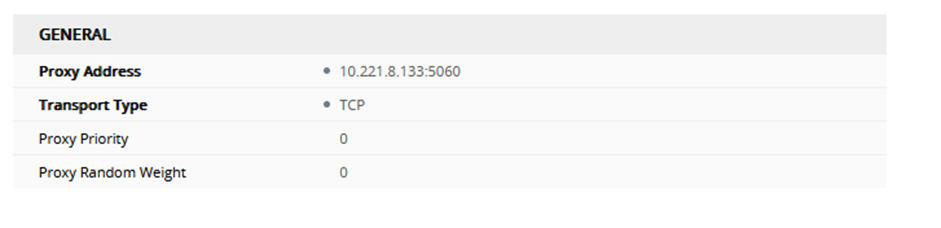
Need to add Proxy addresses for all nodes in the SIP trunk target in our case the publisher and subscriber of CUCM. This is done via link in bottom left of screen Proxy Address 2 items >>
PROXY ADDRESS = 10.221.8.133:5060 TYPE = TCP PROXY ADDRESS = 10.221.9.133:5060 TYPE = TCP
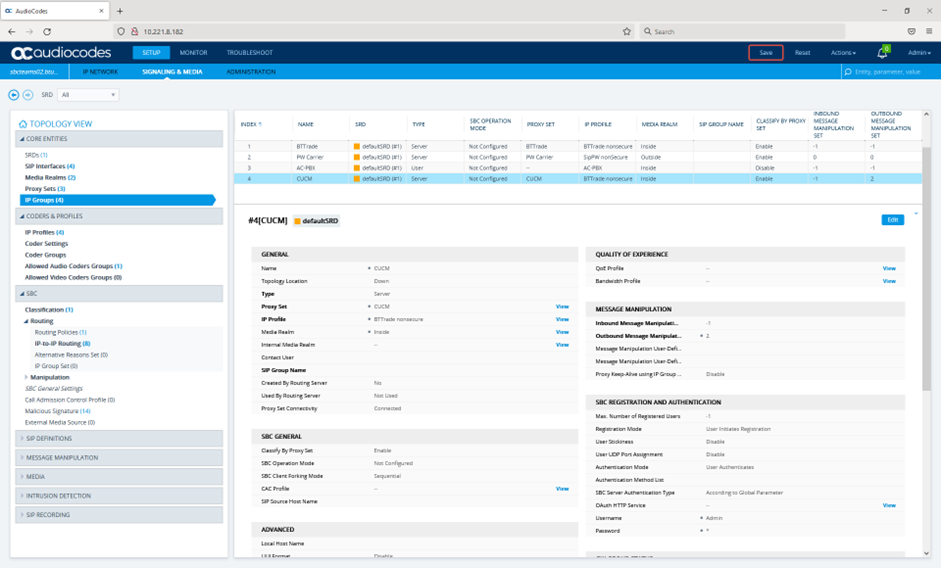
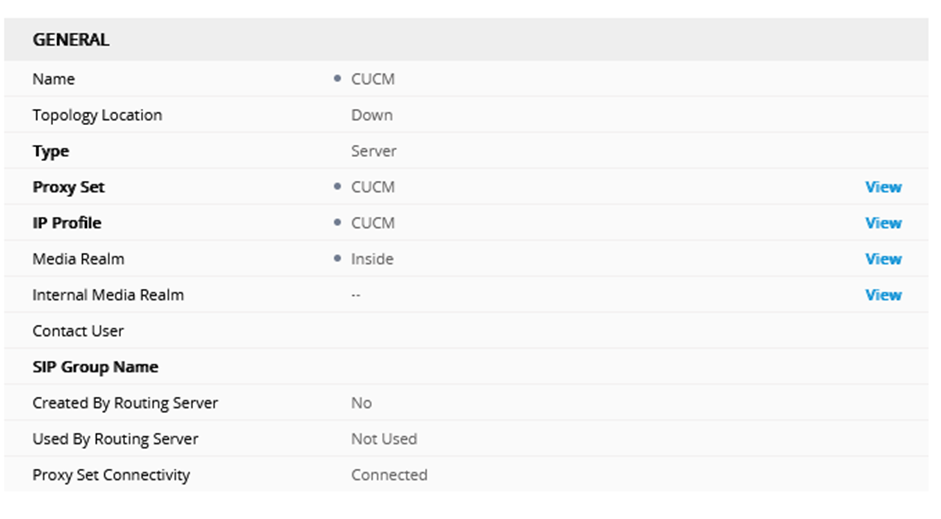
Add a new IP group Browse to “Setup > Signaling & Media > Core Entities > IP Groups” and click “New”
The settings we are concerned with are: GENERAL -> Name = “Any Name” GENERAL -> Type = Server GENERAL -> IP Profile = “Linked to the New IP Profile created previously” GENERAL -> Proxy Set = “Linked to the New Proxy Set created previously” GENERAL -> Media Realm “Linked to a Media Realm of Choice” (Here we just reuse the existing one for “Inside” but a new one can be created if desired and linked here)
|