Overview
After performing the basic Windows 2016 Server installation, additional steps need to be done to finish installation properly.
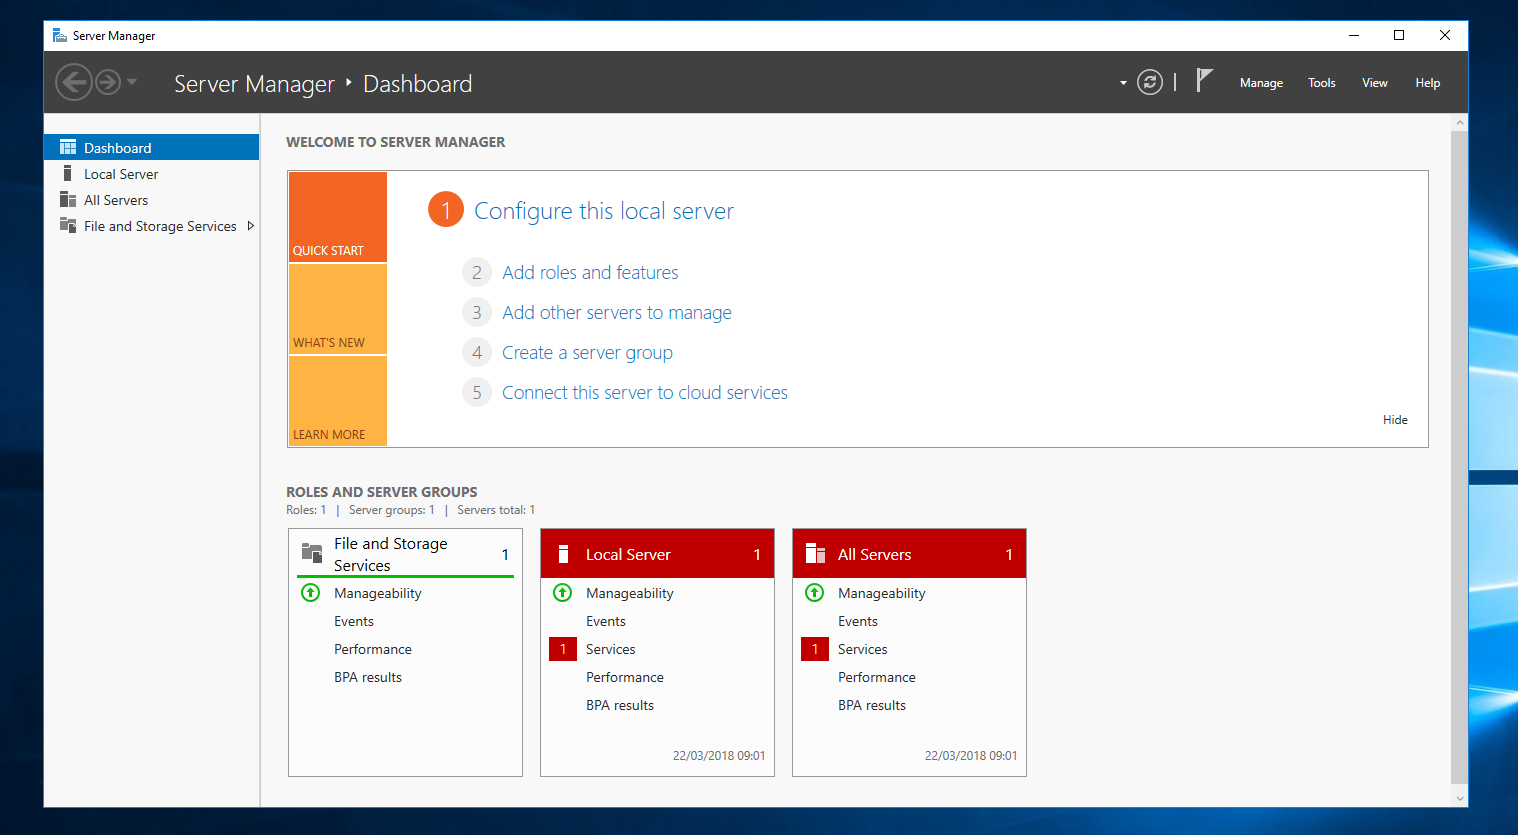
Configure this local server
•Click on link Configure this local server.
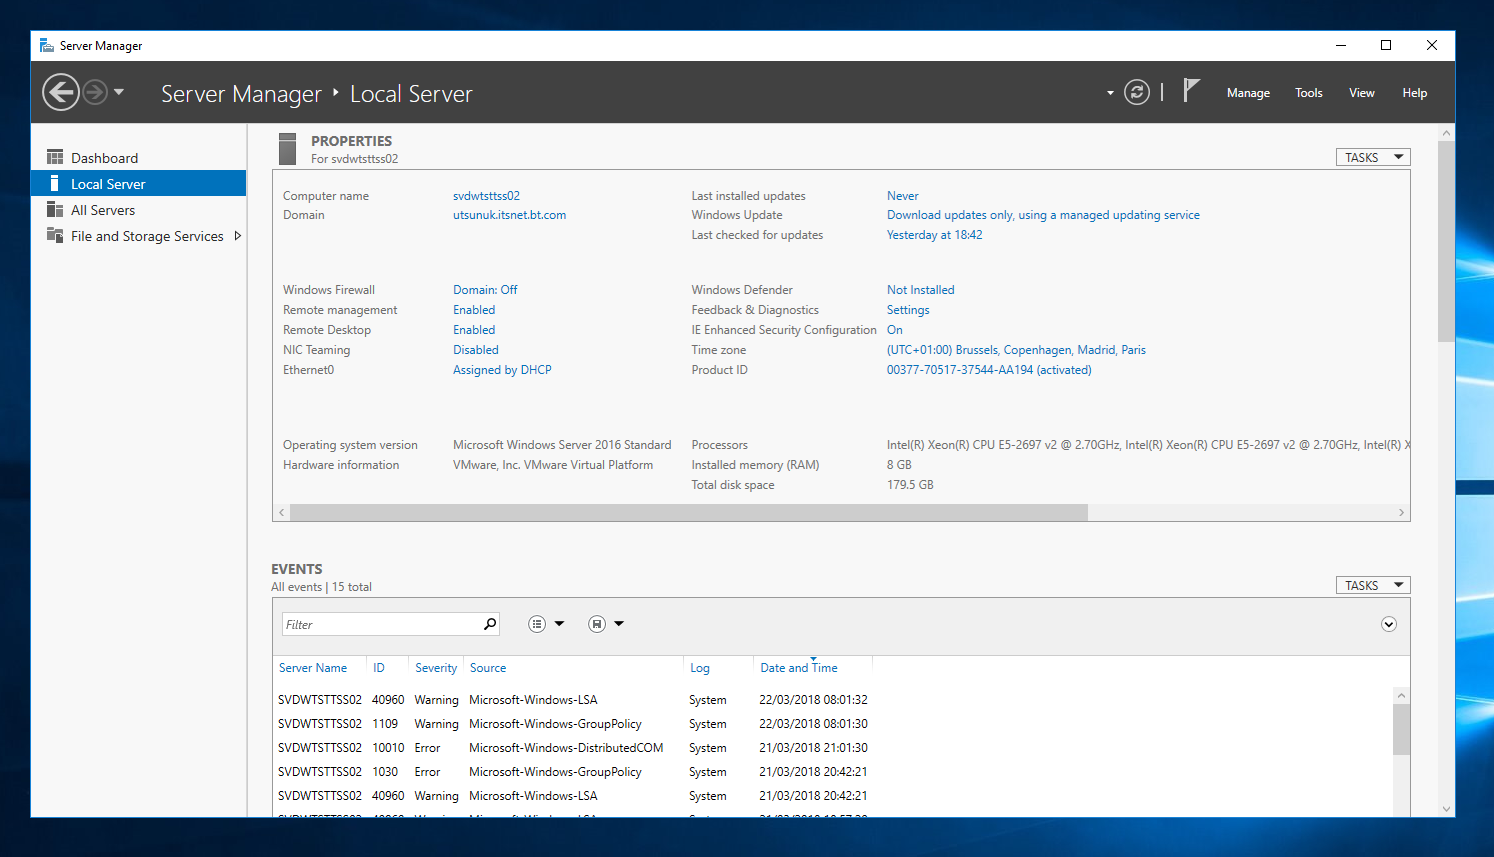
Provide Computer name and domain
•Press on "link next" to Computer name.
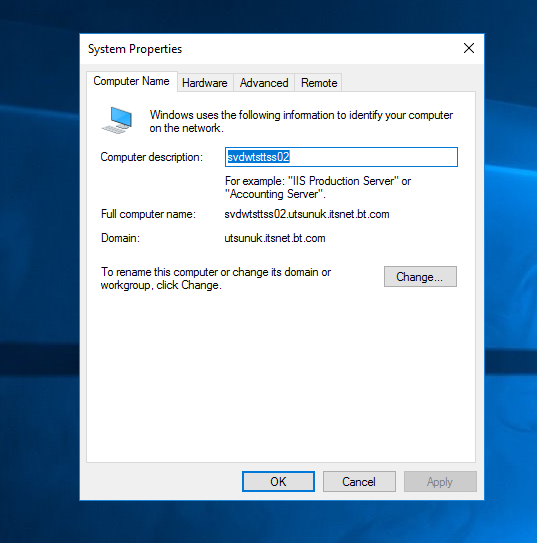
•Press "Change..." button.
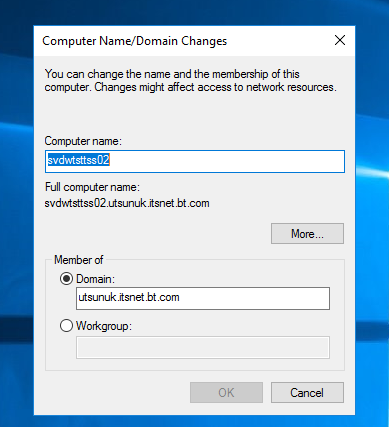
•Set computer name, domain name and press OK button.
•Computer needs to be restarted. Press "OK" button.
•Press "Restart" Now button. Set time zone
•Press on "link" next to Time zone. •Press on "Change time zone..." button. 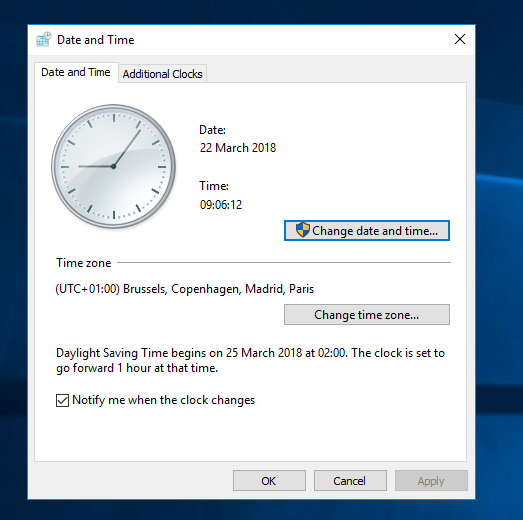
•Set time zone and press "OK" button.
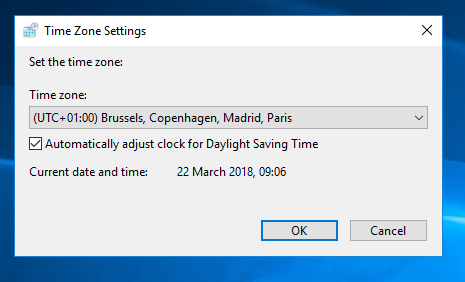
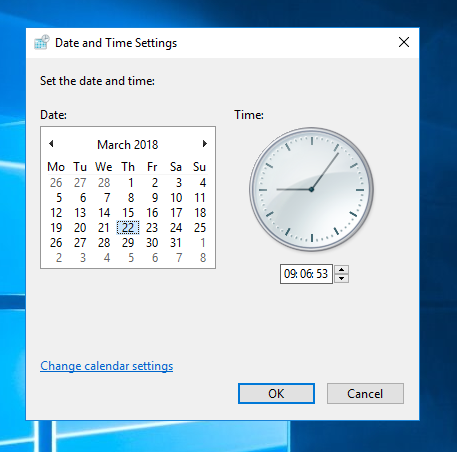
•Press "Change date and time..." button. •Set date and time and press "OK" button.
Enable automatic updating and feedback
Leave the automatic update as turned off.
Add roles and features
•Click on link Add roles and features. •Press "Next" button.
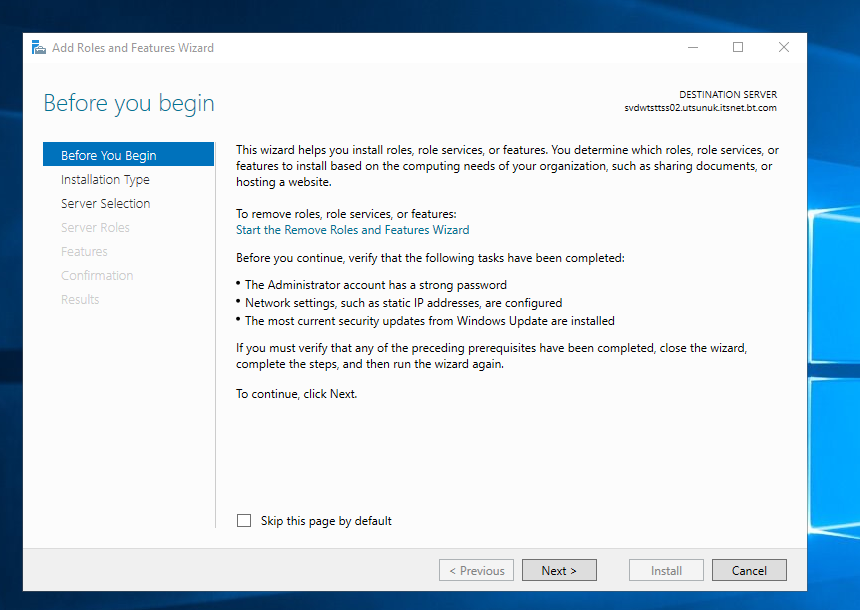
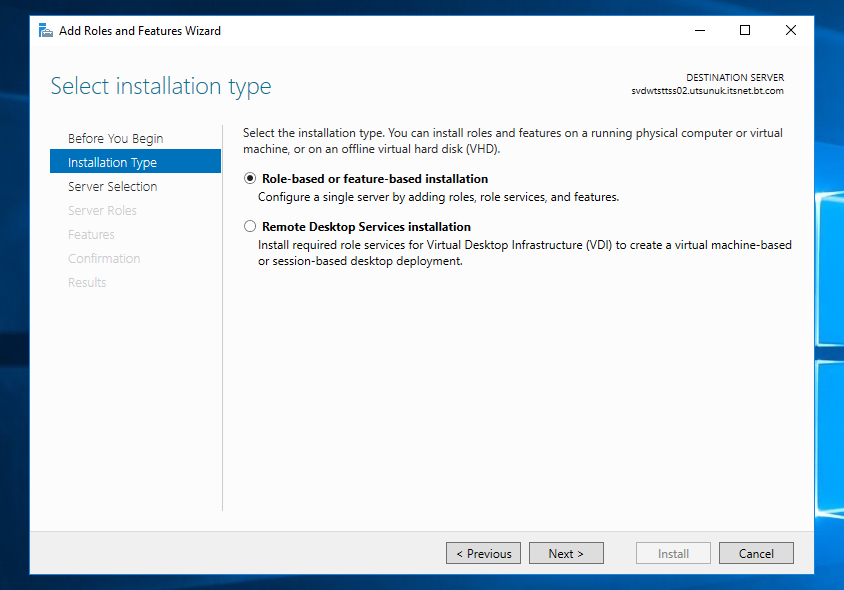
•Set option Role-based or feature-based installation. •Press "Next" button.
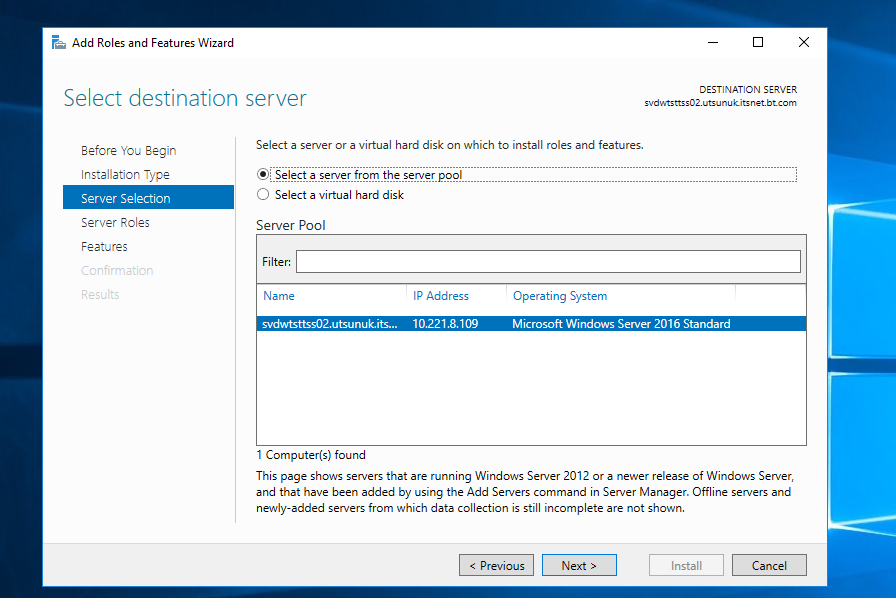
•Set option Select a server from the server pool. •Select a current server. •Press "Next" button.
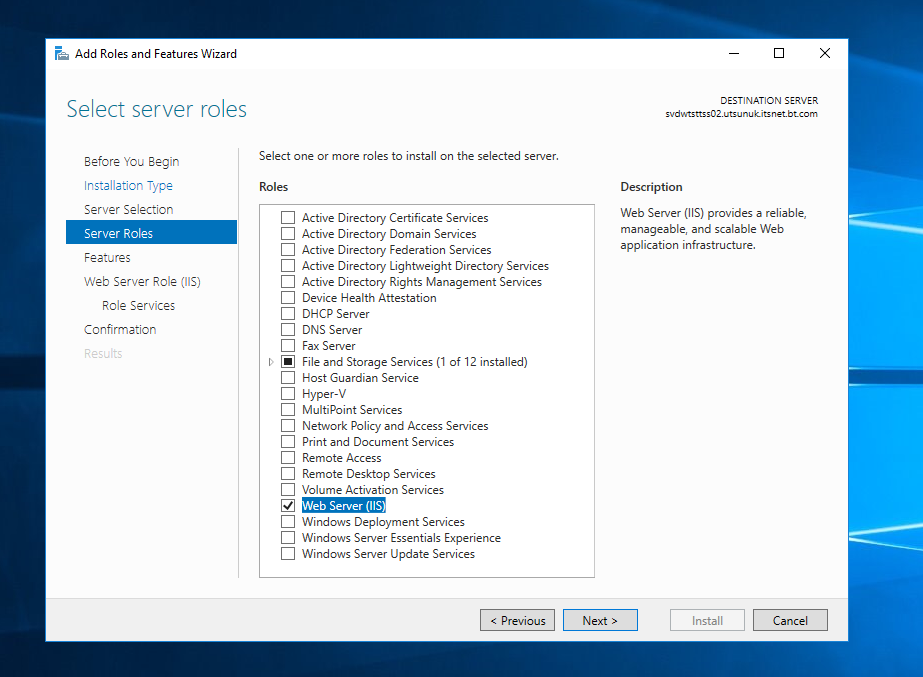
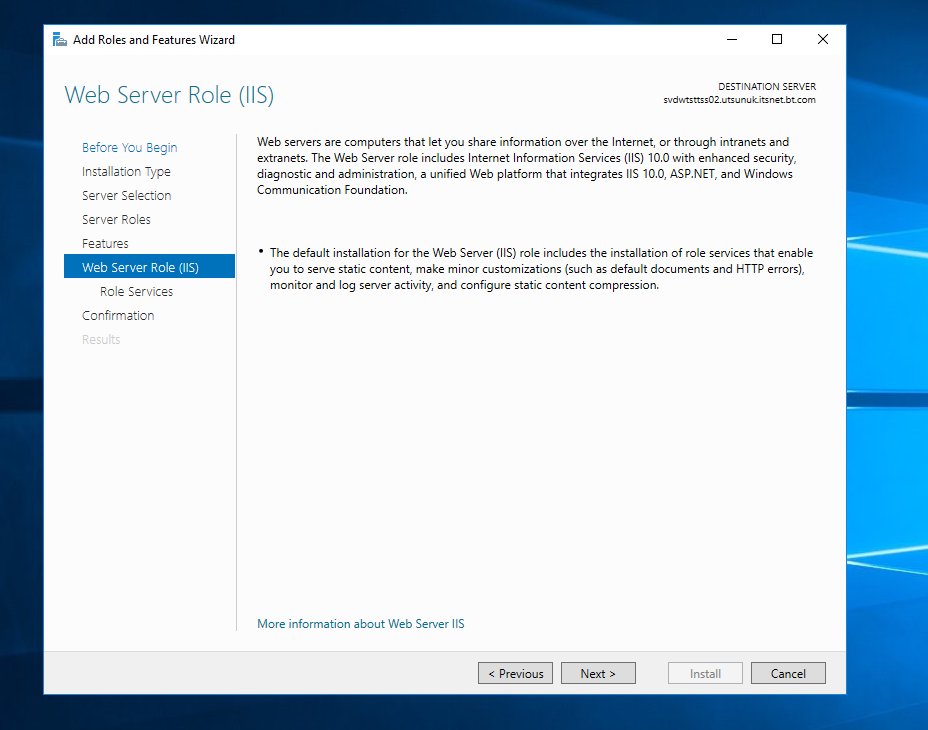
•Check options: oWeb Server (IIS) •Press "Next" button.
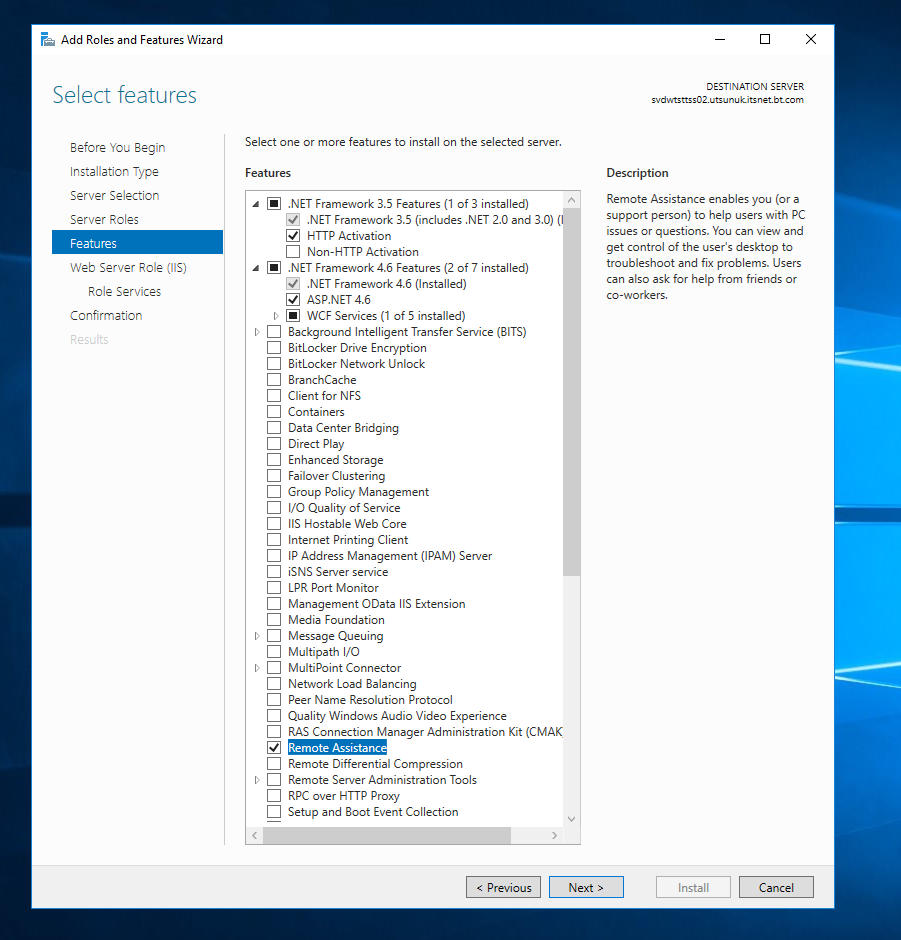
•Check options: o.NET Framework 3.5 Features (with HTTP Activation) o.NET Framework 4.6 Features (with ASP .NET 4.6) oRemote Assistance •Press "Next" button.
•Press "Next" button.
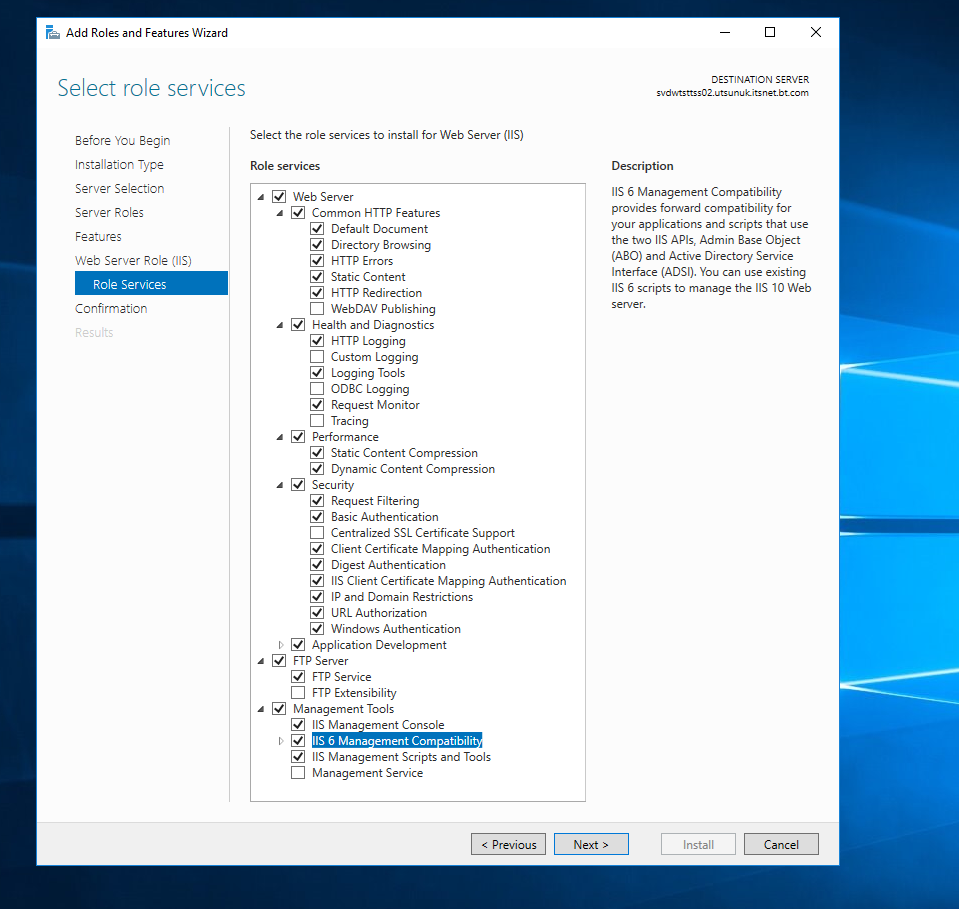
•Check options: oCommon HTTP feature (except WebDAV Publishing) oHealth and Diagnostics (except Custom Logging, ODBC Logging, Tracing) oPerformance oSecurity (except Centralized SSL Certificate Support) oFTP Server (except FTP Extensibility) oManagement Tools (except Management Service) •Press "Next" button.
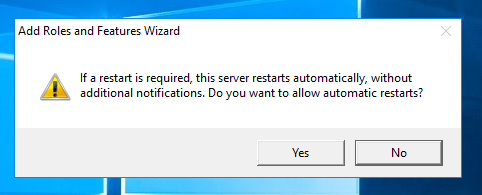
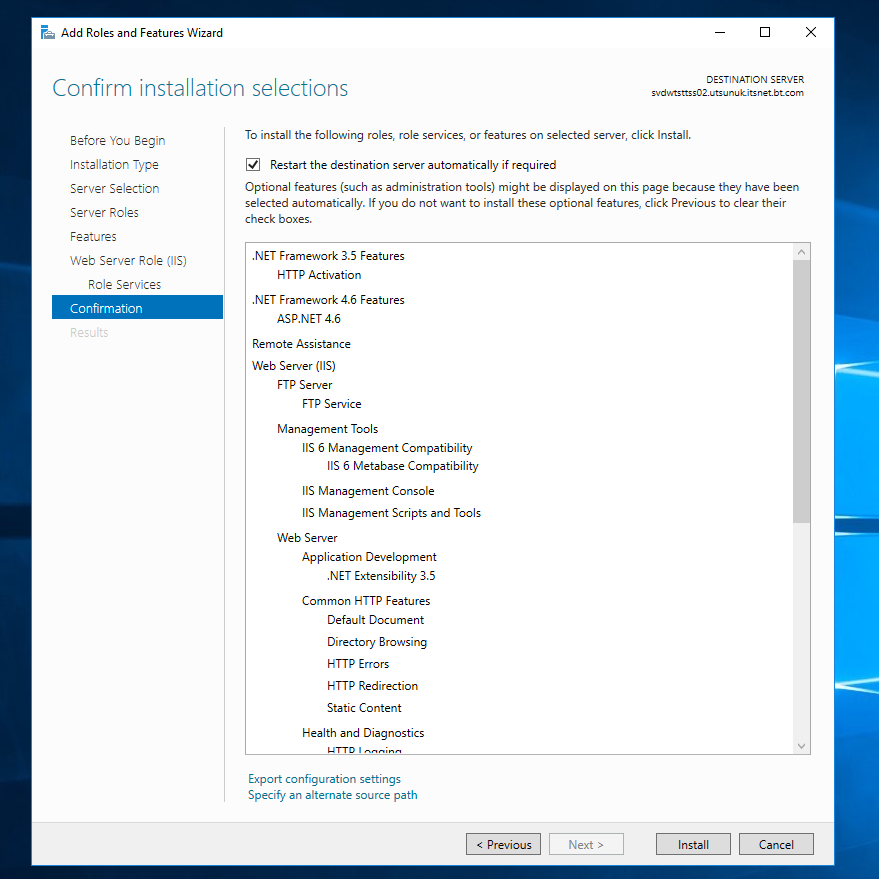
•Check options Restart the destination server automatically if required. •Press "Yes" button.
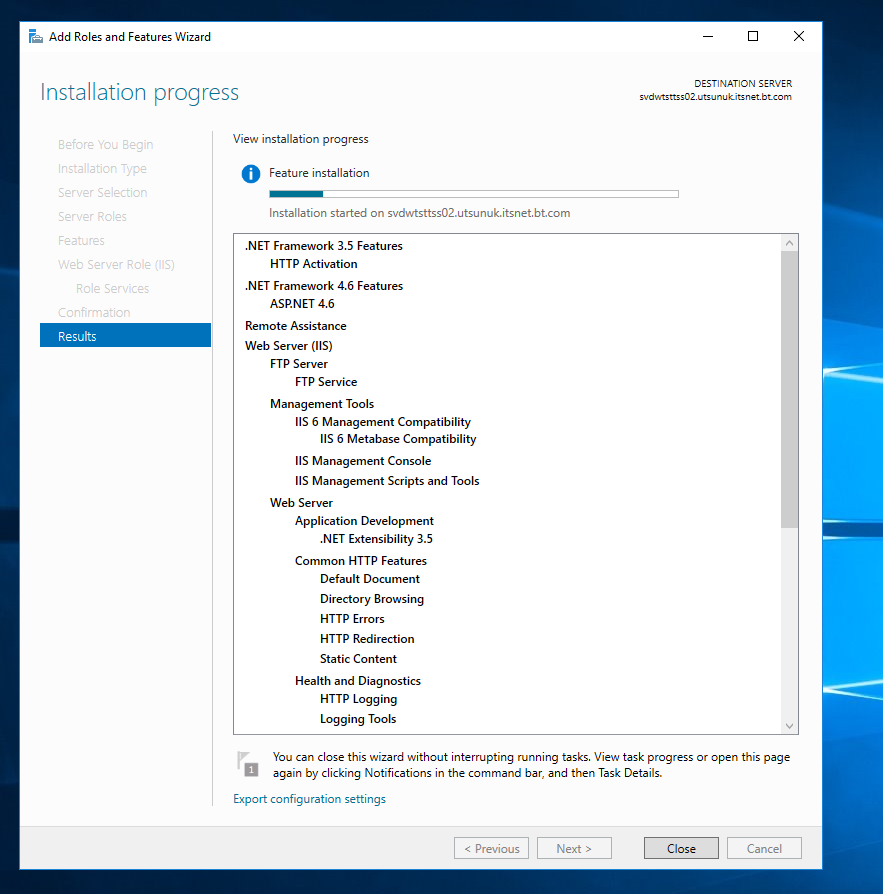
•Press "Install" button.
•Once installation is finished press "Close" button.
Enable .NET 2.0
•Click on link "Add roles and features". •Press "Next" button.
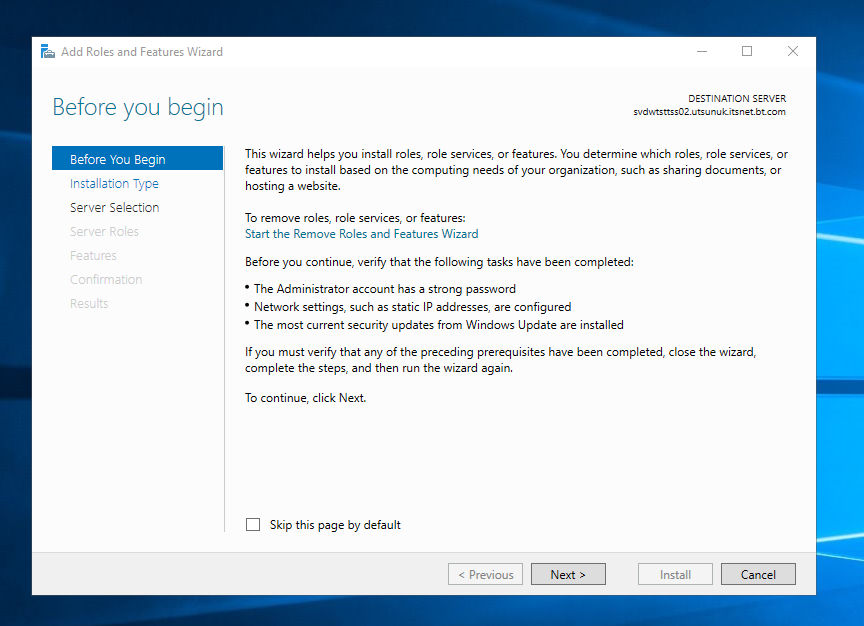
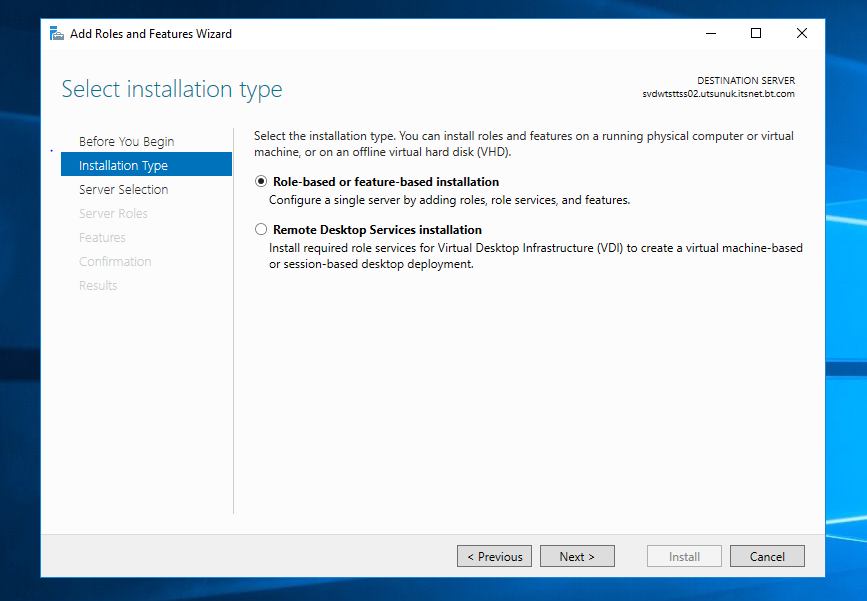
•Set option Role-based or feature-based installation. •Press "Next" button.
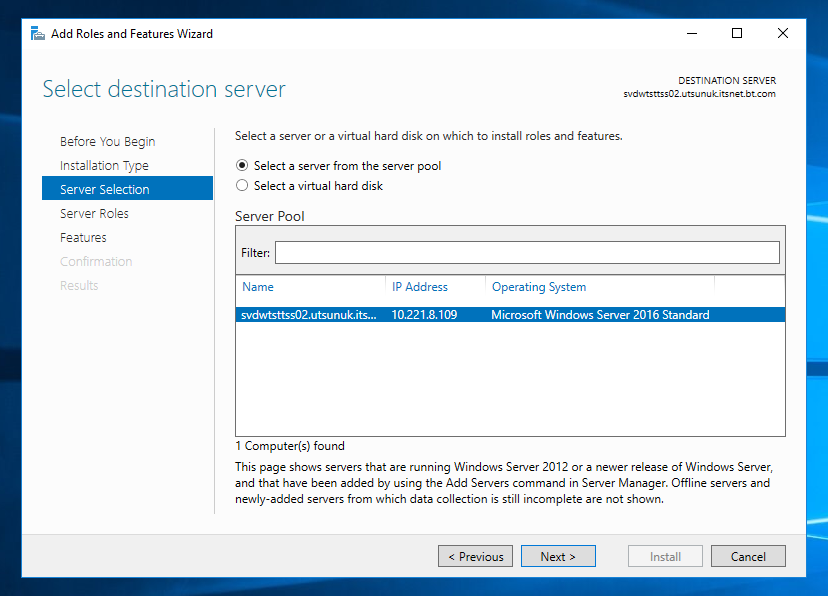
•Set option Select a server from the server pool. •Select a current server. •Press "Next" button.
•Deploy node Web Server (IIS) and select following component: oWeb Server > Application Developpment > ASP oWeb Server > Application Developpment > ASP.NET 3.5 •Press "Next" button.
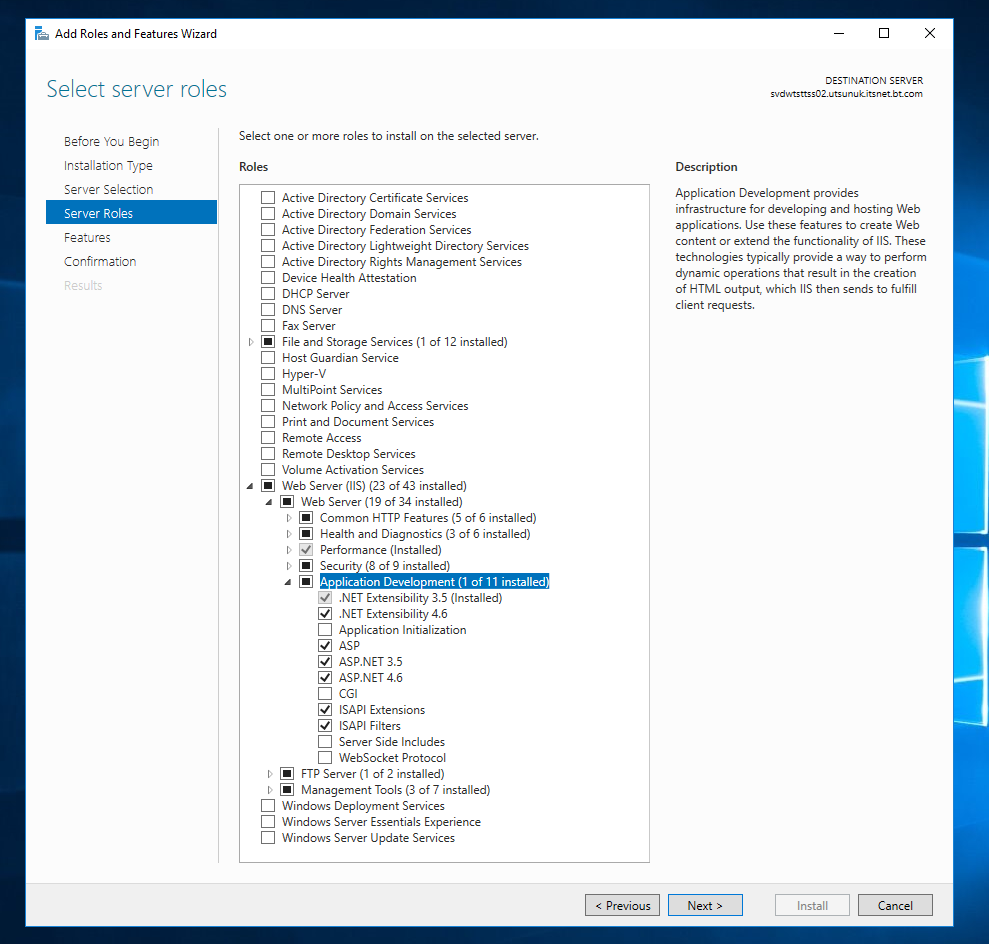
•Press "Install" button.
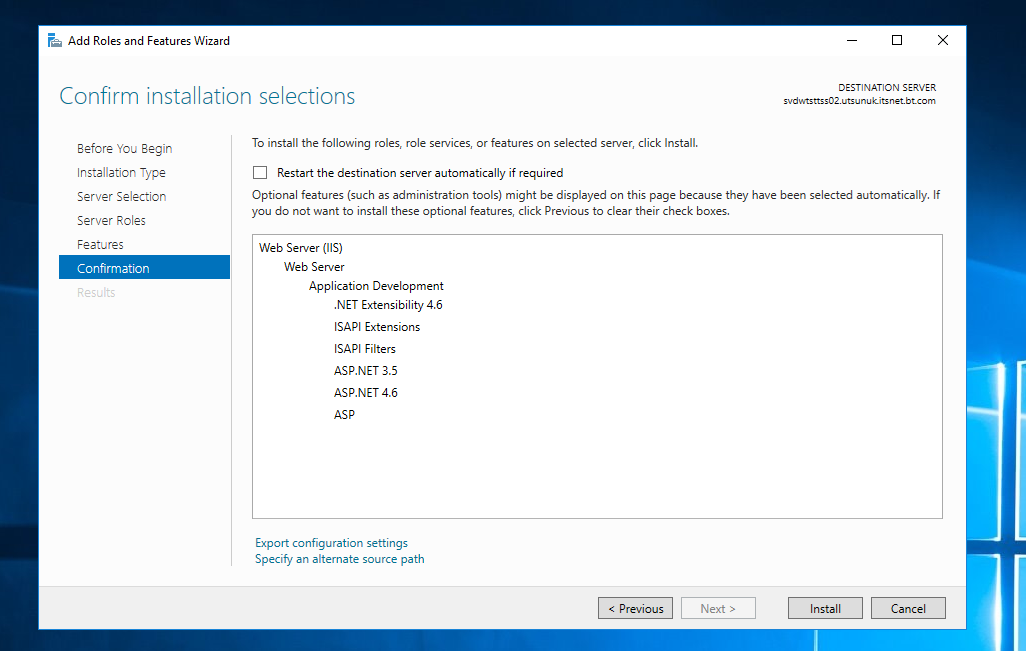
•Press "Close" button.
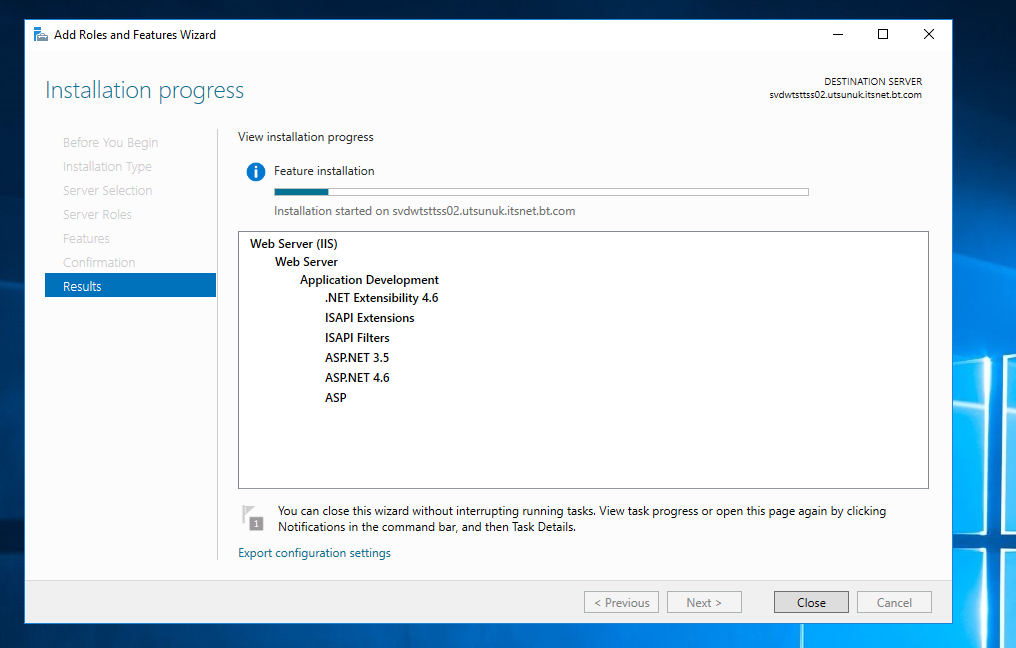
Configure Windows Firewall
•Press button "Tools > Windows Firewall" with Advanced Security.
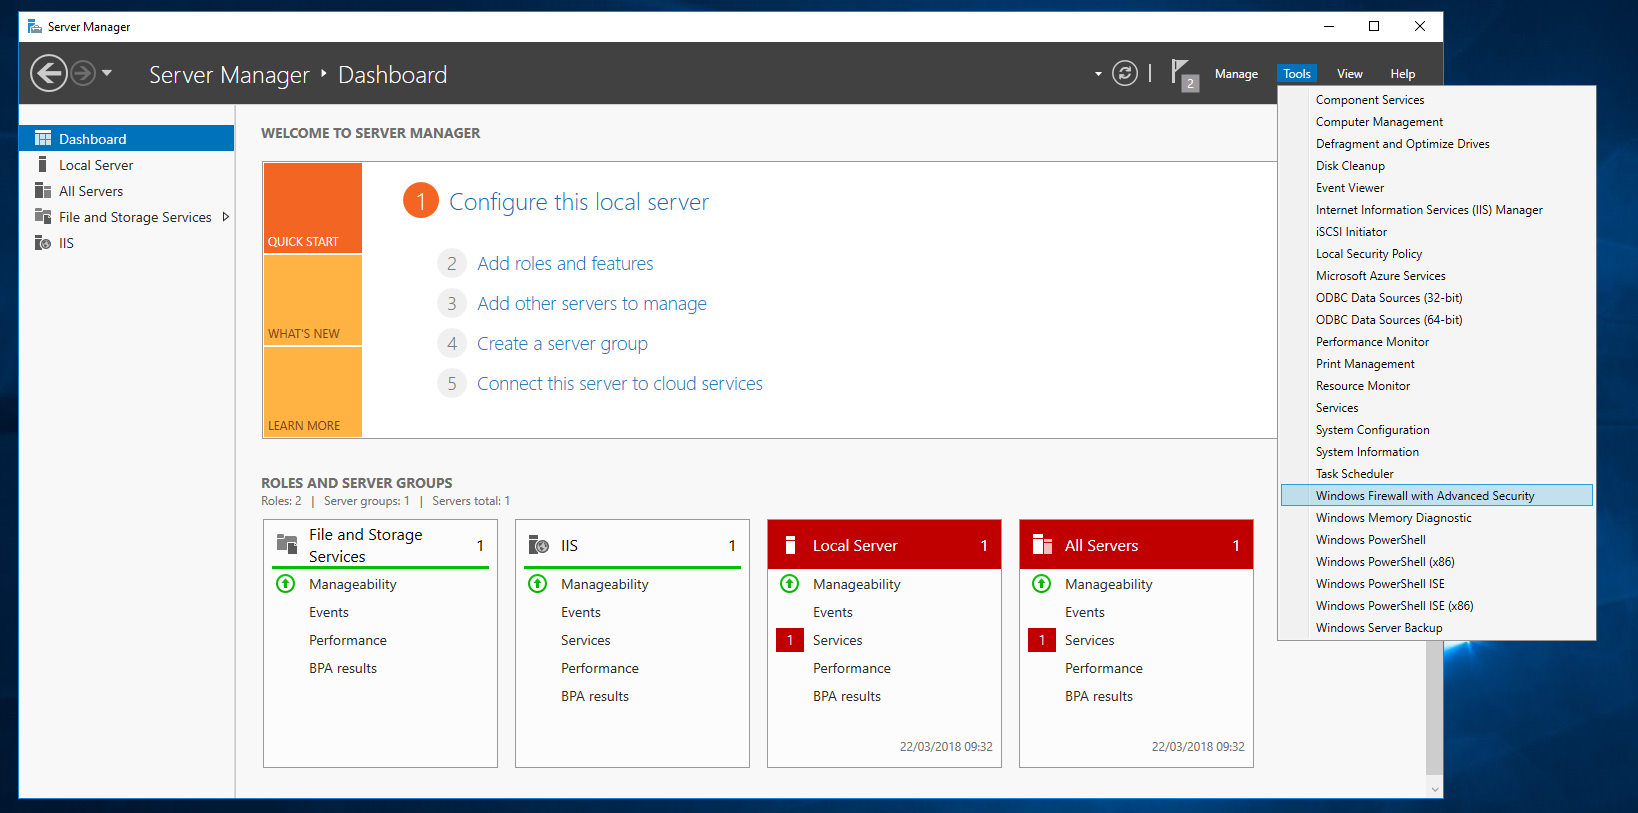
•Click on "link Windows Firewall Properties".
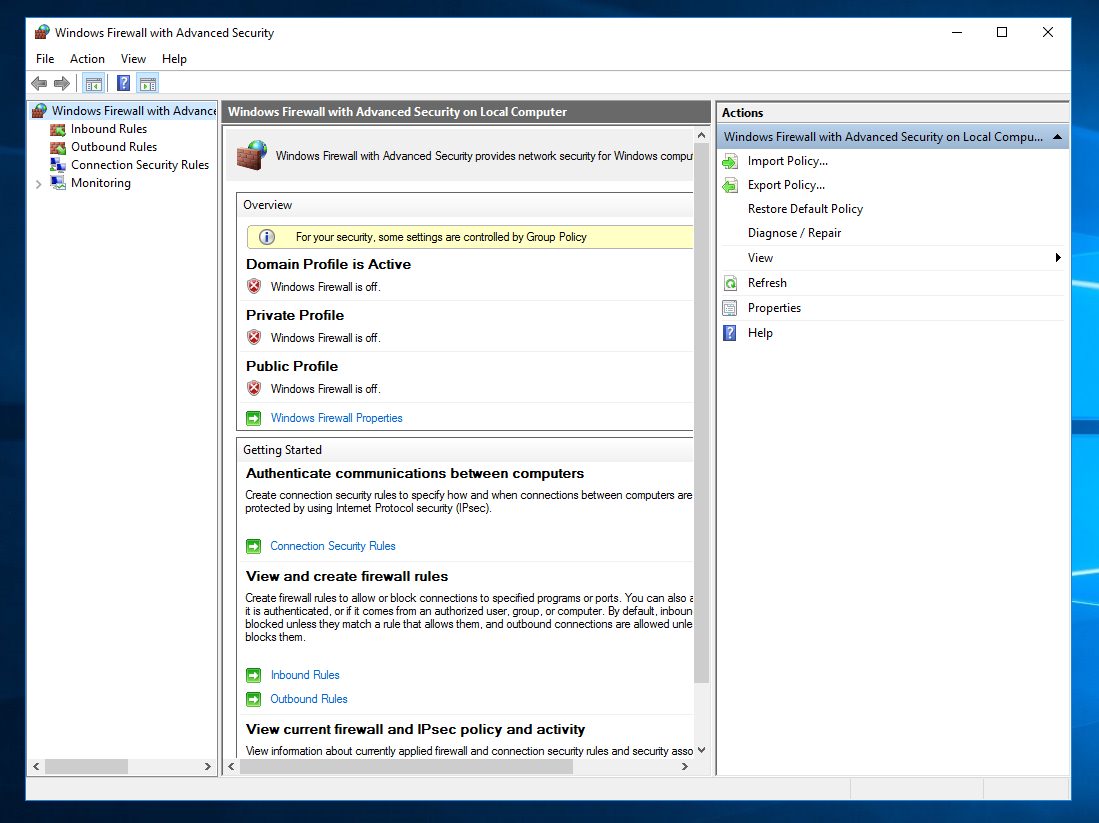
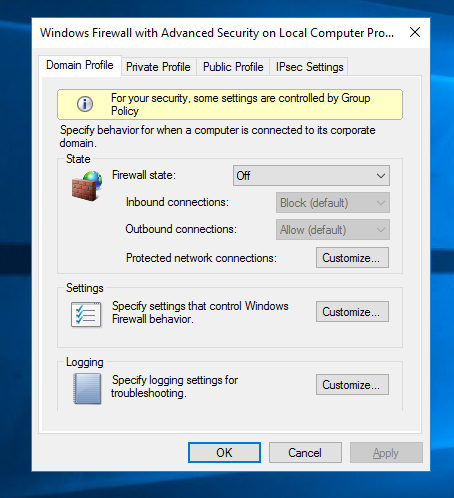
•Select tab Domain Profile. •Set Firewall state to Off.
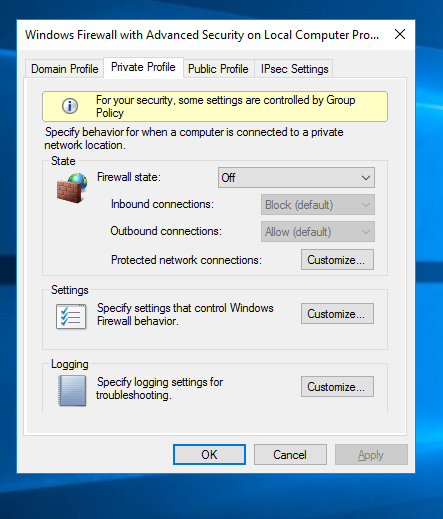
•Select tab Private Profile. •Set Firewall state to Off.
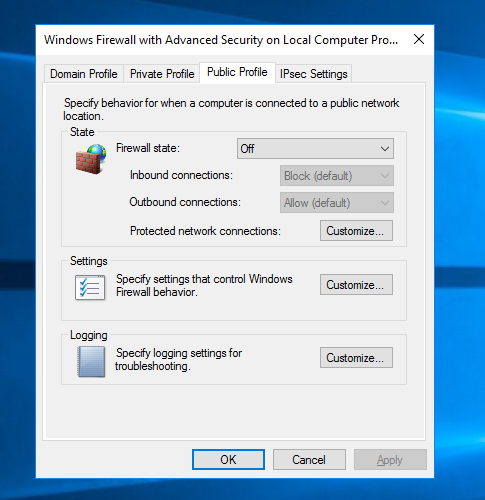
•Select tab Public Profile. •Set Firewall state to Off. •Press "OK" button.
|


