Install MS SQL Server 2019


Install MS SQL Server 2019 |
|
| Solution Installation > TSS Installation > Install TSS on a standard server > Install Database Management System > Microsoft SQL Server |
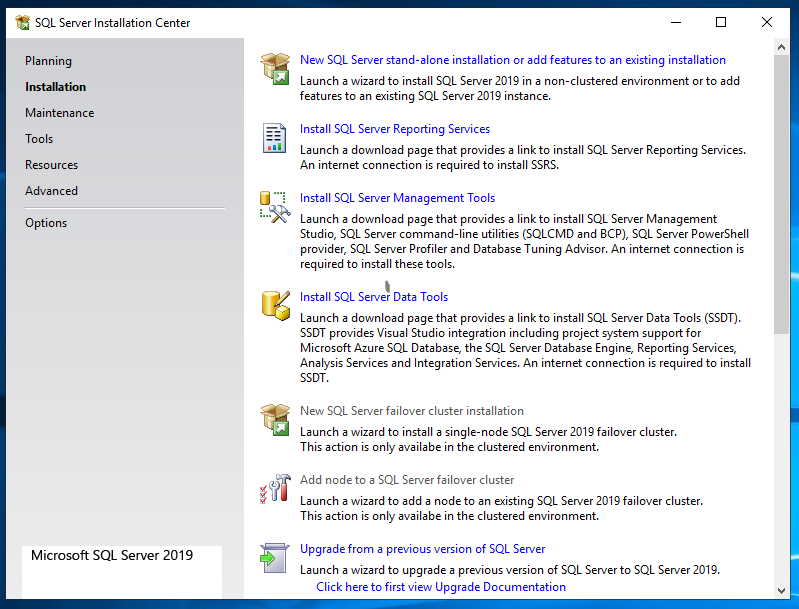
IntroductionThis section describes the procedure to install Microsoft SQL Server 2019 edition. To Start the Setup Procedure•Launch Setup.exe. •Choose "Custom" installation type. •Press Installation button (on left of screen). •Press New SQL Server stand-alone installation or add feature to an existing installation link.
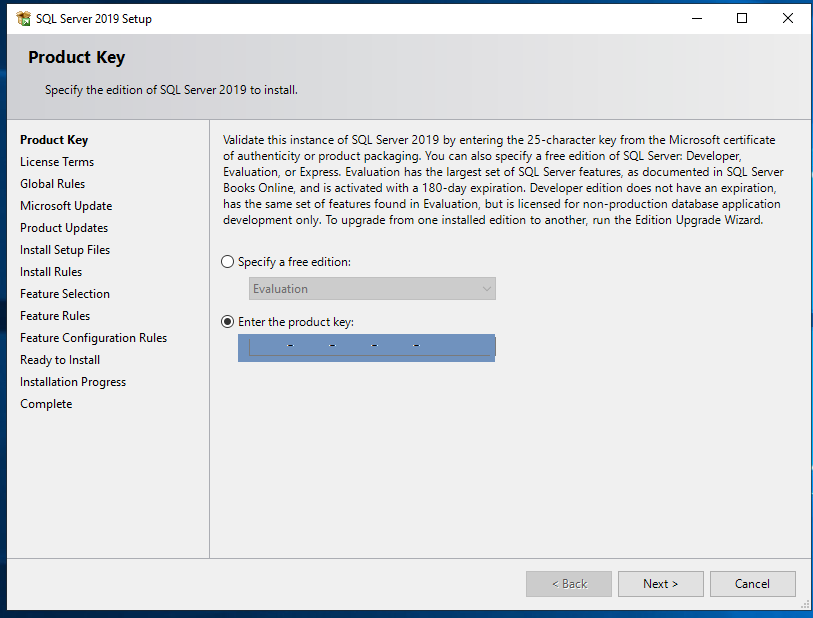
•Enter product key and press Next button.
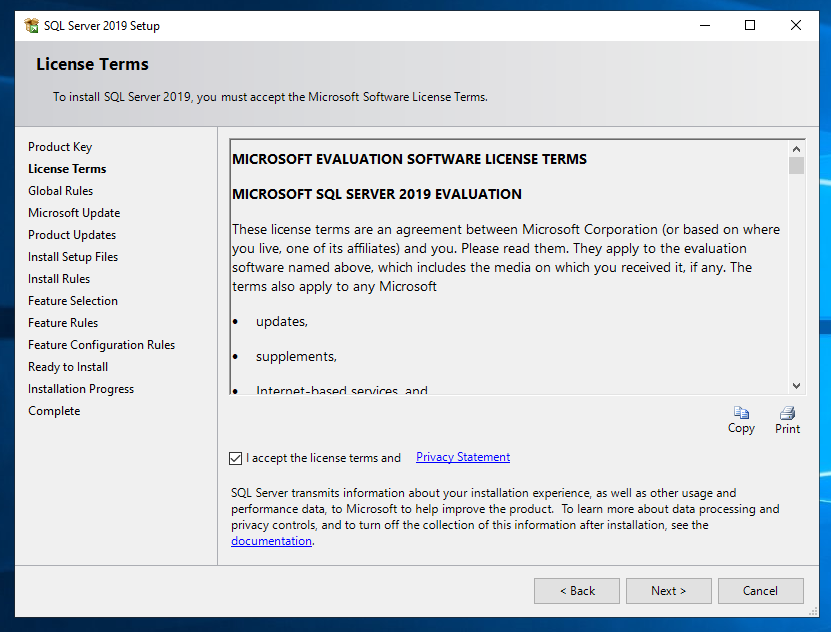
•Read license terms and check box I accept the license terms. •Press Next button.
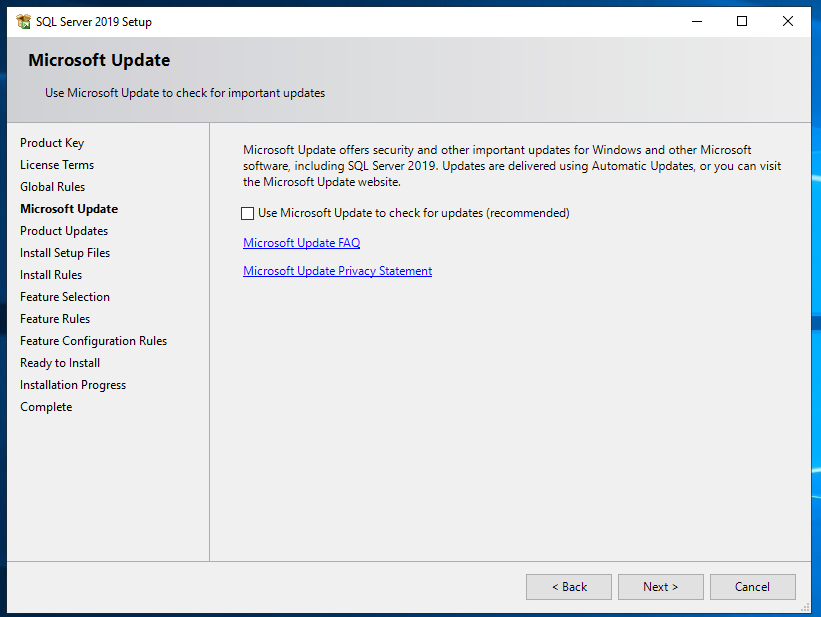
•Press Next button.
•Check options : oDatabase Engine Services (and SQL Server Replication) oIntegration Services oManagement Tools - Basic •Press Next button.
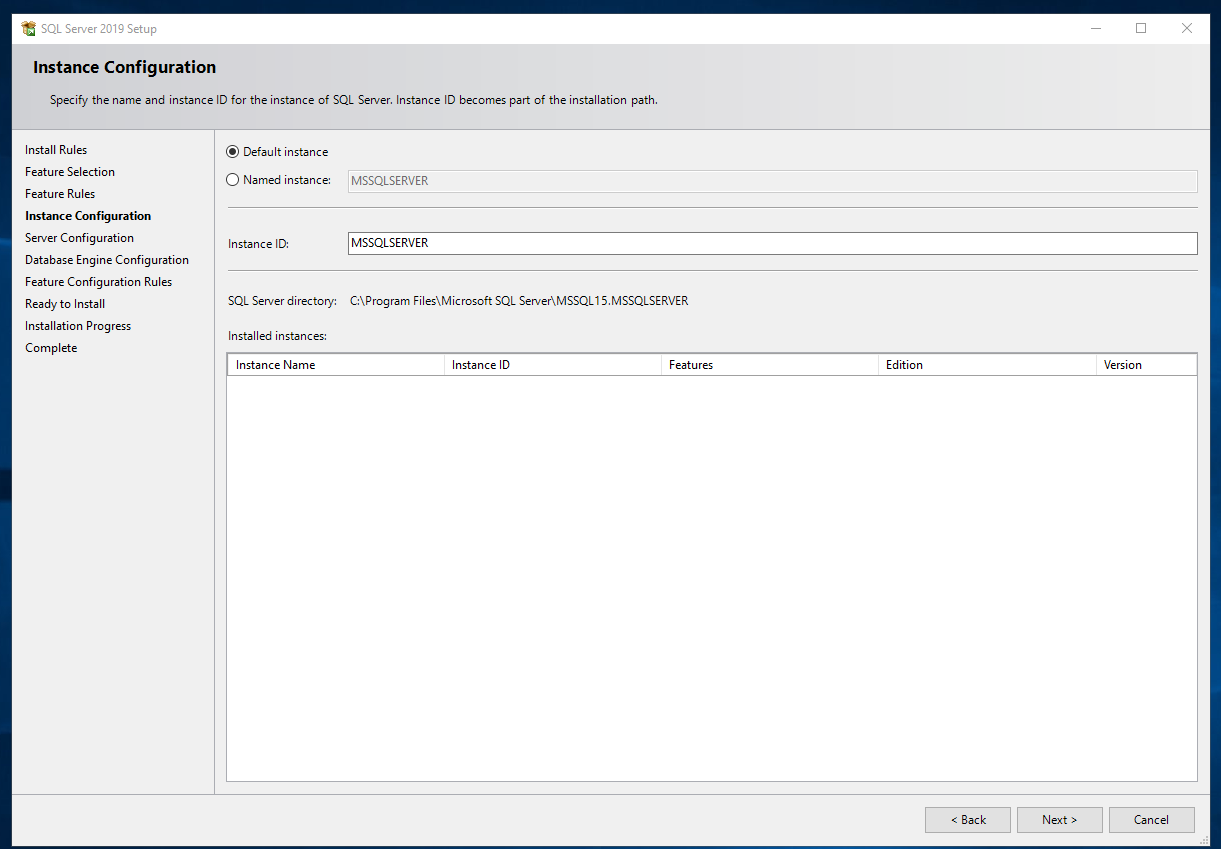
•Select Default instance option. •Press Next button.
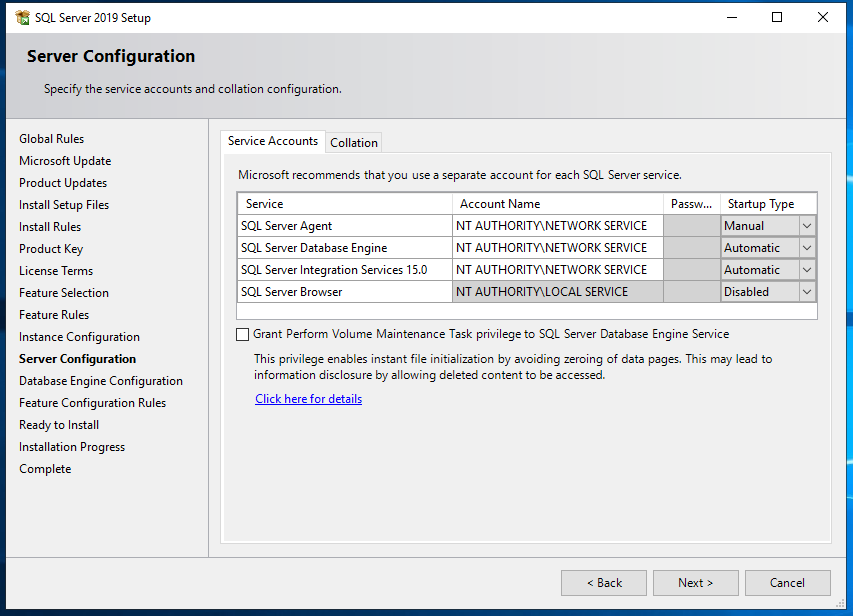
•Set account name. oSQL Server Agent: NT_AUTHORITY\NETWORK SERVICE oSQL Server Database Engine: NT_AUTHORITY\NETWORK SERVICE oSQL Server Integration Services 15.0: NT_AUTHORITY\NETWORK SERVICE oSQL Server Browser: NT_AUTHORITY\LOCAL SERVICE
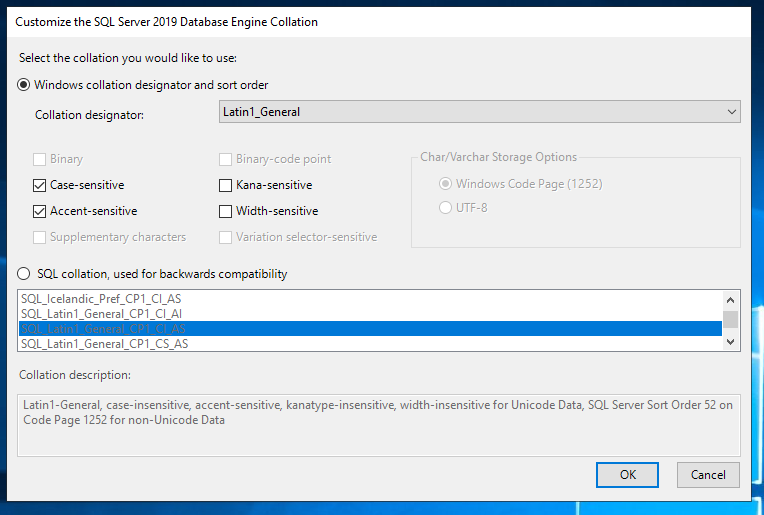
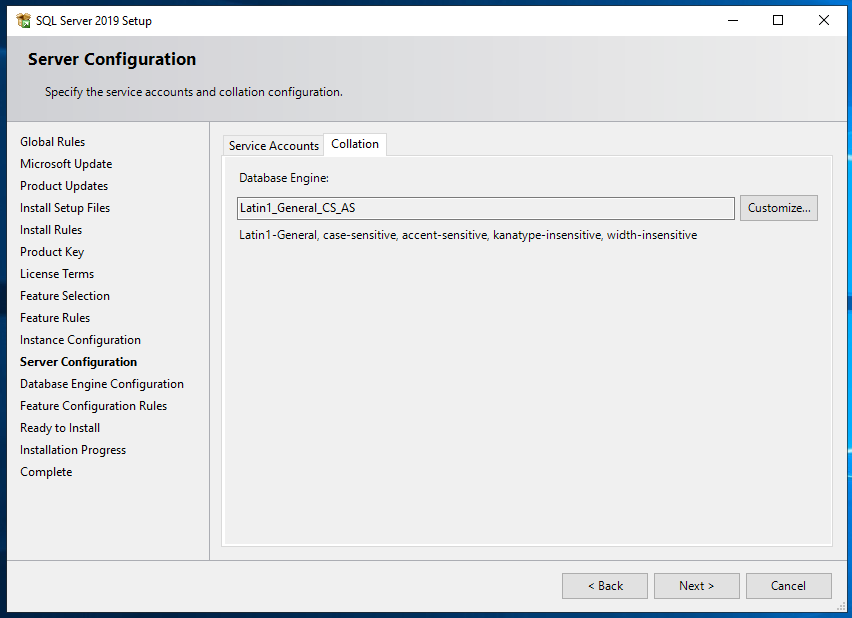
•Select Collation tab. •Press Customize button. •Select Windows collation designator and sort order option. •Select Latin1_General, Case-sensitive, Accent-sensitive. •Press OK button.
•Press Next button.
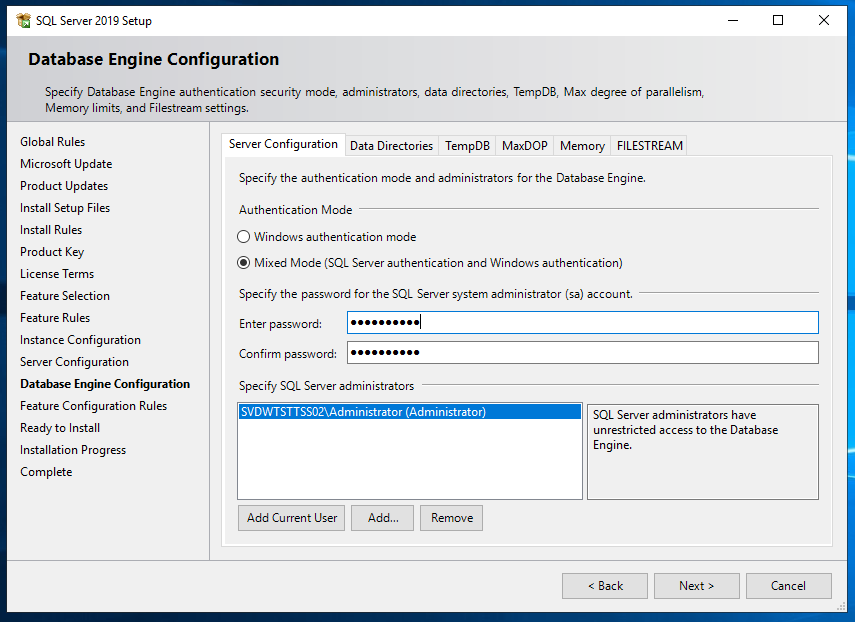
•Set Mixed Mode option as Authentication Mode and set password.
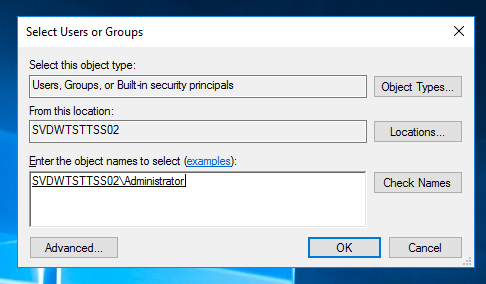
•Under section Specify SQL Server administrators press Add button and select current administrator of the machine. •Press OK button.
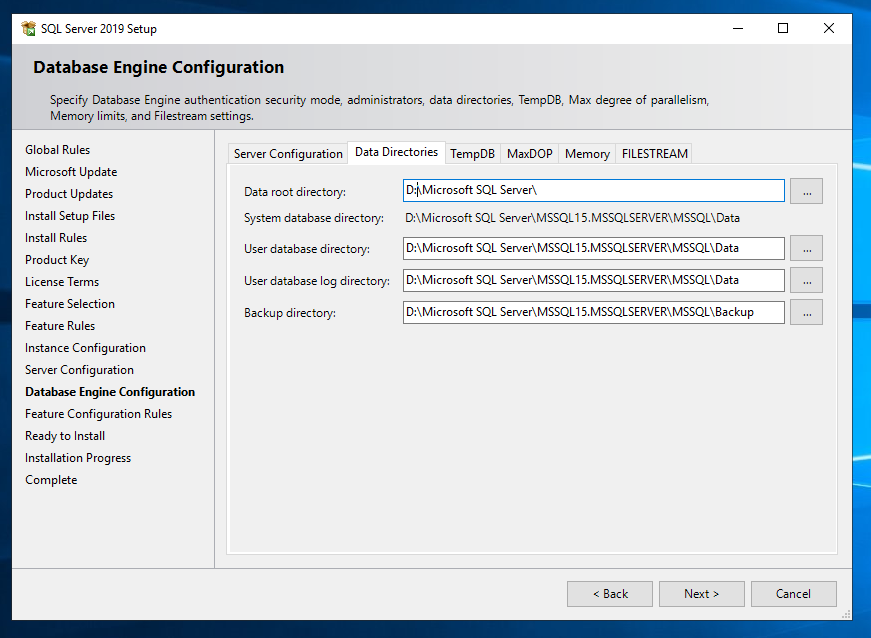
•Select Data Directories tab. •Set D:\Microsoft SQL Server as base path for data. •Press Next button.
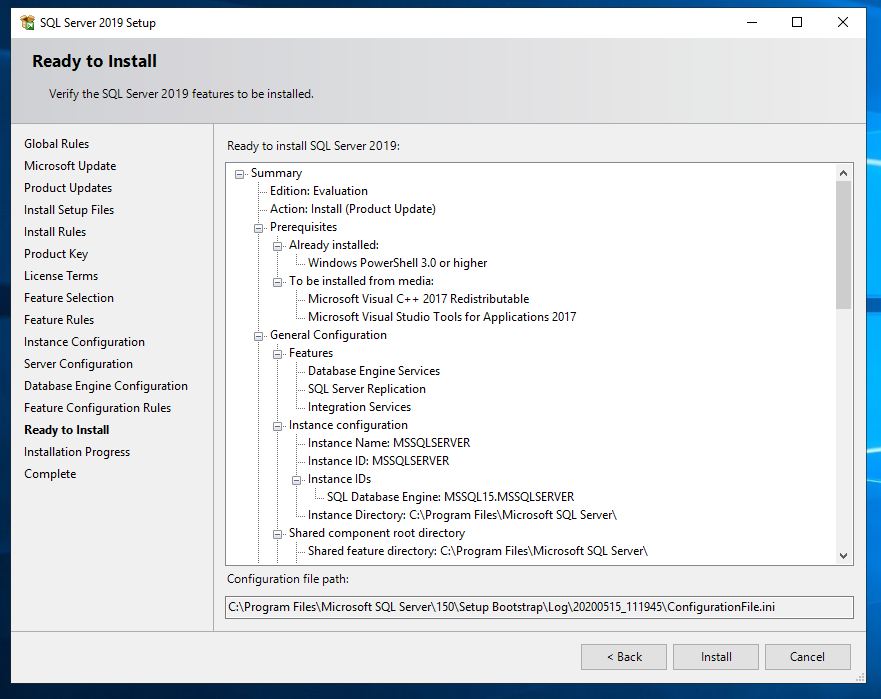
•Press Install button.
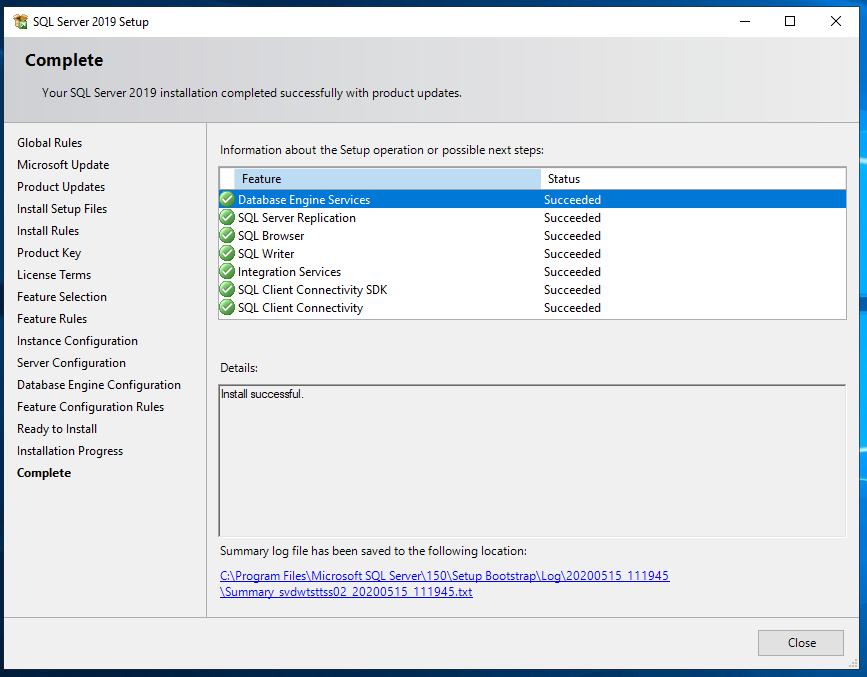
•Once installation is finished press Close button.
•Press Close button.
Check Services Start-up mode
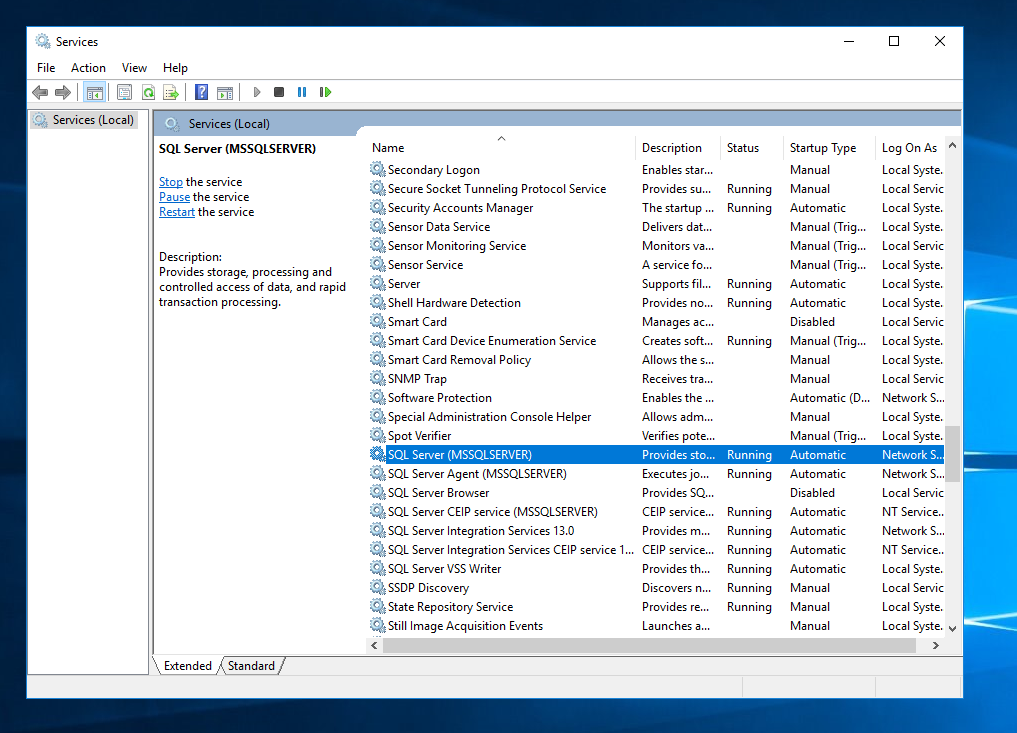
After install, check that several MS SQL services are started and that their start-up properties are automatic. •Open Windows Services console. •Check that the following services are started and their start-up properties are set to automatic: oSQL Server (MSSQLSERVER) oSQL Server Agent (MSSQLSERVER)
|