Deploying the TSS Virtual Appliance using VSphere client


Deploying the TSS Virtual Appliance using VSphere client |
|
| Solution Installation > TSS Installation > Using the TSS Virtual Appliance > Install on ESXi |
The TSS Virtual Appliance has been developed in order to ease the TSS deployment procedure. This Virtual Appliance (abbreviated VA) is distributed under the form of an .OVA single file. Such a file can be described as a full image of the virtual appliance, ready to be deployed with its operating system and programs, all embedded in the image.
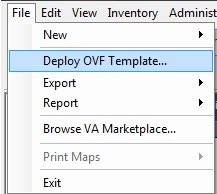
The TSS VA .ova file can be deployed with a VMWare VSphere client as following: Once connected with the VSphere client, select File, Deploy OVF Template.
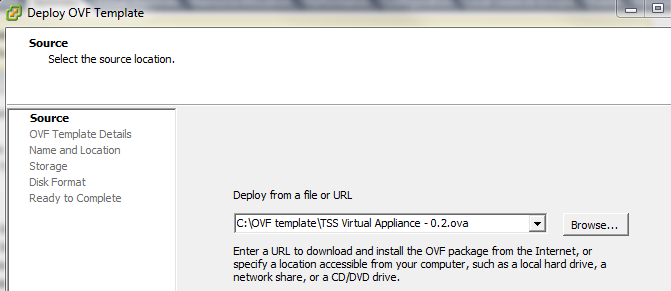
TSS Virtual Appliance 1.0 : In the OVF Deployment Wizard, select the OVA file to deploy.
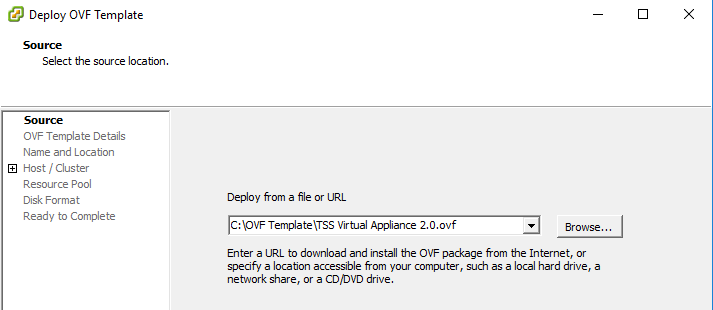
TSS Virtual Appliance 2.0 or higher : In the OVF Deployment Wizard, select the OVF file. The VMDK file must be in the same directory than the OVF file you selected.
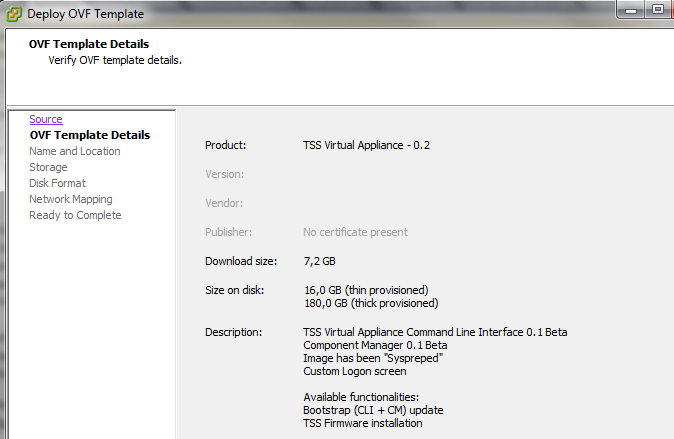
The next screen gives you details about the TSS Virtual Appliance.
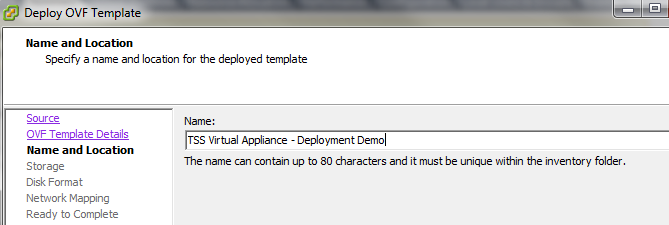
You must then specify the name of the Virtual Appliance.
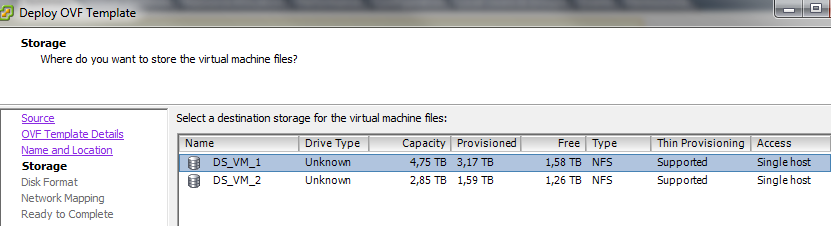
The next step is the choice of the destination storage. Depending on your architecture, you must select the right disk on which the Virtual Appliance has to be deployed.
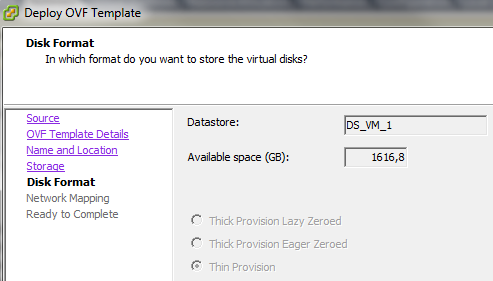
The following screen gives you information about the size that the Virtual Appliance will take on the disk.
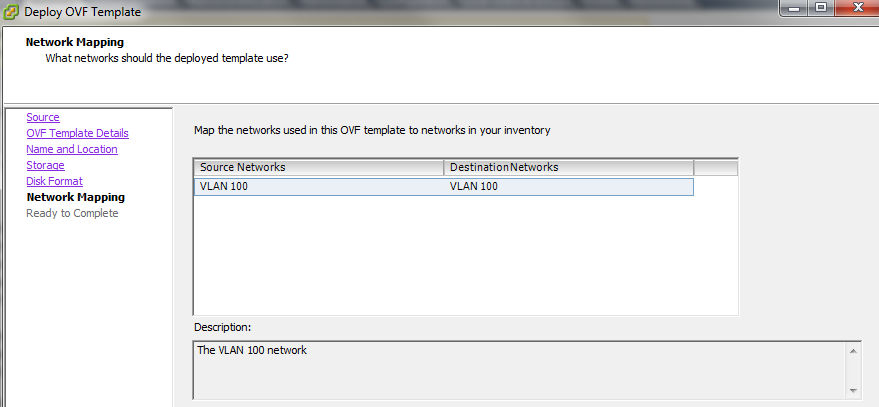
You must then select the network adapter which will be mapped with the Virtual Appliance. Pay attention to choose the network adapter that suits your needs in terms of VLAN.
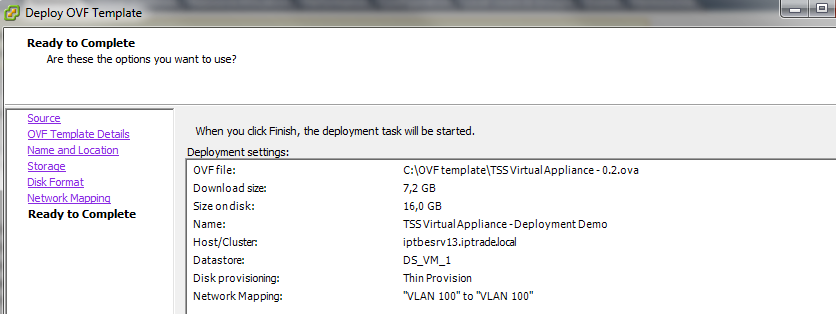
The last screen of the wizard summarizes the settings of the deployment.
The deployment itself can take a while, depending on your VSphere configuration. Once the deployment is complete, you can proceed with the power on of the TSS Virtual Appliance.
|