Wizard - Step 1


Wizard - Step 1 |
|
| Solution Installation > Turret/Console Installation > Device Wizard installation |
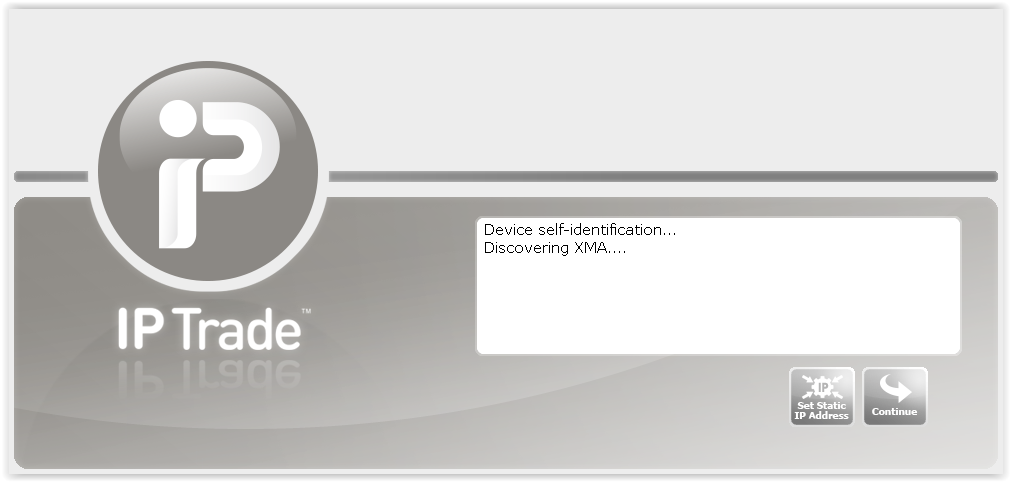
Device starts collecting information about hardware, this action does not require any intervention from user.
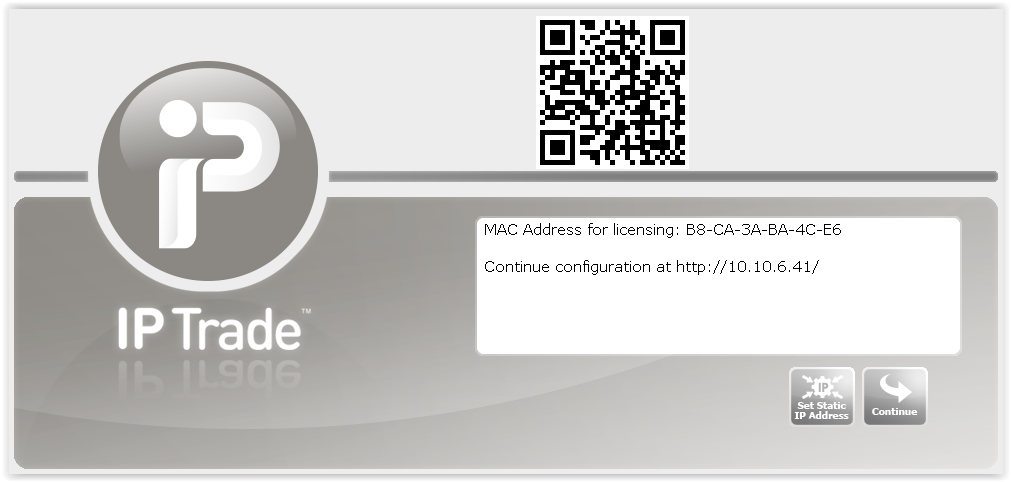
Once done, the bootstrap informs you that next steps will be handled on a specific URL, not anymore on the device itself. The device also provides the MAC address used by default to identify itself against CUCM. This can be change in next steps.
Notice that the QR code can also be used instead of retyping the URL in a browser.
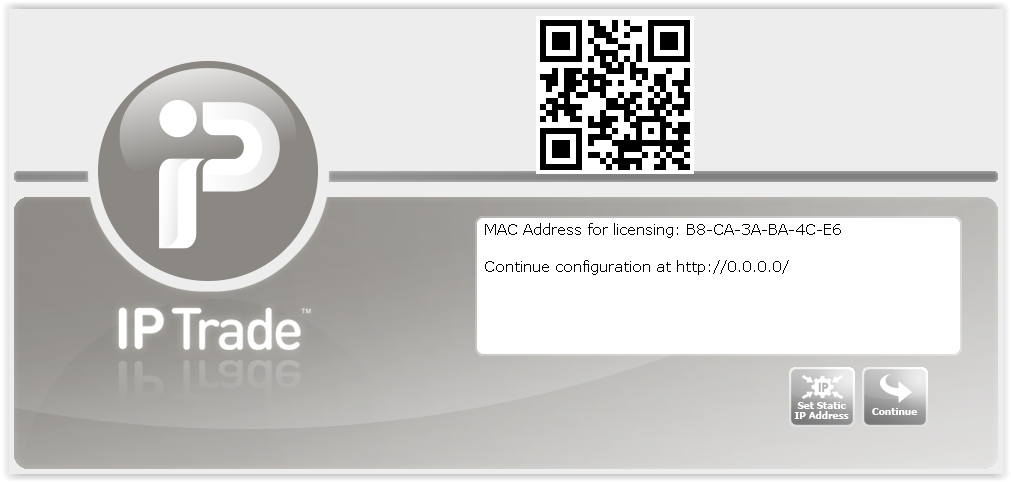
Caution, if the IP address provided in the URL is 0.0.0.0 it probably means either device does not have any network connectivity or there is no DHCP server on the connected network. If DHCP is supposed to be available, check RJ45 cable otherwise see hereafter.
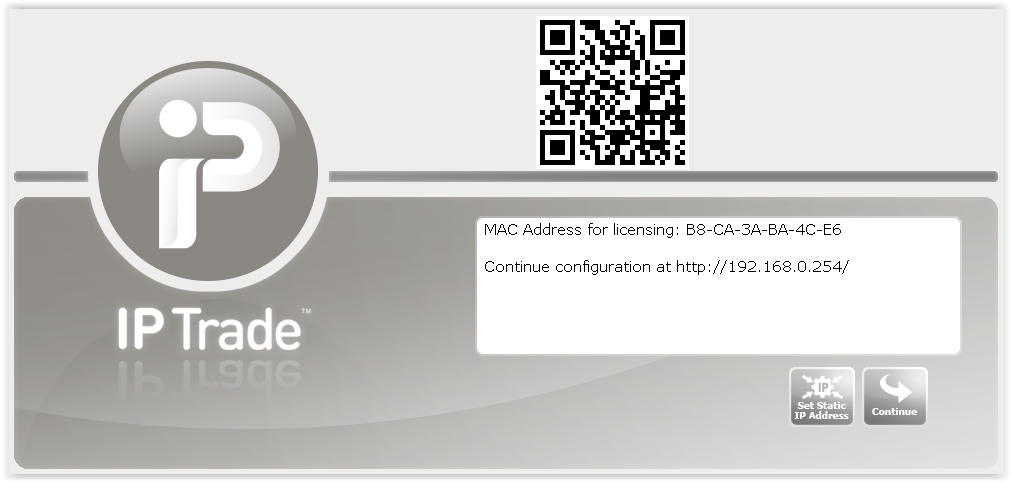
Starting with IPT7-E3854-03 OS version, when there is no DHCP server on the connected network, you can use the Set Static IP Address button (On earlier version this button isn't available). Pressing this button assigns the 192.168.0.254 / 24 static IP address to Network Adapter 1. Wait a minute after having pressed the button and the system suggests you to continue configuration at http://192.168.0.254
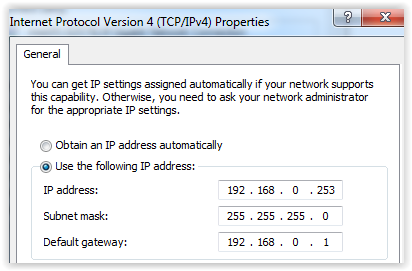
Directly connect a laptop to turret RJ45 Network Connector 1 and configure Laptop Network Adapter in 192.168.0.X / 24 sub-net. As turret and laptop are interconnected, you can now access device Wizard from your laptop web browser.
|