Adding Keypages


Adding Keypages |
|
| Solution Installation > Netrix Installation > Provision a User |
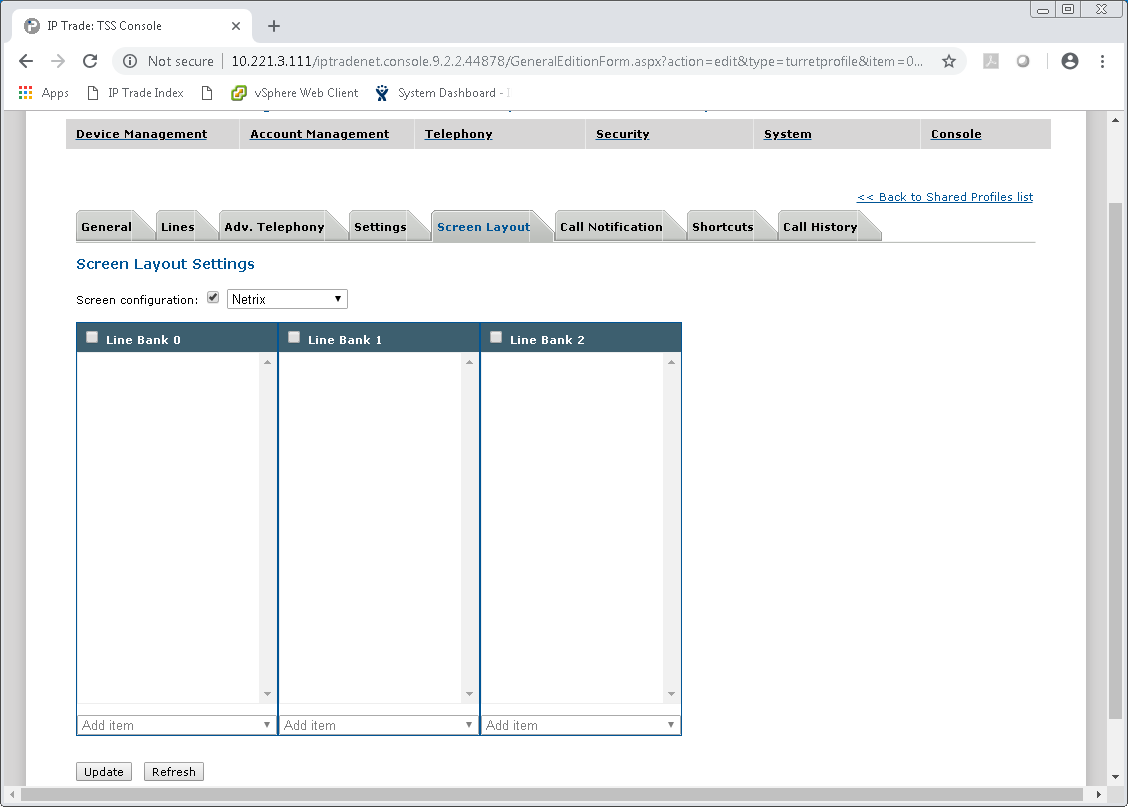
1.Log in to the TSS console 2.On the main menu select Account Management > Users > YourUser > Settings > Shortcuts 3.Netrix only supports the following type of shortcuts; •Contact •DDI Slot •Direct Intercom •Floating (used for Soft Keys) •Group Intercom •Preset (used for Broadcast Nets) •Shared DDI Call Key 4.Netrix can only have 20 shortcuts on a page to help with this there is a new Netrix screen configuration Option. This is normally set to wide extended but for Netrix tick the option and select Netrix. This will allow you to see the Netrix screen layout.
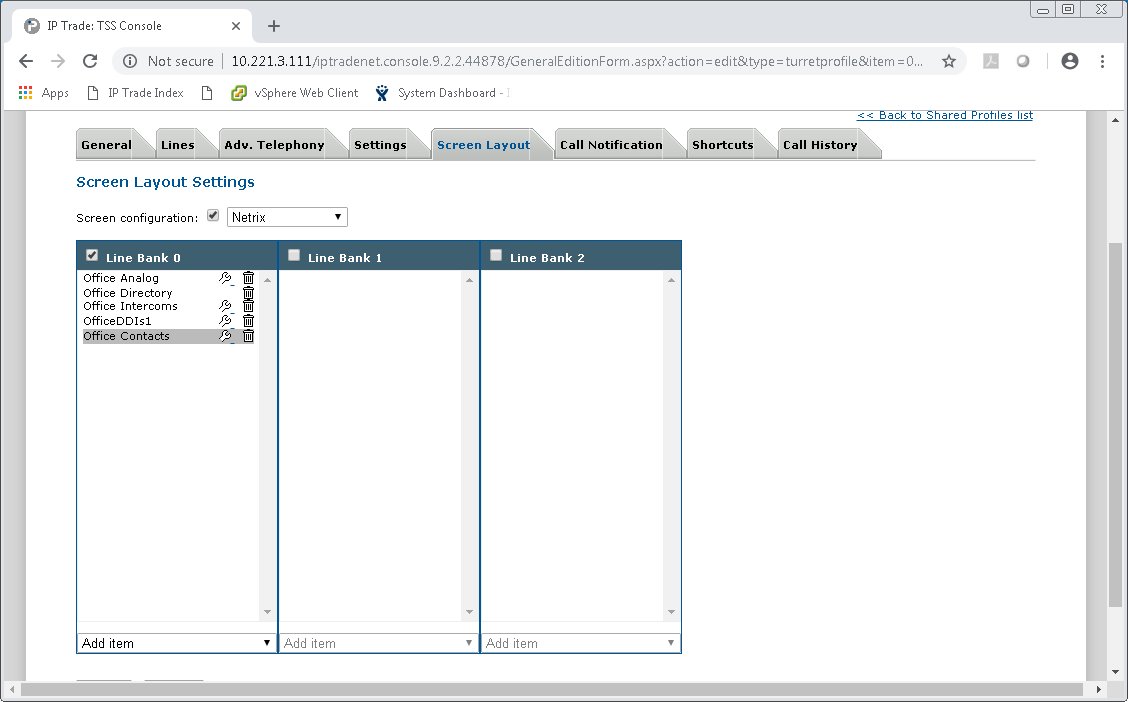
5.From here you can use the Add Item to add shortcut pages to the line banks. The order of the pages can be changed and pages can be edited in the normal way by clicking the spanner symbol.
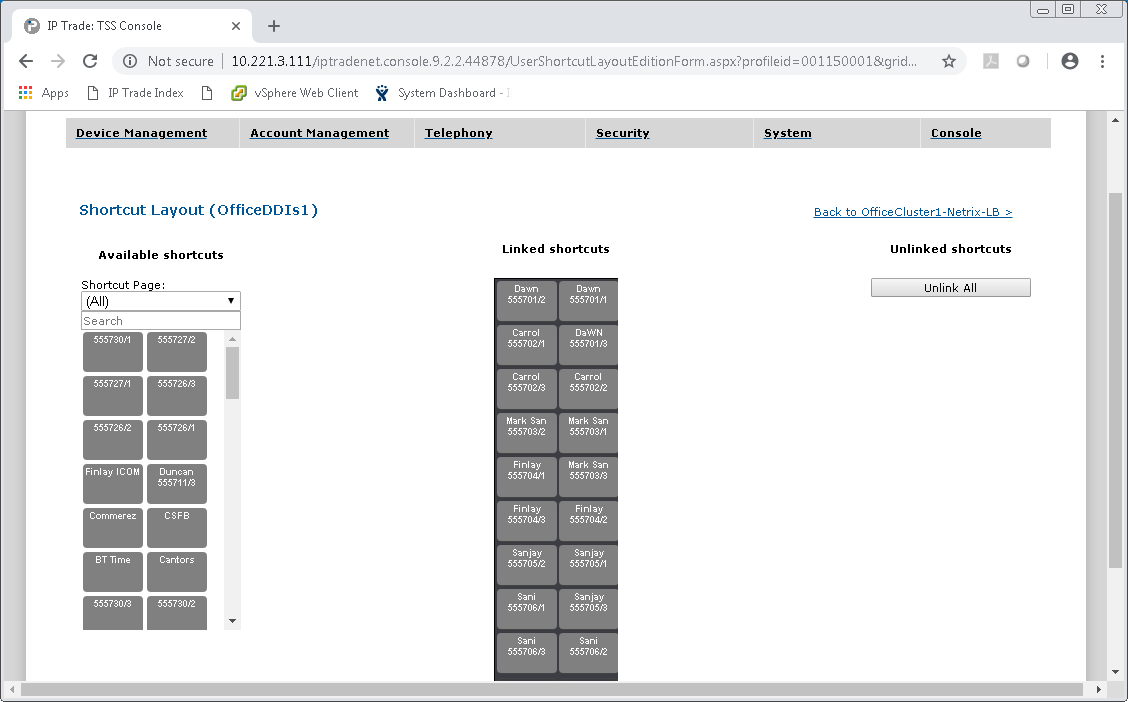
6.Note left-hand column has key 1,3,5 etc right has 2,4,6
7.If a page is set to alphabetical then it will be thought of as a directory page for the Netrix and will be displayed in the mini window of the Netrix when the dir key is pressed only contact shortcuts are valid. 8.If a page is set to positional it will be displayed in the line bank of Netrix 9.The shortcut keys can have a colour programmed but you must type the colour as a word not select from the grid and Netrix does not inherit colour from the page.
|