|

|
|

|
|

|
The TouchPro comes pre-assembled and pre-wired from its box except the speaker cables (audio and power) that should be plugged into the speaker. Do NOT disconnect cables already connected behind the turret/console such as XMA power and network cable
|
|

|
|
|

|
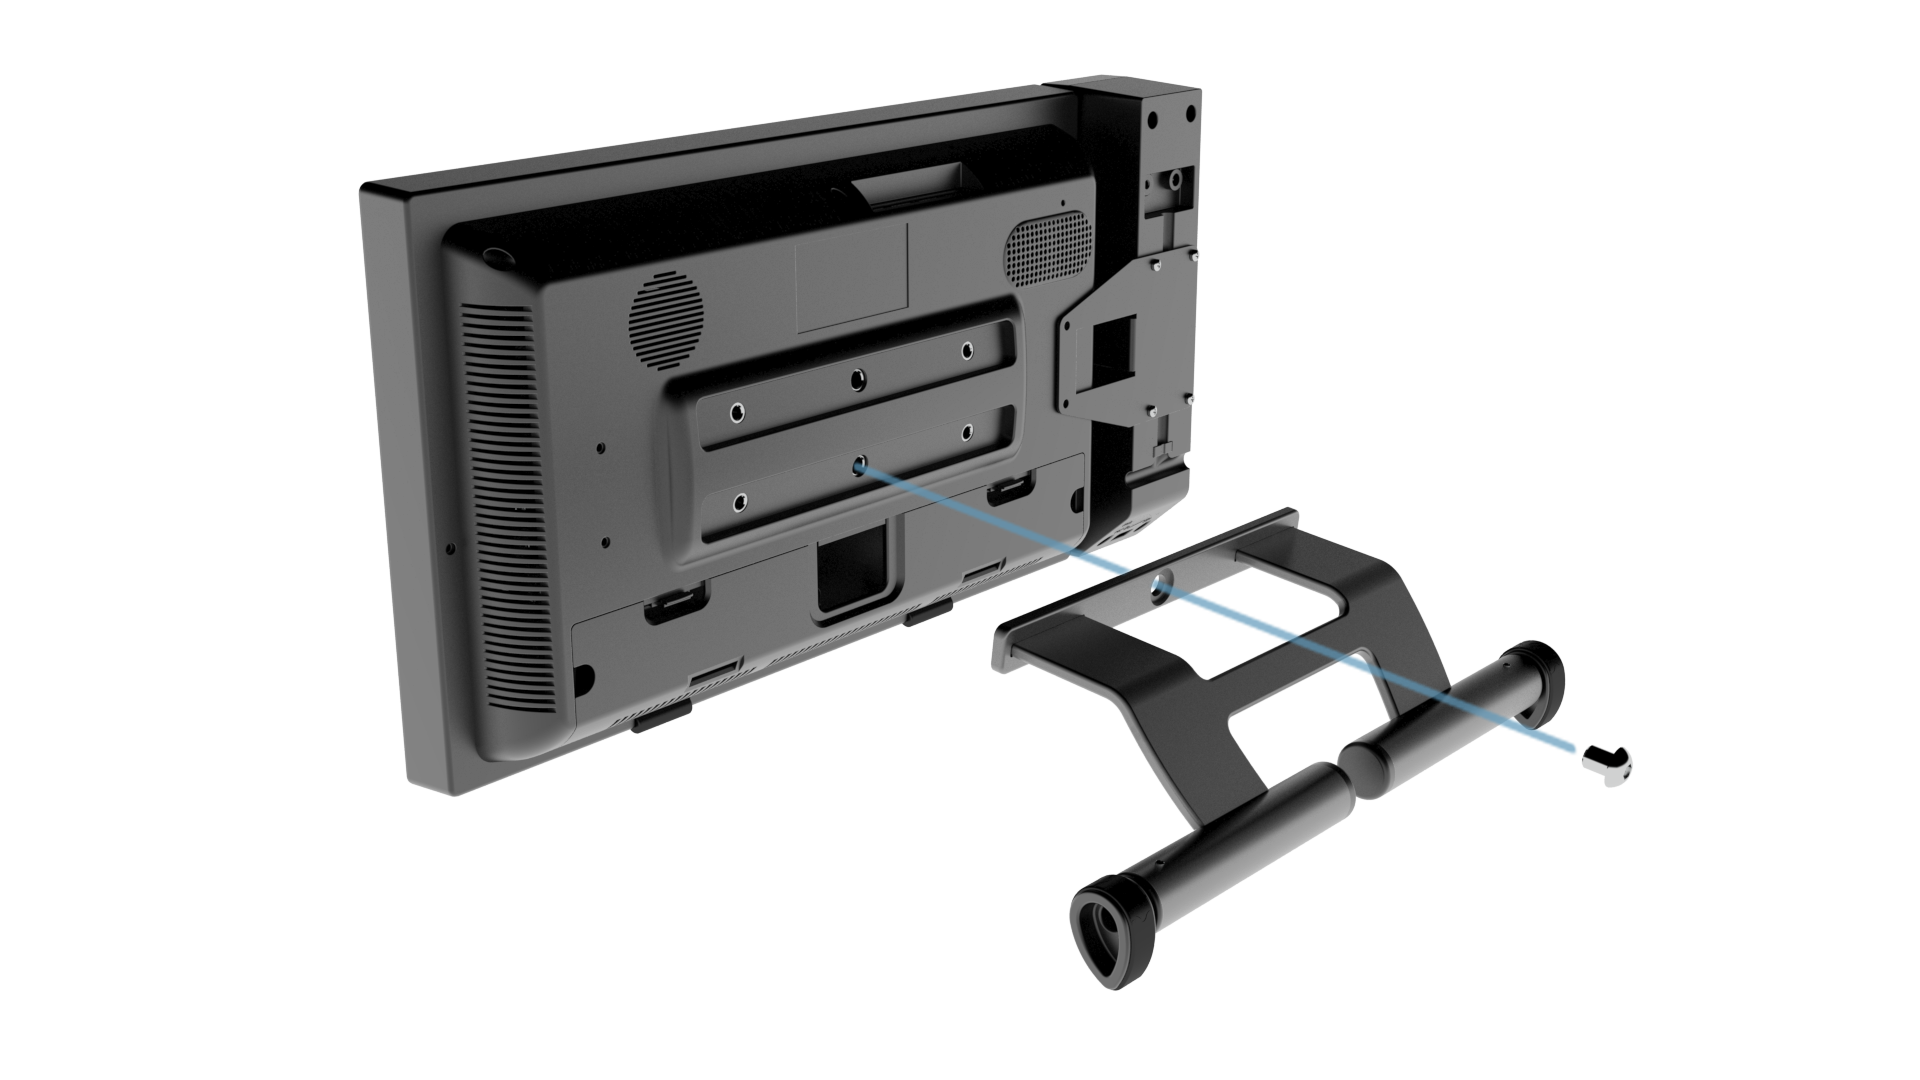
Step 1: Attaching the stand
Place the metal stand in the desired position and bold it tightly with the provided stand screw.
|
|

|
|
|

|
|

|
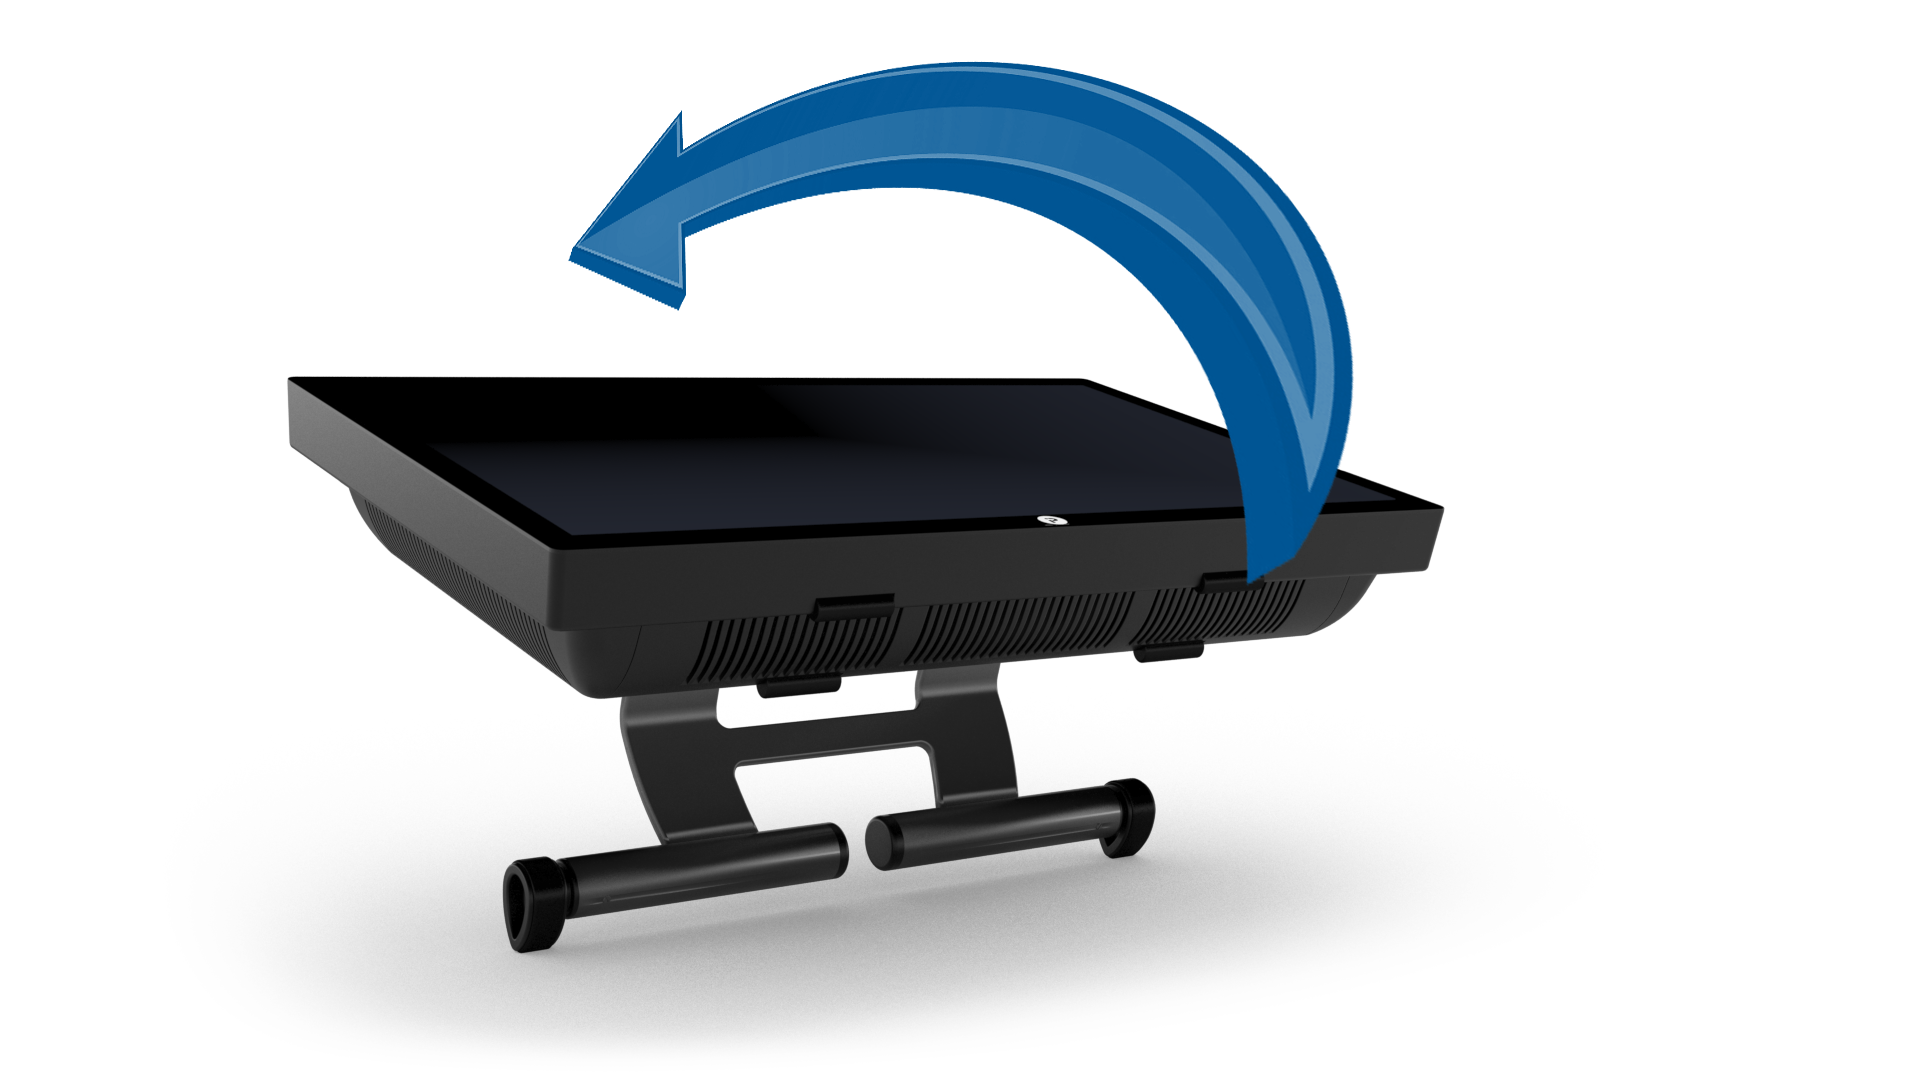
To avoid scratching the screen, the unit must NOT be placed face down on a surface without being protected. The rear can be accessed by tilting the unit forward, or by placing face down ON the protective foam layer from the box (whilst ensuring no pressure is applied on the speaker volume knob).
|
|

|
|
|

|
Step1: Attaching the Stand:
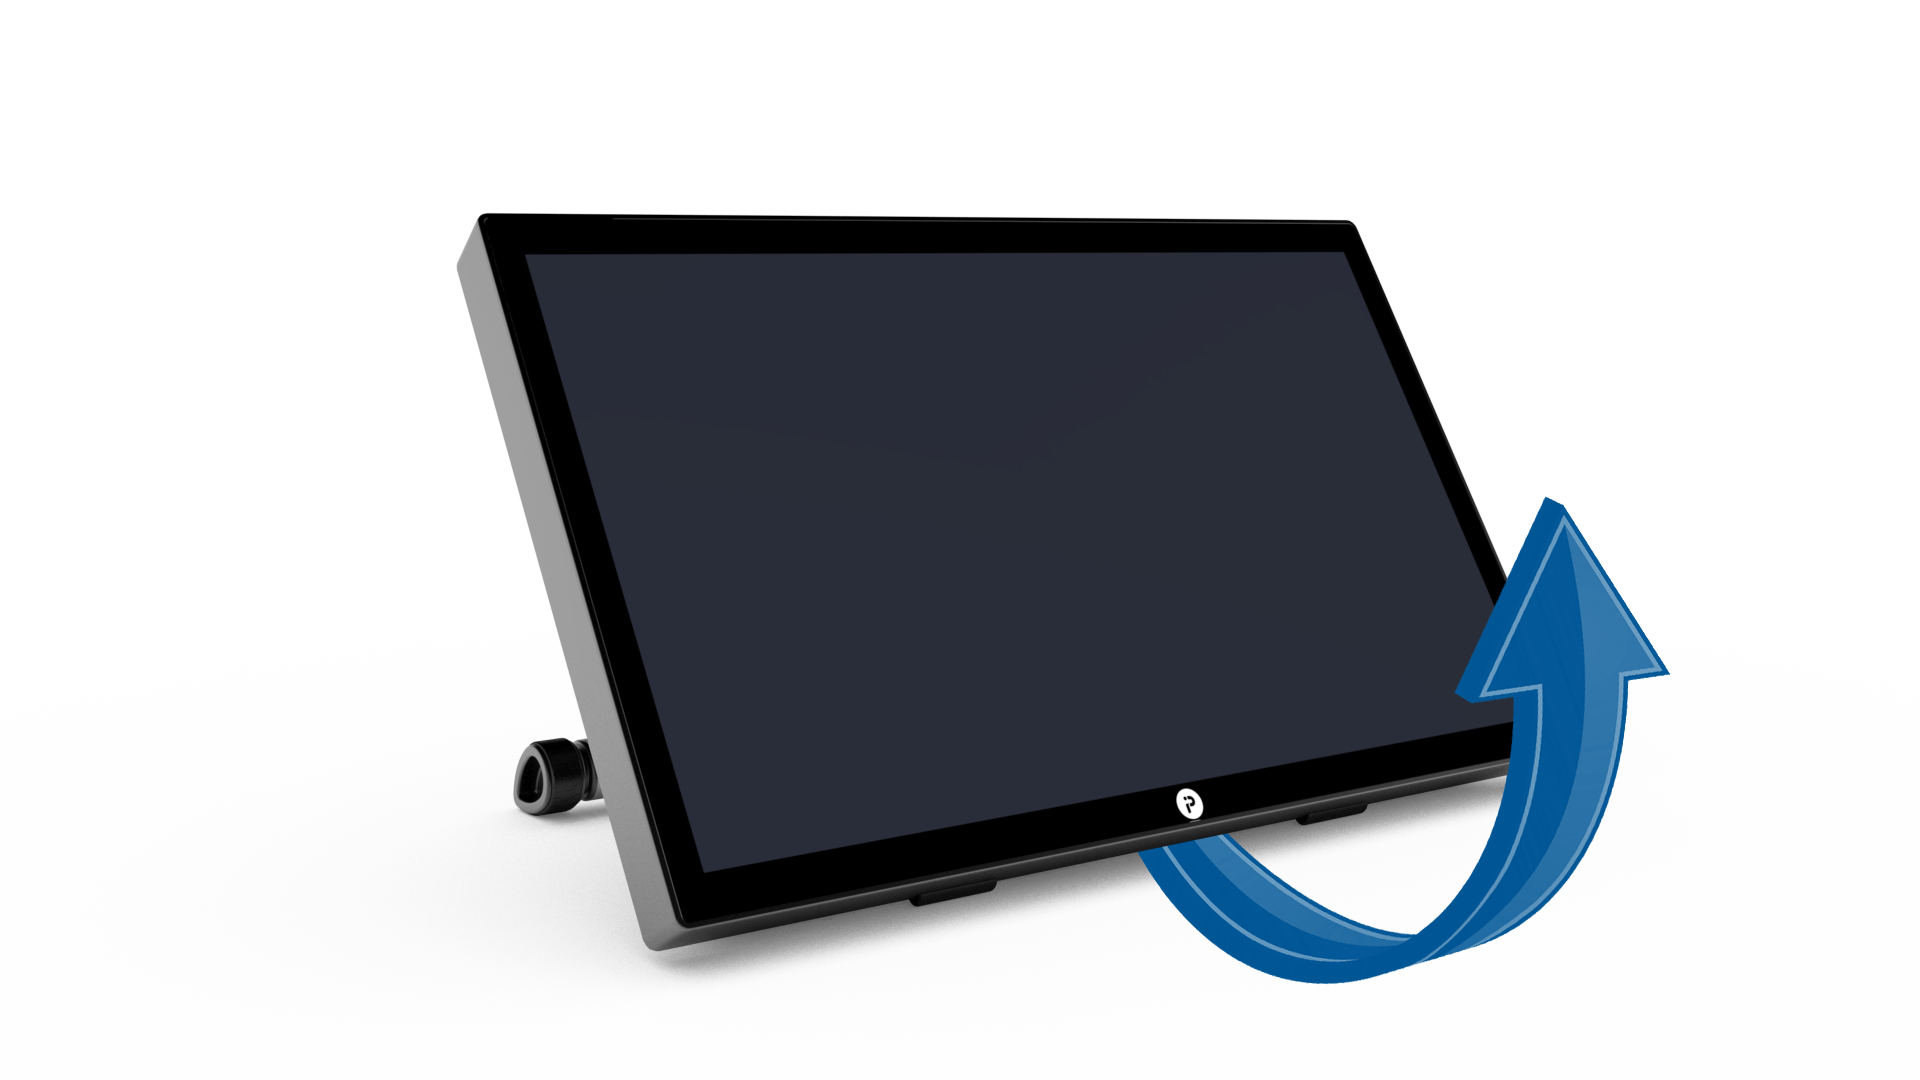
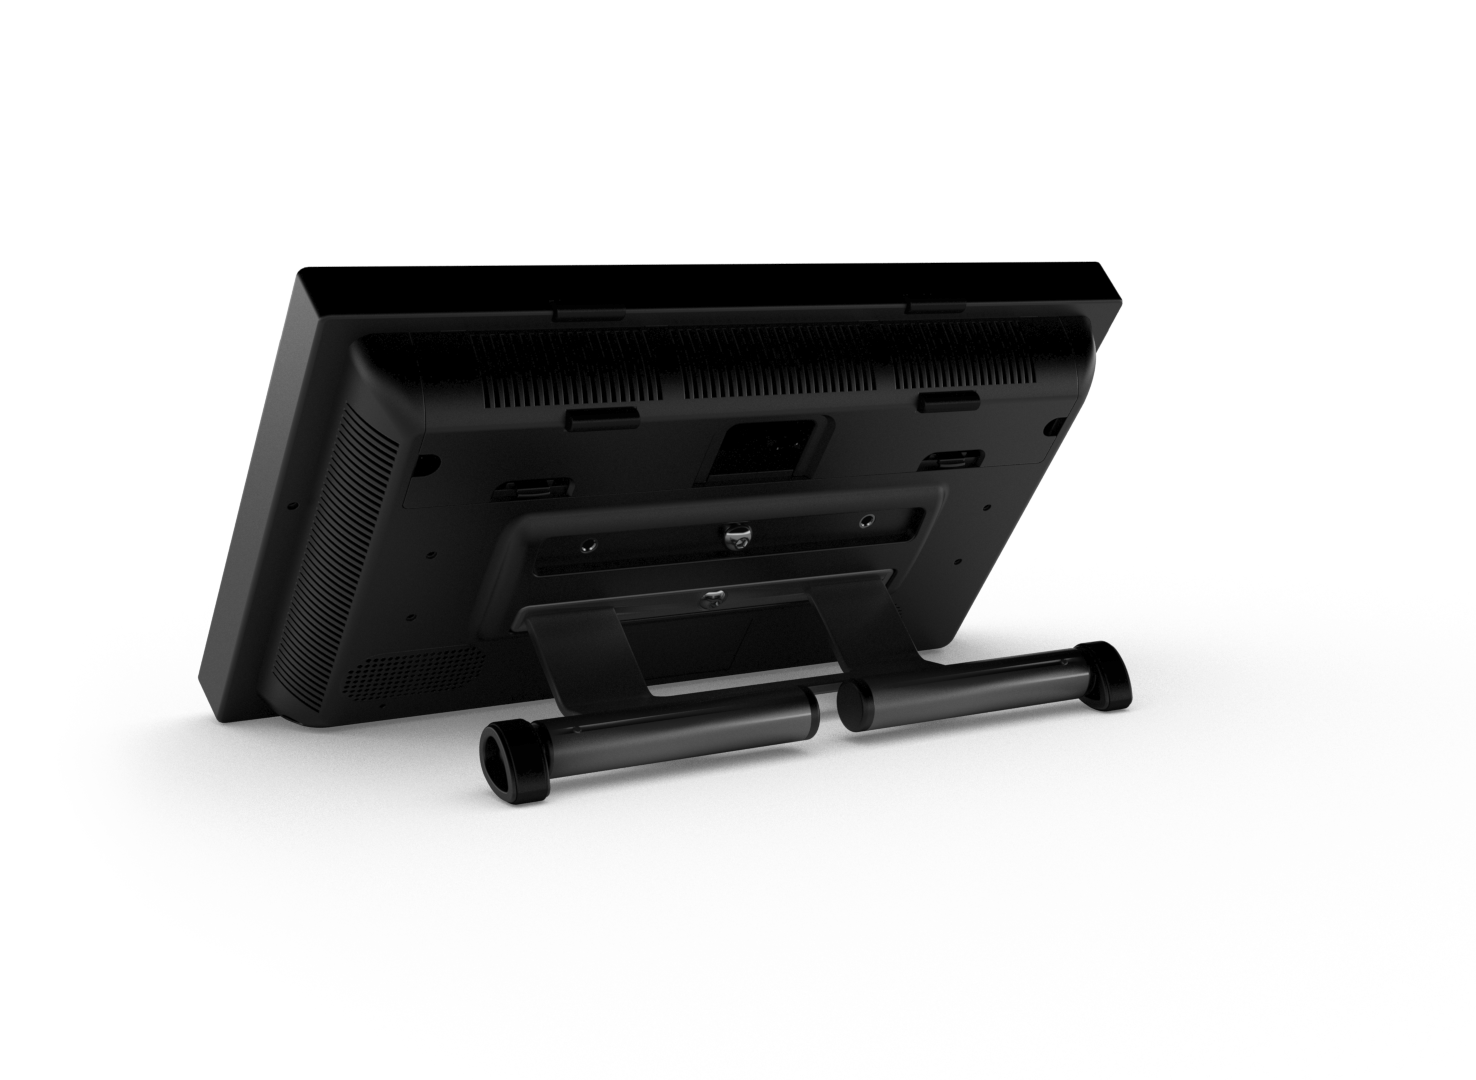
The TouchPro stand has 4 main positions,whilst minor adjustments to the tilt angle can be made by pressing and rotating the external rubber feet at either end of the stand.

|
|
|
|
|
|
The main unit comes by default with a speaker pre-assembled to the left hand side. All components are reversibles and capable of being used on both sides.
Use these instructions only to add a second speaker or to switch sides !
|
|
|
|
|
|
Step 2: Attaching the speaker
|
|
|
|
|
|
The speaker is preconfigured to be used with the left handset. We advise attaching the speaker to the left side of the device to match this configuration. Should you prefer attaching the speaker to the right, your IT team should adapt the TSS setting accordingly (for more information, please contact the support team: support@iptrade-networks.com).
|
|
|
|
|
|
|
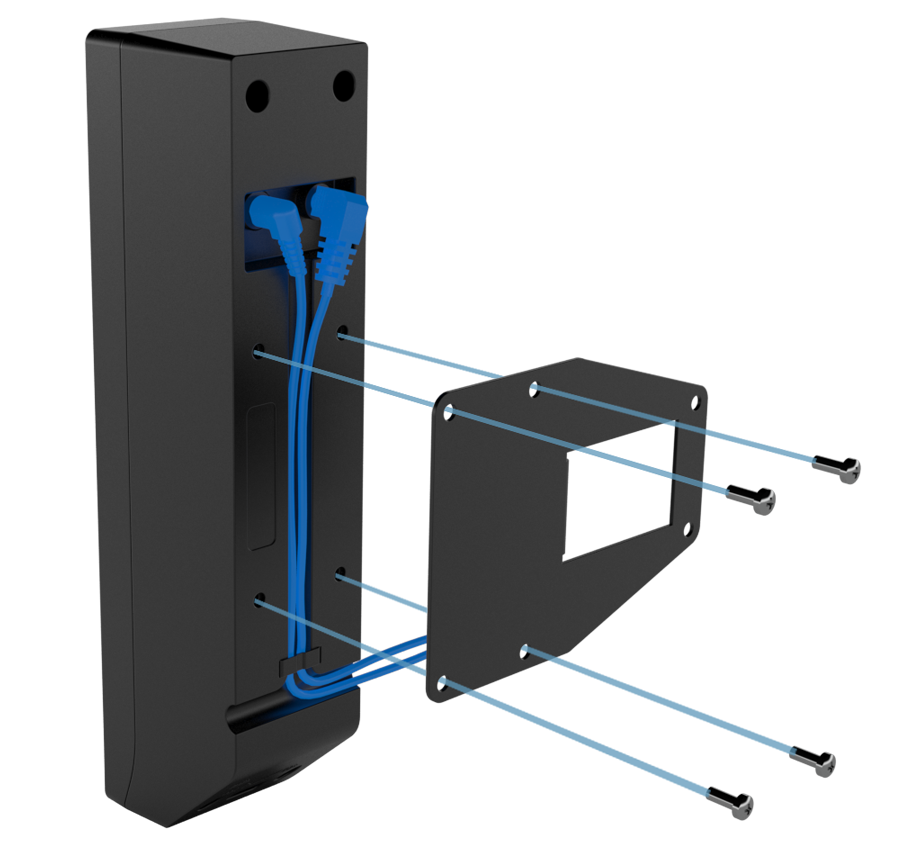
Place the cables behind the speaker and cover them with the speaker bracket (cables will be behind the support).
|
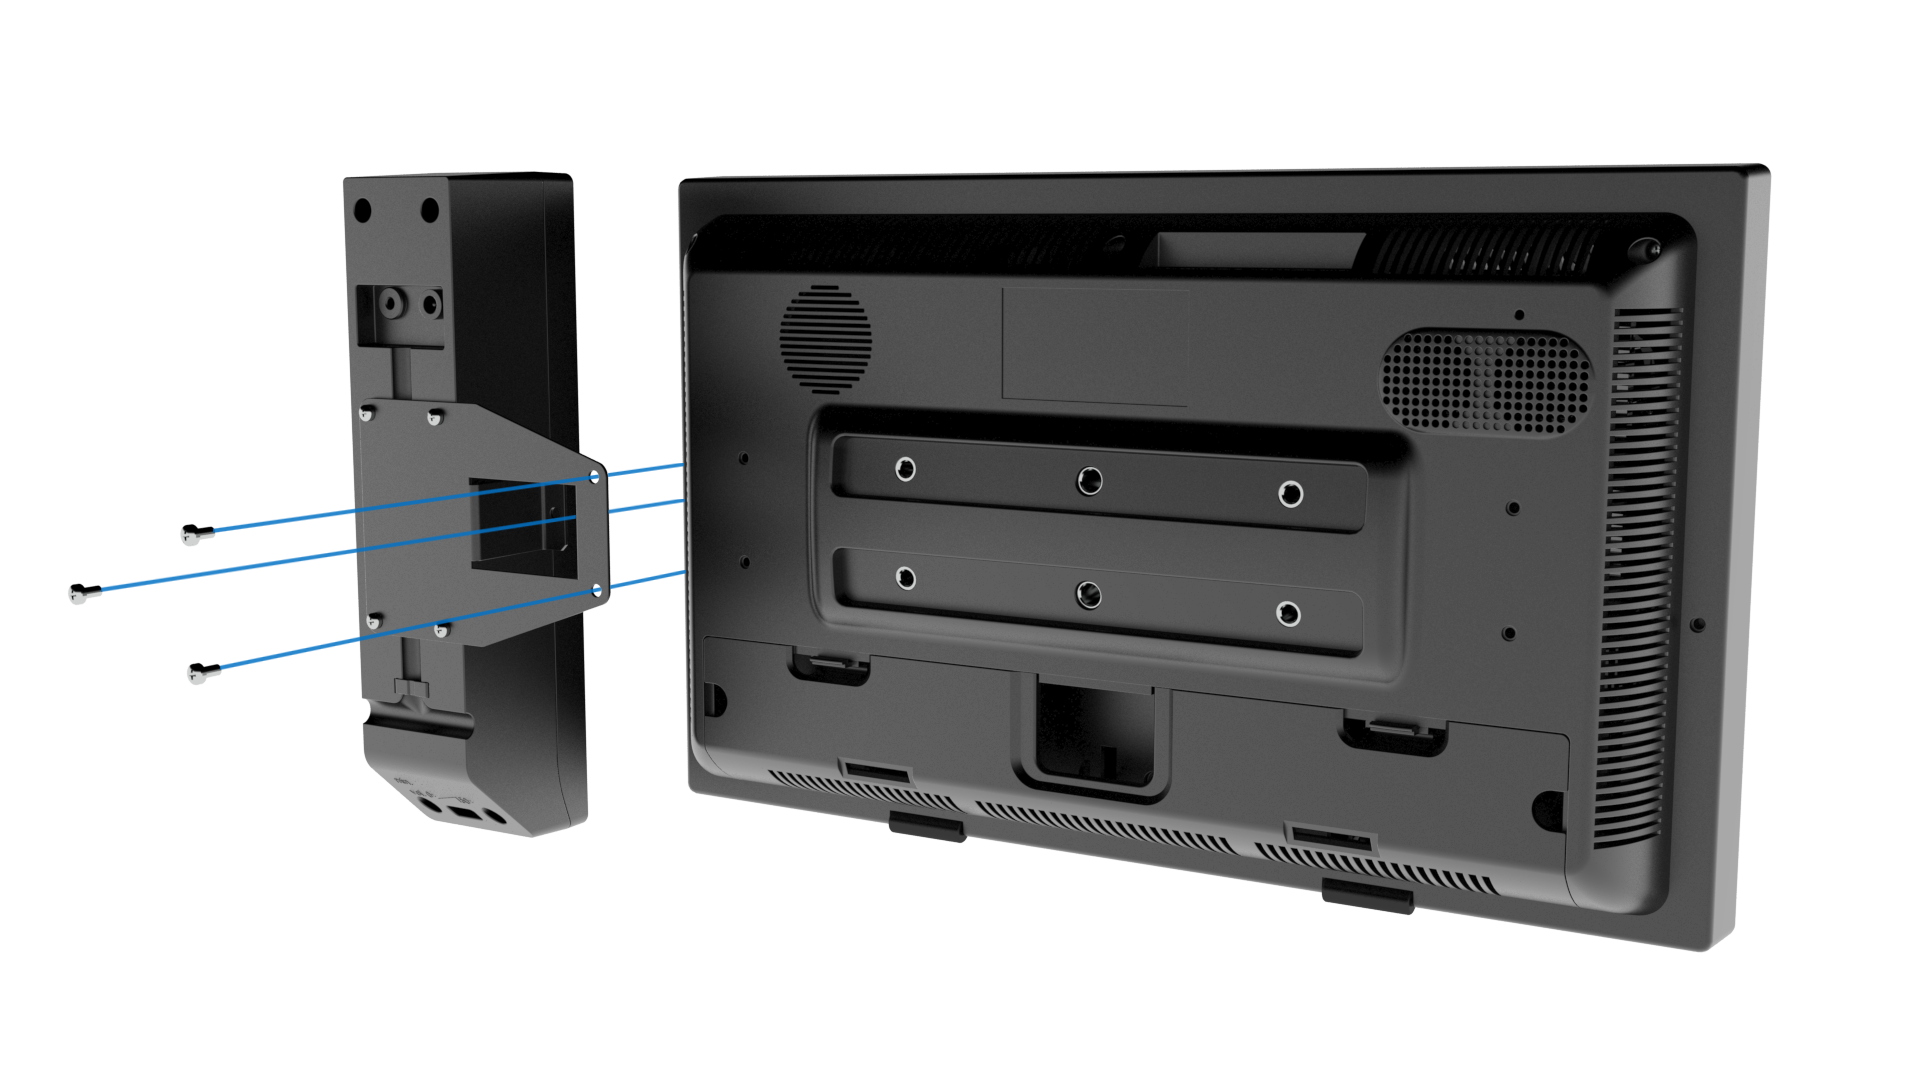
Attach the speaker to the unit with the 3 remaining screws.
|
|
|