Web Proxy Configuration


Web Proxy Configuration |
|
| Solution Integration > PBXs > BT Call Server > Upgrading |
Web Proxy Configuration for New Installations
For new Standard Server installs, the OS will be blank and thus the tools provided in an existing installation will be absent.
As part of the install/upgrade package provided on the Extranet. A script "proxy-config" is provided in the archive, along with the install.sh and upgrade.sh scripts.
Copy the "proxy-config" script file to the OS (using your preferred method. Or use WinSCP)
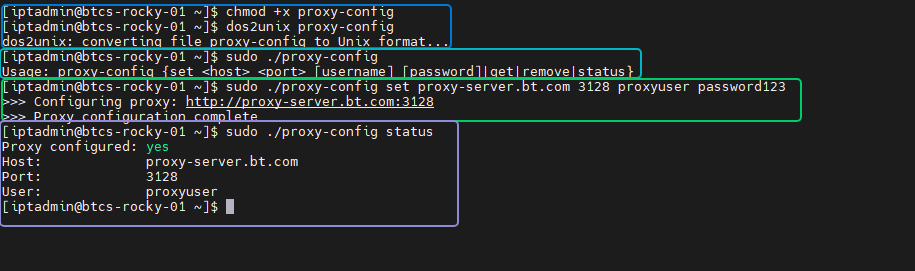
In a terminal connection, make the script executable and convert it to unix format.
sudo chmod +x proxy-config sudo chmod dos2unix proxy-config
You can run the script without any commands and it will output usage information
sudo ./proxy-config Usage: proxy-config {set <host> <port> [username] [password]|get|remove|status}
To set a proxy, use the set command and provide the required information If you provide a Username, you must provide a password.
sudo ./proxy-config set proxy-server.bt.com 3128 proxyuser password123
You can check the status with the status command
sudo ./proxy-config status
You can remove proxy configuration with the remove command
sudo ./proxy-config remove
Web Proxy Configuration for Existing Installations
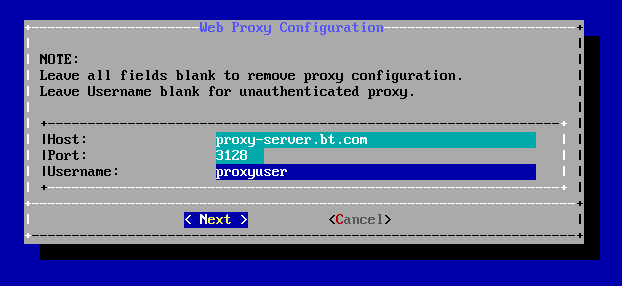
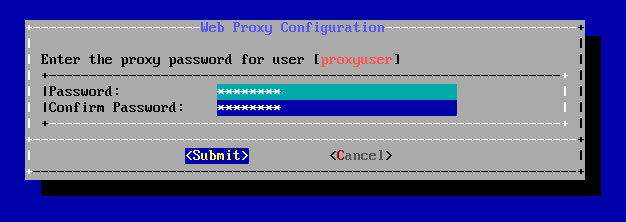
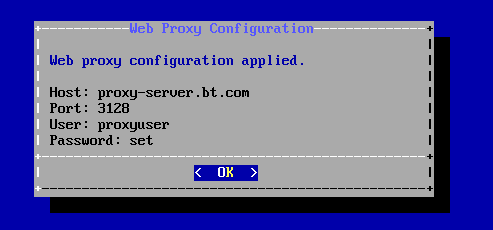
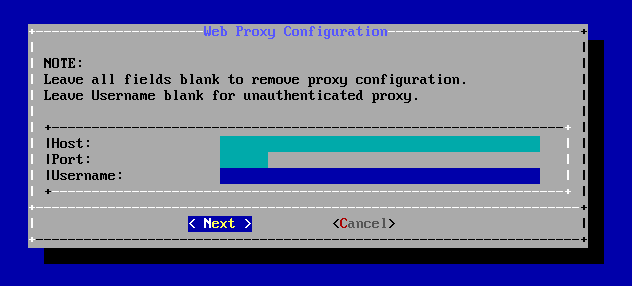
•Log in to the CLI with the "iptadmin" user. •At the prompt, type "configure-system" and press Enter. •Select "Web Proxy Configuration" and click OK •Fill in the required details.
•To remove proxy configuration, clear all fields and click Next
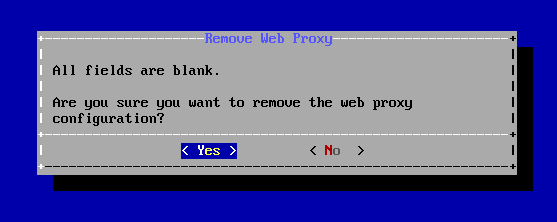
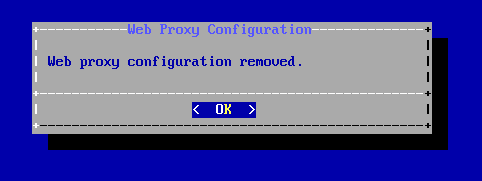
•Click Yes to confirm removal
|